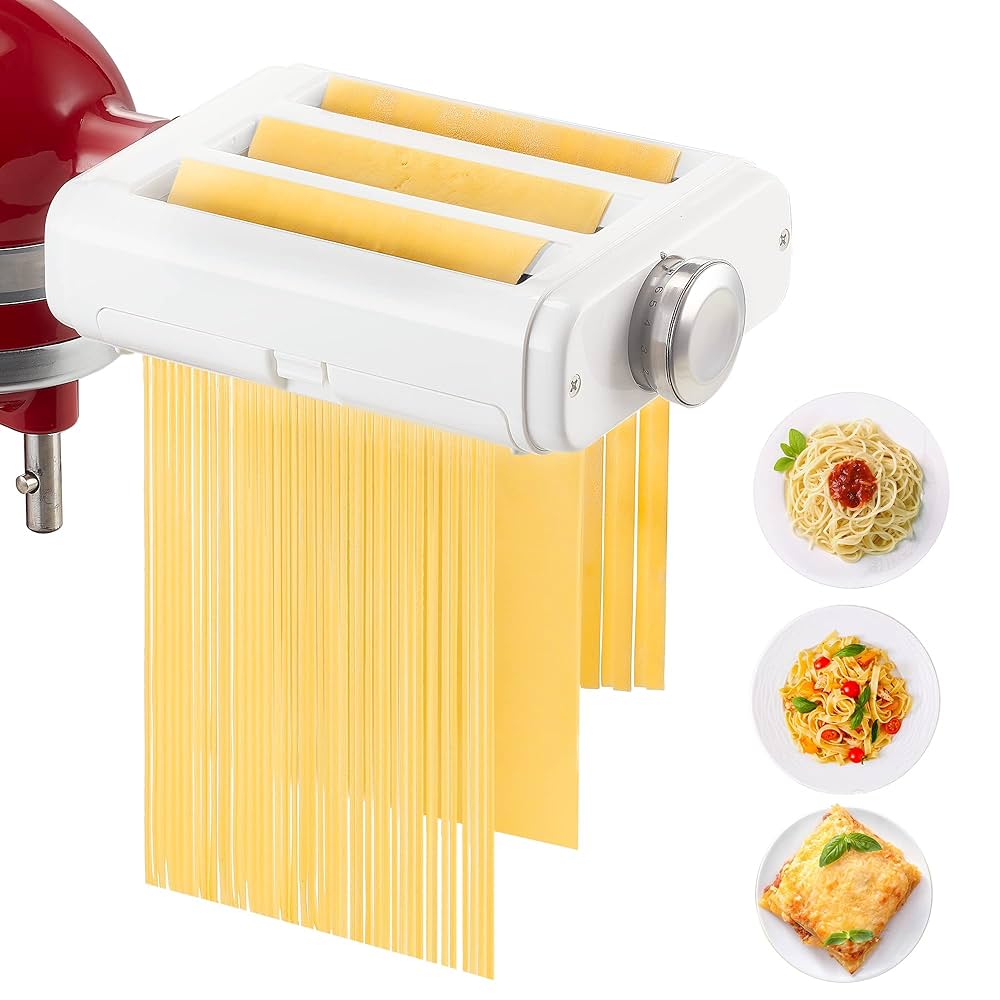
If you love making fresh pasta at home, your KitchenAid pasta attachment is probably one of your favorite tools. But after all that delicious dough, cleaning it can feel like a hassle.
What if you could make the process quick and simple, so your pasta gear stays in perfect shape without extra stress? In this guide, you’ll discover easy steps to clean your KitchenAid pasta attachment thoroughly—keeping it ready for your next homemade meal.
Stick with me, and you’ll never worry about sticky dough or hard-to-reach spots again.

Credit: www.vevor.com
Tools Needed
Essential supplies for cleaning the KitchenAid pasta attachment include a soft brush, mild dish soap, and warm water. A toothpick or small brush helps remove dough stuck in small parts. Use a clean cloth to dry the parts after washing.
Optional tools like a toothbrush can reach tight spaces. A small bowl or container keeps parts organized while cleaning. Avoid harsh cleaners or soaking the metal parts to prevent damage.
- Soft brush for gentle cleaning
- Mild dish soap
- Warm water
- Toothpick or small brush for crevices
- Clean cloth for drying
- Toothbrush for detailed cleaning
- Small container to hold parts
Disassembling The Attachment
Start by holding the pasta attachment firmly. Gently pull the roller away from the body. It should come off with a little force.
Be careful not to bend or damage the roller. Set it aside on a clean surface.
To remove the cutter blades, locate the small screws or clips holding them. Use a screwdriver or your fingers to release these.
Separate each blade carefully. Keep track of how they fit together for easy reassembly later.
- Handle blades with care to avoid cuts.
- Clean each part individually for best results.
- Dry all parts before putting them back.
Cleaning Techniques
Use warm water and mild soap to clean the pasta attachment. Avoid using harsh chemicals that can damage the parts. Rinse well to remove all soap. Dry each piece fully before storing to prevent rust.
For stuck dough, gently scrub with a soft brush. A toothbrush works well to reach small crevices. Avoid using sharp tools that may scratch the surface. This helps keep the attachment clean without damage.
Never soak the pasta attachment in water. Water can cause metal parts to rust and damage the mechanism. Wipe the parts carefully with a damp cloth instead. Always dry thoroughly to keep the attachment safe and in good shape.

Credit: www.vevor.com
Drying And Reassembling
After washing, let the pasta attachment dry completely. Use a clean towel to wipe off excess water. Leave it in a dry place for air drying. Avoid using a cloth that leaves fibers behind. This helps stop rust and damage.
Check all parts before putting them back together. Make sure no water stays inside small holes or crevices. Use a toothpick or brush if needed to dry tight spots.
- Line up all parts carefully before reattaching.
- Ensure each piece fits snugly to avoid wobbling.
- Tighten screws or locks firmly but without force.
- Test the attachment by spinning it manually to check stability.
Proper drying and careful reassembly keep your pasta maker working well. It also helps avoid mold or rust build-up over time.
Maintenance Tips
Cleaning the KitchenAid pasta attachment regularly keeps it working well. After each use, remove dough bits with a soft brush or cloth. Avoid soaking the attachment in water to stop rust. Dry it fully before storing. A regular cleaning schedule prevents buildup and keeps pasta fresh tasting.
Store the pasta attachment in a dry, cool place to avoid moisture. Use the original box or a sealed container to keep dust away. Keep all parts together to avoid losing any small pieces.
| Cleaning Tips | Storage Tips |
|---|---|
| Use a soft brush to remove dough | Store in a dry, cool place |
| Do not soak in water | Keep in original box or sealed container |
| Dry completely before storing | Keep all parts together |

Credit: www.amazon.com
Troubleshooting Common Issues
Removing dough residuecan be tricky but is important. Use a soft brush or cloth to clean the attachment after use. Warm water helps to loosen stuck dough. Avoid using sharp tools as they can damage the surface. Let the parts dry fully before storing to prevent mold.
Handling rust spotsrequires gentle care. Lightly scrub with a paste made of baking soda and water. Rinse well and dry immediately with a towel. Store the attachment in a dry place to avoid moisture buildup. Regular maintenance keeps the metal shiny and rust-free.
Frequently Asked Questions
How Do I Safely Clean The Kitchenaid Pasta Attachment?
Disassemble the attachment carefully before cleaning. Use warm, soapy water and a soft brush to remove dough. Avoid submerging metal parts to prevent rust. Dry all parts thoroughly before reassembling to keep the attachment in good condition.
Can I Put The Kitchenaid Pasta Attachment In The Dishwasher?
No, the KitchenAid pasta attachment is not dishwasher safe. Water can damage metal parts and cause rust. Always hand wash with mild soap and warm water. Dry parts completely to ensure longevity and maintain optimal performance.
What Tools Help Clean The Kitchenaid Pasta Attachment?
A soft brush or toothbrush works well for cleaning small crevices. Avoid using abrasive materials that can scratch. Use a toothpick or wooden skewer for stuck dough pieces. These tools help keep the attachment clean without damage.
How Often Should I Clean The Kitchenaid Pasta Attachment?
Clean the attachment immediately after each use. This prevents dough from hardening and becoming difficult to remove. Regular cleaning maintains hygiene and prolongs the attachment’s lifespan. Quick cleaning saves time and ensures consistent pasta quality.
Conclusion
Cleaning your KitchenAid pasta attachment keeps it working well. Always remove leftover dough before washing. Use warm water and a soft brush to clean hard-to-reach spots. Avoid harsh soaps or soaking parts too long. Dry each piece completely to stop rust.
Regular care saves time and effort later. Enjoy fresh pasta without worry every time. Simple steps make cleaning quick and easy. Keep your kitchen tools in top shape for years.


