Are you struggling with your Delta kitchen faucet and wondering how to uninstall it without causing a mess? You’re in the right place.
Removing a kitchen faucet might seem tricky, but with the right steps, you can do it quickly and safely. This guide will walk you through every part of the process, making sure you avoid common mistakes and save time. Keep reading, and you’ll feel confident tackling your faucet removal like a pro.

Credit: www.youtube.com
Tools Needed
Basic tools needed include an adjustable wrench, a basin wrench, and a screwdriver. These help in loosening nuts and screws that hold the faucet in place. A bucket or towel is useful to catch any water drips during removal.
Optional supplies can make the job easier. Plumber’s tape helps seal connections when reinstalling. A flashlight can improve visibility under the sink. Cleaning cloths are helpful for wiping away water and grime.
Prepare The Area
First, locate the water shut-off valvesunder the sink. Turn these valves clockwise to close the water flow. This step prevents any water leaks during removal.
Next, open the faucet to drain any remaining water inside the pipes. Keep a towel or bucketnearby to catch drips.
Clear all items from under the sink. This creates enough space to work safelyand avoid accidents. Remove cleaning supplies, trash bins, or anything that blocks access to the faucet connections.
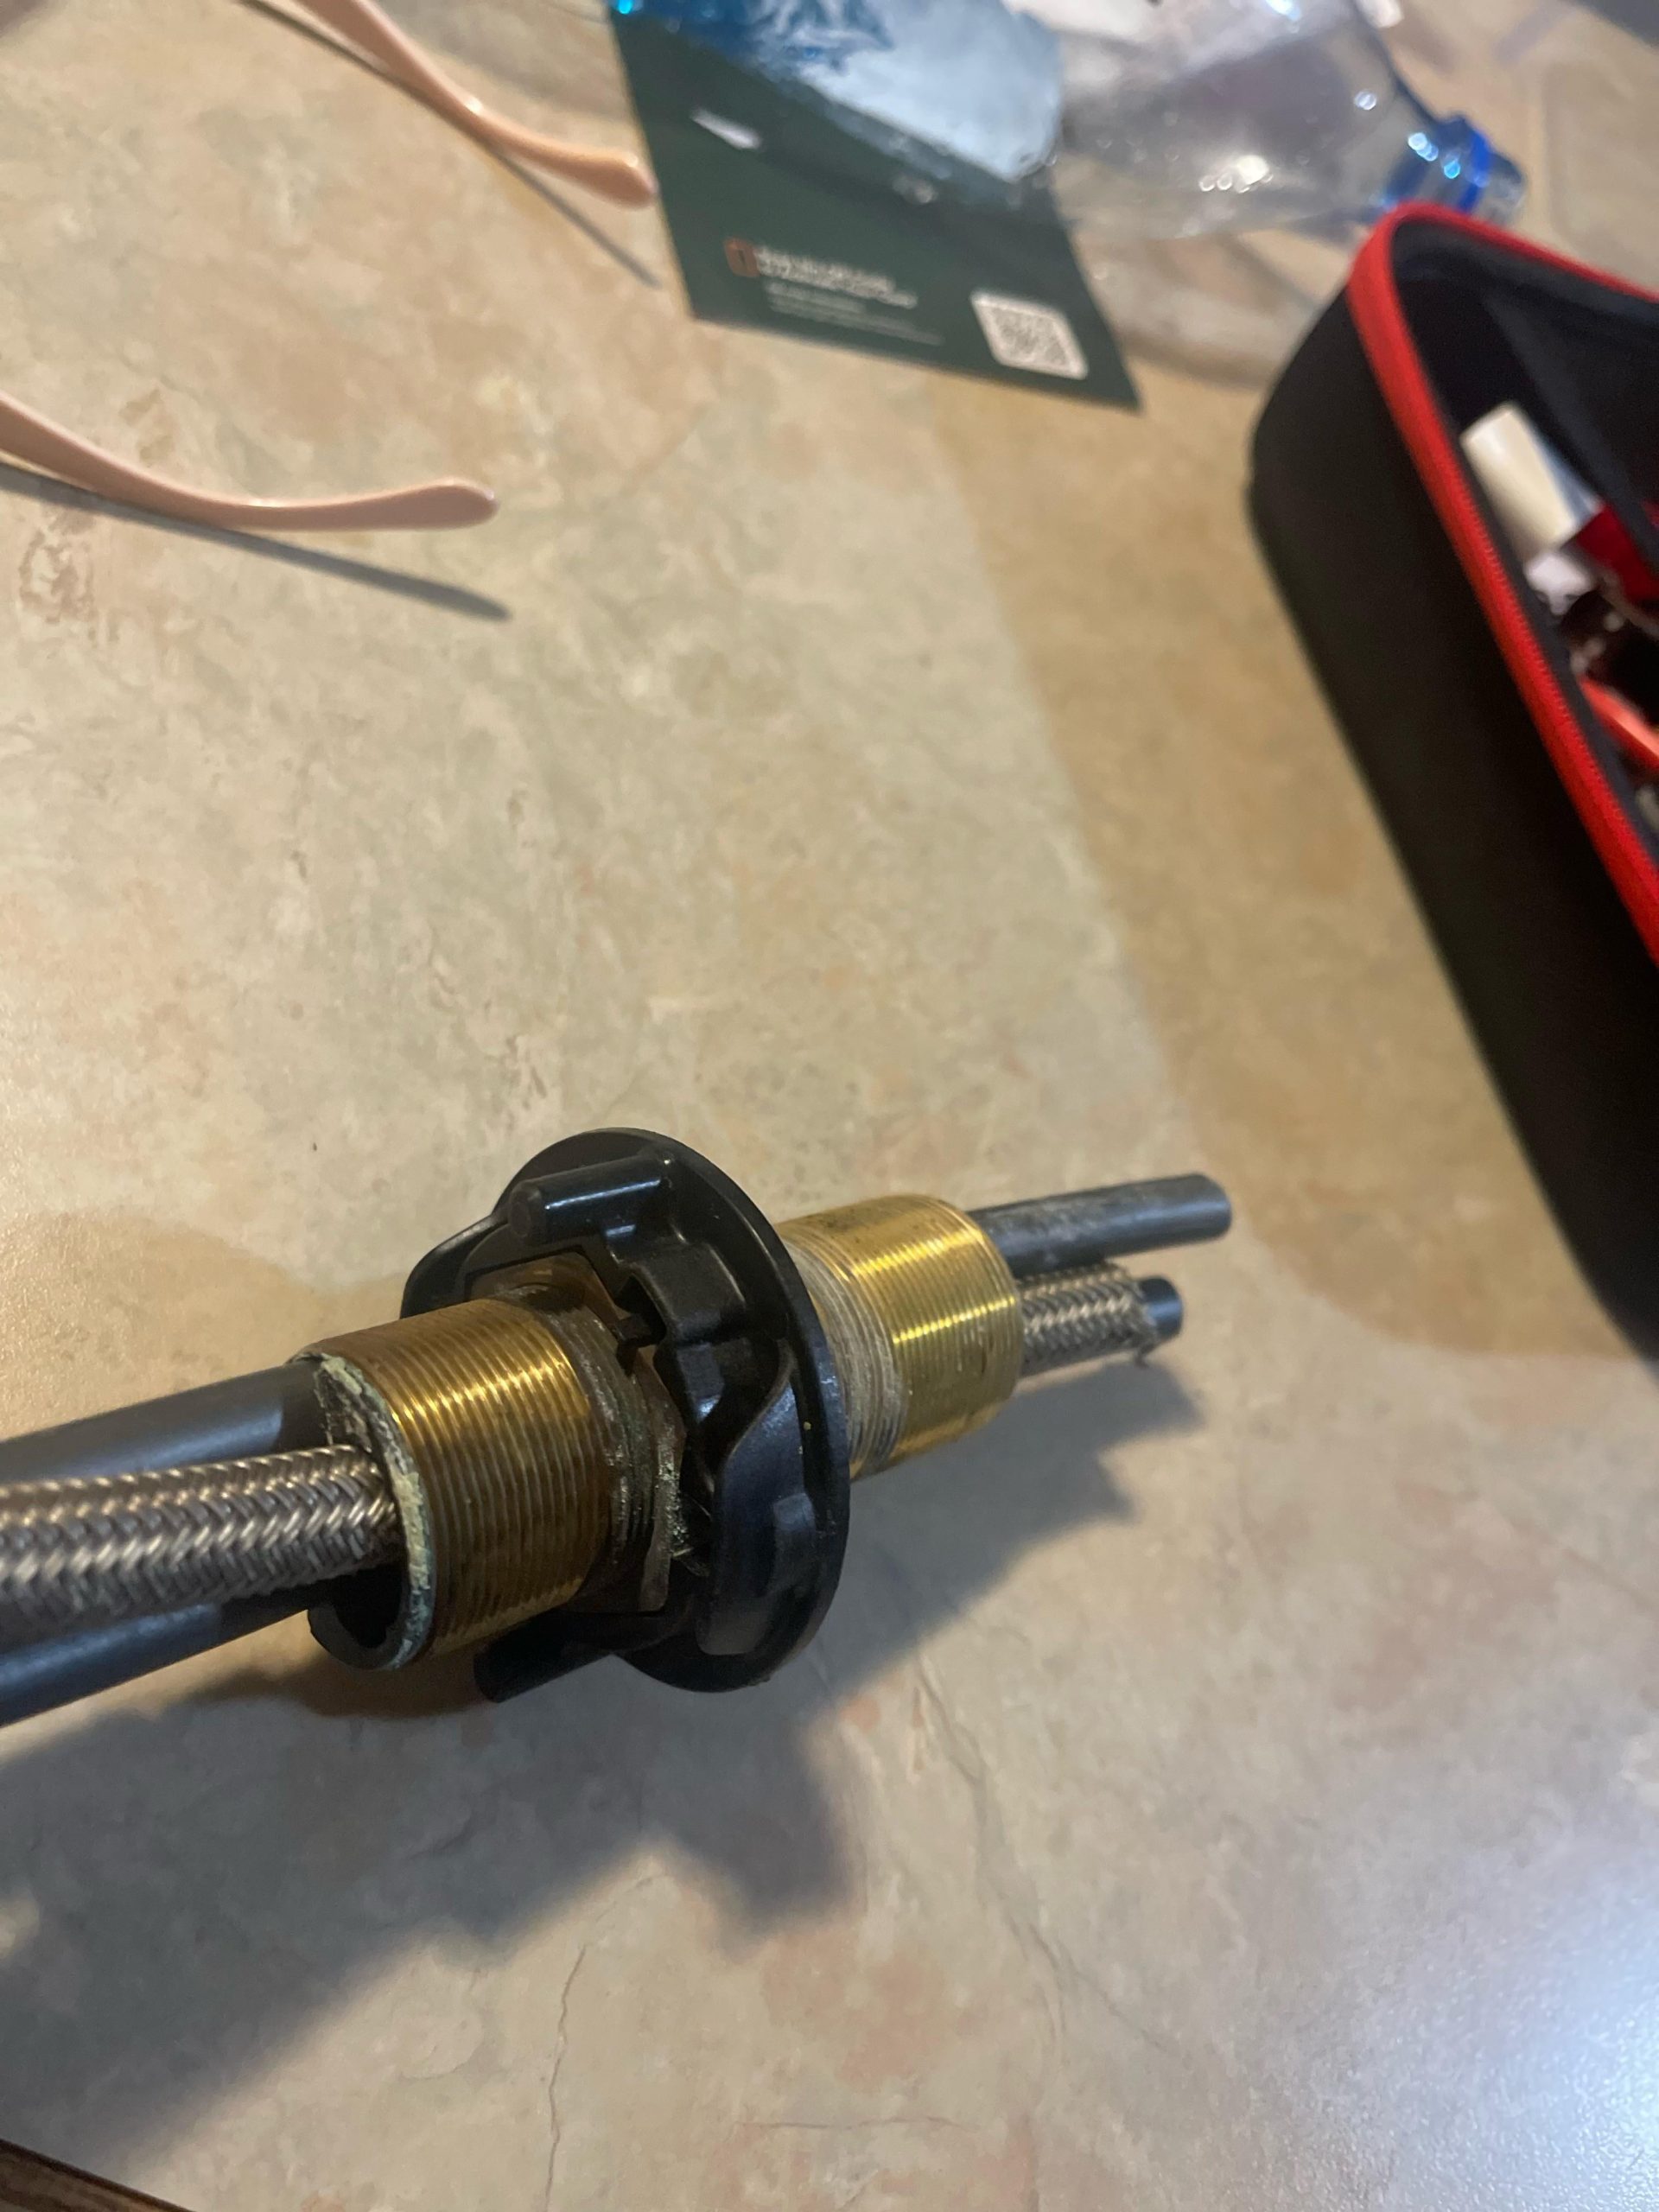
Disconnect Water Lines
First, find the supply valvesunder the sink. These valves control water flow to the faucet.
Turn the valves clockwise to closethem. This stops water from flowing.
Next, use a wrench to loosen the connectorsthat attach the water lines to the faucet. Turn the connectors counterclockwise.
Be ready with a small bucket or towel to catch any leftover water inside the lines.

Credit: www.reddit.com
Remove Mounting Hardware
Locate the mounting nutsunder the sink holding the faucet in place. These nuts secure the faucet to the countertop or sink.
Use a wrenchor adjustable pliersto loosen the nuts. Turn them counterclockwise to unscrew.
Clear any debris or buildup around the nuts for easier removal. It may help to use a flashlight for better visibility.
Have a towel or bucket ready to catch any water that might leak during removal.
Lift Off The Faucet
Carefully lift the faucet straight up to remove it. Avoid twisting or pulling hard. The faucet parts can be fragile and may break easily.
Use a soft cloth to hold the faucet handle firmly. This prevents slips and damage while lifting it off.
Check the sink area for any leftover residue or old putty. This can block the new faucet from fitting well.
- Remove old plumber’s putty or sealant gently with a plastic scraper.
- Clean the surface with a mild cleaner to remove dirt and grime.
- Dry the area completely before installing a new faucet.
Clean The Sink Area
Start by clearing the sink area around the faucet. Remove any dishes or items that might get in the way. This space should be clean to avoid dirt mixing with sealant or water.
Old sealant sticks to the sink and faucet base. Use a plastic scraper or putty knife to gently lift and remove it. Avoid metal tools that can scratch the sink surface.
Clean the area with warm, soapy water to remove leftover residue. Dry the surface completely before the next step.
Prepare for the new faucet by checking the sink’s surface. Make sure it is smooth and free of old sealant or dirt. This helps the new sealant stick better and creates a good seal.
Troubleshooting Tips
Removing a Delta kitchen faucet can be simple with the right steps. Begin by turning off the water supply. Loosen the mounting nuts under the sink. Carefully detach the faucet, ensuring no parts are damaged.
Stuck Parts
Stuck parts can be a headache. Use a penetrating oil to loosen them. Spray it and wait for a few minutes. Gently tap the part with a rubber mallet. Avoid using excessive force to prevent damage. If parts remain stuck, try using a strap wrench. This tool grips without scratching the surface. Always ensure to use the right tool for each part. This makes the job easier and safer.
Leaks After Removal
Leaks can happen even after removing a faucet. Check the supply lines for drips. Tighten them if they are loose. Inspect the valve connections for any water. Replace washers if they are worn out. A little plumber’s tape can help seal leaks. Wrap it around threads before reconnecting parts. This ensures a snug fit. Always double-check for leaks after reassembly.

Credit: www.youtube.com
Frequently Asked Questions
How Do I Turn Off Water Before Uninstalling Faucet?
Locate the shut-off valves under the sink and turn them clockwise. This stops water flow and prevents leaks during removal.
What Tools Are Needed To Uninstall Delta Kitchen Faucet?
You need an adjustable wrench, basin wrench, bucket, and screwdriver. These tools help loosen nuts and disconnect water lines safely.
How To Avoid Water Spills When Removing Faucet?
Place a bucket under connections and wipe spills promptly. Turn off water supply and open faucet to drain residual water.
Can I Uninstall Faucet Without Professional Help?
Yes, with basic tools and careful steps, you can uninstall it yourself. Follow instructions to avoid damaging plumbing or the faucet.
Conclusion
Uninstalling a Delta kitchen faucet is easier than it seems. Follow the steps carefully and take your time. Turn off the water supply first to avoid spills. Use the right tools to loosen connections. Keep parts organized for smooth reassembly or replacement.
Check for leaks after removal to protect your sink. This simple task saves money and prepares you for new installations. A little patience makes the process smooth and stress-free. Now, you can confidently remove your Delta faucet without worry.


