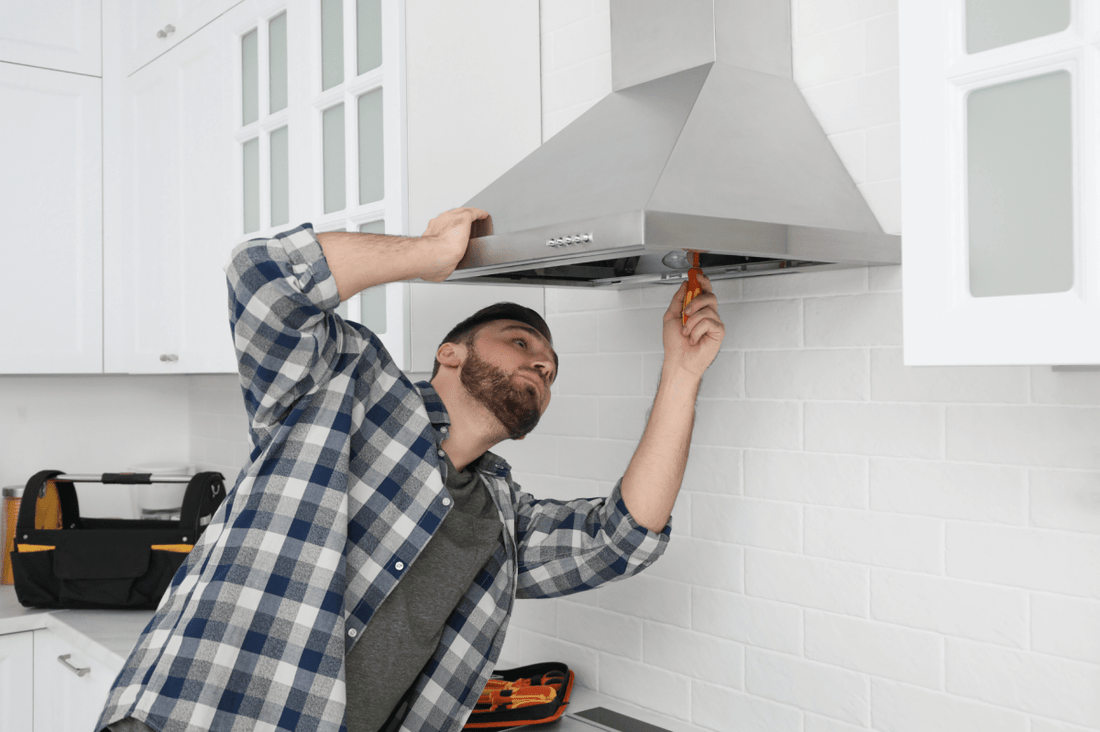
Are you tired of lingering cooking smells and steam filling up your kitchen? Installing an exhaust fan can be the simple fix you need to keep your kitchen fresh and comfortable.
But if you’re not sure where to start or worried about the process, don’t worry—you’re in the right place. In this guide, you’ll discover easy, step-by-step instructions to install an exhaust fan yourself, saving you time and money. Ready to breathe easier in your kitchen?
Let’s get started!
Choosing The Right Exhaust Fan
Choosing the right exhaust fanfor your kitchen is very important. Different types serve different needs. Here are some common types:
- Wall-mounted fans:Installed on a wall, good for small kitchens.
- Ceiling-mounted fans:Fixed on the ceiling, ideal for large kitchens.
- Inline fans:Hidden in ducts, very quiet and efficient.
Size and power matter for good ventilation. Fans are measured by CFM(Cubic Feet per Minute). Higher CFM means better airflow. Choose a fan with power matching your kitchen size.
Energy efficiency helps save money. Look for fans with an Energy Star rating. These fans use less electricity but work well. This keeps your kitchen fresh and reduces bills.
Tools And Materials Needed
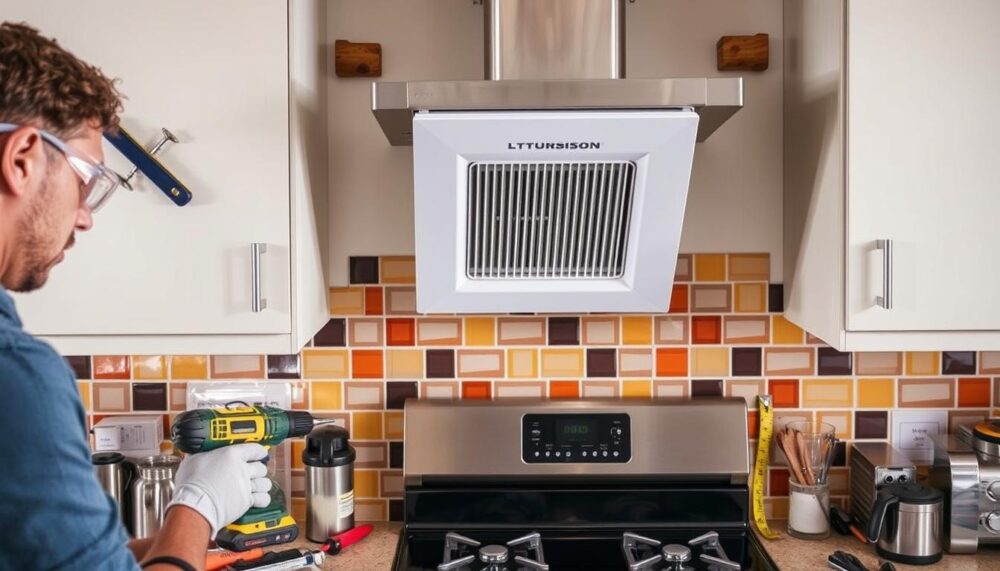
Essential tools include a drill, screwdriver, wire stripper, and measuring tape. Materials needed are the exhaust fan, electrical wires, ducting, and mounting brackets. Proper preparation ensures a smooth installation process.
Essential Tools
- Drill– to make holes in walls or cabinets.
- Screwdriver– for fixing screws.
- Measuring Tape– to measure space and fan size.
- Wire Strippers– for electrical wiring.
- Level– to keep the fan straight.
- Utility Knife– to cut drywall or insulation.
- Safety Glasses– to protect your eyes.
Materials And Accessories
| Material | Description |
|---|---|
| Exhaust Fan Unit | Main part that removes air and steam. |
| Mounting Brackets | Hold the fan in place securely. |
| Electrical Wires | Connect the fan to power supply. |
| Ducting | Channels air outside the kitchen. |
| Screws and Anchors | Fix fan and brackets to wall or ceiling. |
| Sealant | Prevents air leaks around ducting. |
Preparing The Installation Site
Choose a spot near the stove or cooking area for the exhaust fan. Make sure the location allows easy venting outside. Avoid places blocked by cabinets or pipes. The fan should be high enough to catch smoke and steam but not too close to the ceiling.
Use a tape measure to find the exact spot for the fan. Mark the wall or ceiling where the fan will go. Check the size of the fan and draw a shape that fits it. Double-check all measurements to avoid mistakes.
- Turn off power to the kitchen before starting work.
- Wear safety goggles and gloves to protect yourself.
- Use a sturdy ladder if needed to reach high places.
- Keep tools organized to prevent accidents.
- Make sure the area is clear of water or wet surfaces.
Credit: kitchen.services
Wiring And Electrical Setup
Power sourcemust be properly rated for the exhaust fan. Use a dedicated circuit breakerto avoid overloads. Ensure the voltagematches the fan’s specifications. Usually, a 120V supply is standard for kitchen fans.
Use insulated copper wiressuitable for kitchen use. Connect the live (hot), neutral, and groundwires correctly. Match wire colors: black or red for live, white for neutral, and green or bare for ground.
- Turn off power before starting wiring.
- Strip wire ends carefully to avoid damage.
- Use wire nuts to secure connections.
- Double-check all connections for tightness.
Test electrical connections by turning power on. Use a voltage testerto check for power at the fan terminals. Make sure the fan runs smoothly without sparks or noise. If there is any issue, turn off power and recheck wiring.
Mounting The Exhaust Fan
Mark the spot for the exhaust fan openingon the kitchen wall or ceiling. Use a level to keep the lines straight. Cut the opening carefully with a saw, following the marked lines. Make sure the hole matches the fan housing size exactly.
Fit the fan housinginto the opening. It should fit snugly without gaps. Check alignment and adjust if needed. Connect any ductwork to the housing before securing it in place.
Secure the fan unitusing screws or brackets provided. Tighten all fasteners firmly to avoid vibrations. Check the fan spins freely and is stable. Connect wiring according to instructions, ensuring power is off during work.
Ducting And Ventilation
Choosing the right duct is key for good air flow. Use rigid metal ductsfor best results. They are easier to clean and last longer. Avoid flexible plastic ducts as they can trap grease and reduce airflow.
Connect the ductwork tightly to avoid leaks. Use duct tape or clampsto secure all joints. Make sure the duct runs in a straight line to the outside. Bends and curves slow down airflow.
Proper venting outside is important to remove heat and odors. The vent should be placed where air can flow freely. Install a vent coverto keep out rain and pests. Ensure the vent outlet is not blocked by plants or walls.
Finishing Touches
Secure the fan firmly to avoid vibrations and noise. Check all connections for safety and proper airflow. Finish by sealing gaps and cleaning the area for a neat look.
Installing The Fan Cover
The fan cover needs to be placed over the fan. Make sure it fits snugly. Use screws to secure it. Ensure it doesn’t wobble.Sealing And Insulating
Seal any gaps around the fan. Use caulk or weather stripping. This stops air leaks. It also keeps out dust and insects. Insulation helps keep the kitchen energy efficient.Final Testing And Adjustment
Turn on the fan to test it. Listen for strange noises. Check if it wobbles. Adjust as needed. Ensure the fan removes smoke and odors. This keeps the kitchen fresh and clean. `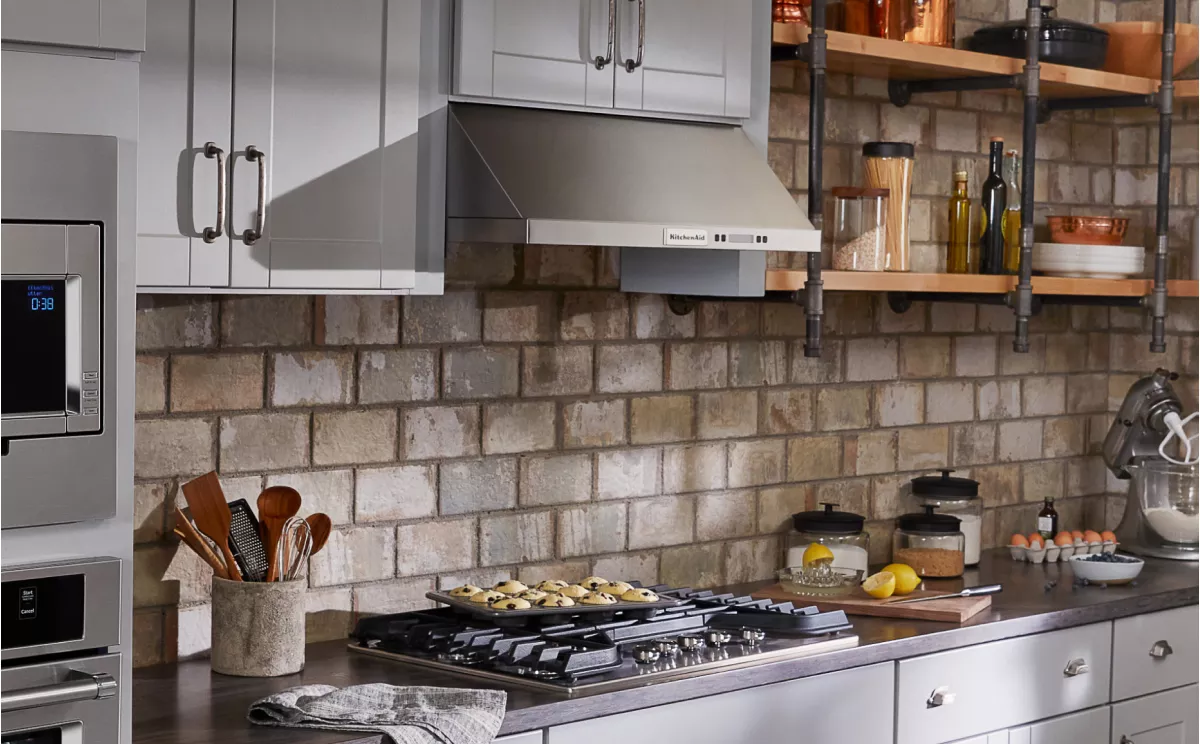
Credit: www.kitchenaid.com
Maintenance Tips
Properly installing a kitchen exhaust fan helps remove smoke and odors efficiently. Ensure the fan is securely mounted and connected to a power source for safe operation. Regularly clean the fan blades and vents to maintain good airflow and performance.
Cleaning The Fan
Cleaning the fan is easy. First, turn off the power. Use a soft cloth to wipe the blades. Remove any dust and dirt. Check the grill for grease. Use warm soapy water for tough spots. Dry everything well. Ensure no water drips inside.
Checking For Wear And Tear
Look at the fan blades closely. Are they bent or damaged? Listen for strange noises while the fan runs. Check the wires for any damage. Make sure all screws are tight. Loose screws can cause noise. Inspect the fan housing for cracks.
When To Replace Parts
Some parts might need replacing. If the motor is noisy, it may need replacement. Blades should be changed if bent. If the fan wobbles, check the mounting. Replace broken grills. Always use parts that fit your fan model. This ensures safe operation.
Credit: avorenovations.co.uk
Frequently Asked Questions
How Do I Choose The Right Kitchen Exhaust Fan?
Choose an exhaust fan based on kitchen size and cooking frequency. Check CFM rating for proper airflow. Opt for energy-efficient models to save power. Noise level matters; quieter fans improve comfort. Look for easy-to-clean features to maintain hygiene.
Where Should I Install A Kitchen Exhaust Fan?
Install the exhaust fan near the cooking area, above the stove or cooktop. It should vent outside to remove smoke and odors. Avoid placing it near walls or cabinets to ensure proper airflow. Proper height and clearance improve efficiency.
What Tools Are Needed To Install An Exhaust Fan?
You’ll need a drill, screwdriver, measuring tape, wire stripper, and ladder. Also, have a saw or hole cutter for wall or ceiling openings. Safety gear like gloves and goggles is essential. Follow manufacturer instructions for specific tool requirements.
How To Vent An Exhaust Fan Outside Correctly?
Use rigid or flexible ducting to connect the fan to an exterior vent. Avoid long or twisted ducts to maintain airflow. Seal all connections to prevent leaks. Install a vent cap with a damper to stop backdrafts and pests.
Conclusion
Installing a kitchen exhaust fan improves air quality and reduces odors. It helps keep your cooking space fresh and safe. Follow the steps carefully for the best results. Use proper tools and take safety precautions during installation. A well-installed fan works quietly and lasts long.
Regular cleaning keeps it efficient and reliable. Enjoy a cooler and cleaner kitchen every day. Simple changes make a big difference in your home. Ready to breathe easier while cooking?





