Is your Kitchenaid refrigerator water filter due for a change? You might be wondering how to do it yourself without calling in a professional.
Changing the water filter is a straightforward task that can significantly improve the taste and quality of your water. Clean, refreshing water is not just a luxury; it’s a necessity for your health and well-being. Imagine the peace of mind you’ll have, knowing that every drop you drink or use in cooking is free from impurities.
In this guide, you’ll discover simple steps to change your Kitchenaid refrigerator water filter, ensuring your family enjoys the purest water possible. Let’s dive in and make this quick and hassle-free!
Locate The Water Filter
Find the exact model numberof your KitchenAid refrigerator. It is usually on a label inside the fridge or on the door frame. The model number helps identify the correct water filter type.
Water filters are often in these places:
- Inside the refrigerator, near the top right corner
- In the base grille at the bottom front
- Behind the vegetable drawer
Check your user manual or KitchenAid website for specific filter locations by model. This ensures the right filter is found quickly.
Prepare For Replacement
Gathering the right toolsis important for a smooth filter change. You will need a wrenchor pliers to disconnect the water line. Keep a towelhandy to catch any drips. A new KitchenAid water filtershould be ready.
Turning off the water supply prevents leaks and spills. Find the water valvenear the refrigerator or under the sink. Turn it clockwise until it stops. Test by running the water dispenser. No water flow means the valve is closed.
Remove The Old Filter
First, locate the water filter inside the fridge. It usually sits in the upper right corner or near the base.
To release the filter lock, press the button or twist the filter counterclockwise gently. This action frees the old filter from its place.
Pull the filter straight out carefully. Avoid twisting too hard to prevent damage.
- Hold the filter with a firm grip.
- Keep a towel handy to catch any water drips.
- Dispose of the old filter properly.

Credit: www.searspartsdirect.com
Install The New Filter
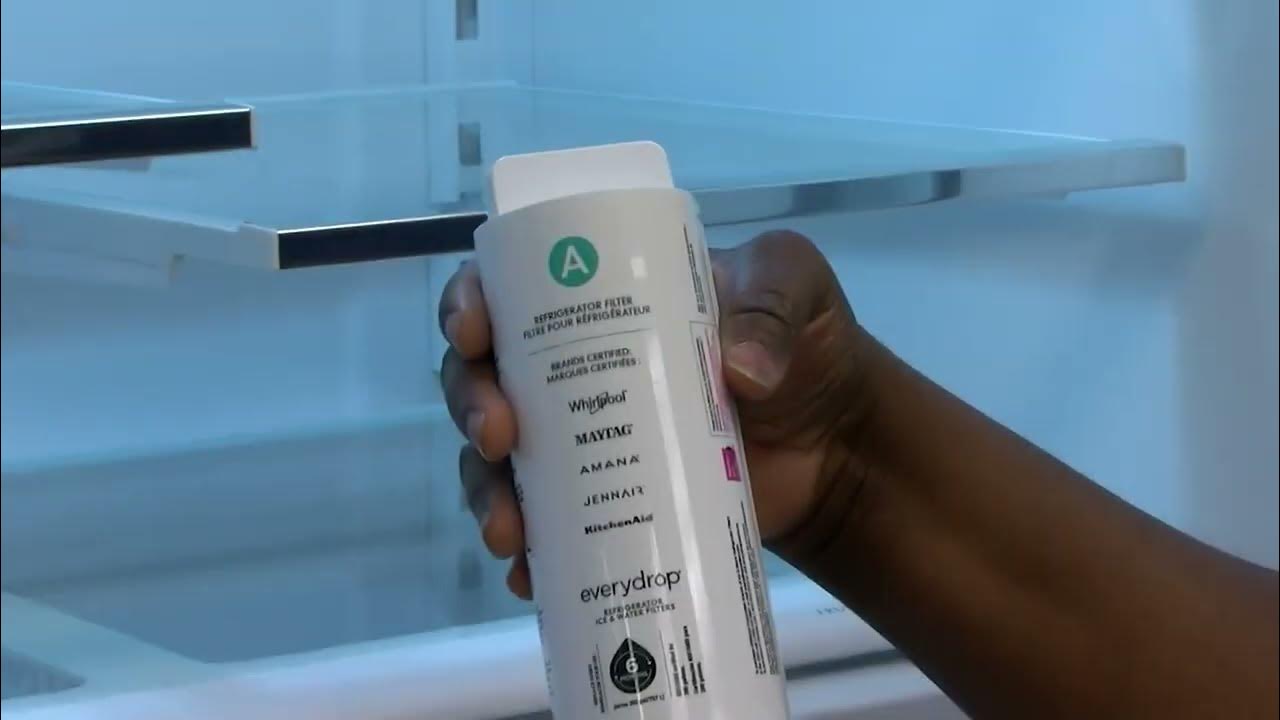
Remove the new filter from its packaging. Check for any damage or missing parts. Make sure the filter matches your KitchenAid refrigerator model. This step helps avoid installation issues later.
Locate the filter slot inside the fridge. Align the filter properly with the slot. Push the filter gently but firmly into place. Turn it clockwise until it clicks or locks securely.
Ensure the filter is fully seatedand does not move. A loose filter may cause leaks or poor water flow. After securing, run water through the dispenser for a few minutes to clear air and impurities.
Flush The New Filter
Flush the new filter by running water through the dispenser for 5 minutes. This clears out any loose particles or air. Use a large container to catch the water.
Check the water flow. It should be steady and clear. If the flow is slow, try flushing longer.
Look closely for leaks around the filter area. A small drip can cause bigger problems later.
- Make sure the filter is seated tightly.
- Wipe around the filter with a dry cloth.
- If leaks appear, remove and reseat the filter.

Credit: www.kitchenaid.com
Reset The Filter Indicator
Find the reset buttonon your KitchenAid refrigerator. It is usually near the water filter or on the control panel. This button helps clear the filter alertafter replacing the filter.
Press and hold the reset button for about 3 seconds. The filter indicator light should turn off or blink, showing the reset is done. If the light does not change, try holding the button a bit longer.
- Locate the reset button on the fridge.
- Press and hold for 3 seconds.
- Wait for the indicator light to turn off.
- If needed, try again.
Maintenance Tips
Water filters in KitchenAid refrigerators usually need changing every 6 months. This keeps the water clean and fresh. Some filters last up to 12 months, but checking the manual is best. The lifespan depends on how much water is used daily.
Early replacement is needed if the water tastes oddor has a strange smell. Slower water flow is another sign. If ice cubes look cloudyor have a strange taste, change the filter.
| Recommended Replacement Frequency | Signs to Replace Early |
|---|---|
| Every 6 months | Odd taste or smell |
| Up to 12 months (check manual) | Slow water flow |
| Depends on water usage | Cloudy or bad-tasting ice |

Credit: www.kitchenaid.com
Frequently Asked Questions
How Often Should I Change My Kitchenaid Water Filter?
You should change your Kitchenaid water filter every 6 months. This ensures clean water and optimal refrigerator performance. If water flow slows or taste changes, replace the filter sooner.
Where Is The Water Filter Located In Kitchenaid Refrigerators?
The water filter is usually inside the refrigerator compartment, near the top right corner or bottom grille. Check your user manual for exact location based on your model.
How Do I Reset The Water Filter Indicator Light?
After replacing the filter, press and hold the reset button for 3 seconds. This clears the indicator light and tracks the new filter’s lifespan accurately.
Can I Use Any Water Filter For Kitchenaid Refrigerators?
No, use only filters designed for Kitchenaid models. Using incompatible filters can cause leaks or poor filtration. Always check model compatibility before purchasing.
Conclusion
Changing the water filter in your KitchenAid refrigerator is simple. Regular replacement keeps water fresh and tastes better. Follow the steps carefully for best results. Doing this yourself saves time and money. Clean water means a healthier home for everyone.
Keep track of when to change the filter next. Enjoy clear, cold water anytime you want. Maintenance made easy.


