Is your Moen kitchen faucet leaking and driving you crazy? You’re not alone.
A leaky faucet can be frustrating, wasting water and money with every drip. But here’s the good news: you don’t need to be a plumbing expert to fix it. With a few simple tools and some guidance, you can repair your Moen kitchen faucet leak quickly and efficiently.
Imagine the peace of mind you’ll feel when that incessant drip is finally gone, and you can get back to enjoying your kitchen without worry. This guide will walk you through the steps to solve the problem, saving you time and helping you avoid costly plumber fees. Ready to take control and stop that leak for good? Let’s get started.

Credit: www.reddit.com
Identify Leak Source
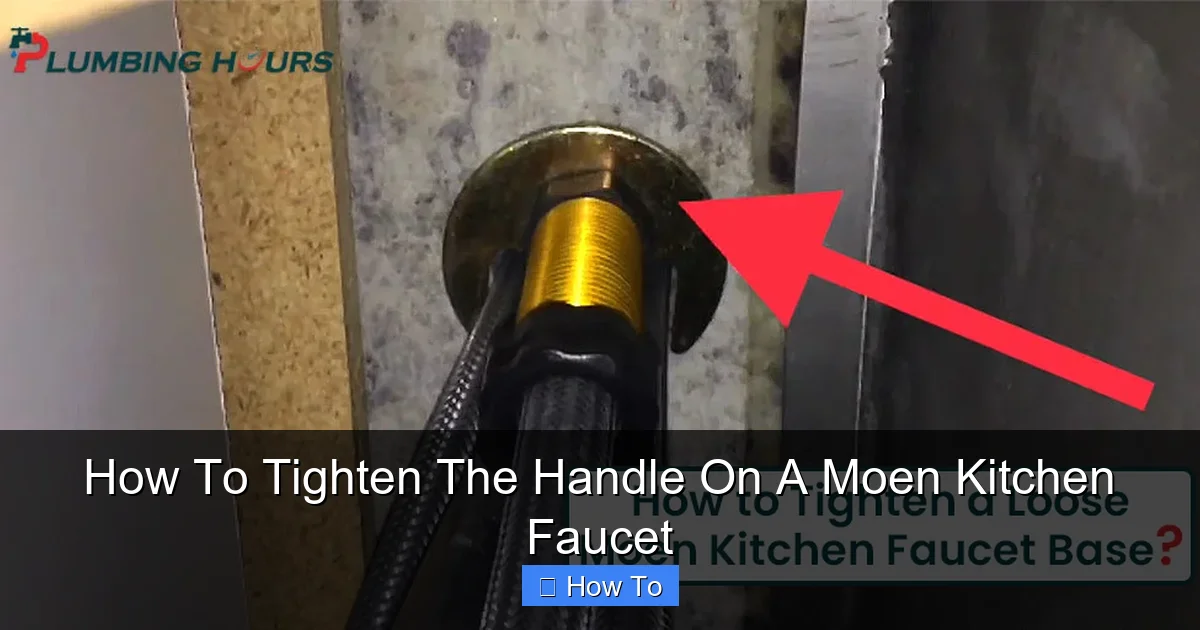
Check the faucet base for any water pooling or dampness. A leak here might mean a loose or worn seal. Tighten the mounting nuts under the sink if needed. Look for cracks or damage on the base as well.
Inspect the spout carefully. Water dripping from the spout often means worn-out washers or O-rings inside. Try moving the spout gently to see if it feels loose or wobbly. This can cause leaks too.
Examine the handle area closely. Water can leak from around the handle if the cartridge is damaged or old. Look for any cracks or water escaping when turning the handle. Tighten screws or replace the cartridge if needed.

Credit: www.youtube.com
Gather Tools And Materials
Gathering the right tools and materialsmakes fixing a Moen kitchen faucet leak easier. Essential tools include:
- Adjustable wrench
- Screwdriver (flathead and Phillips)
- Allen wrench set
- Pliers
- Replacement O-rings and cartridges
- Plumber’s grease
- Clean cloth
Choosing correct replacement partsis important. Identify your faucet model number. Use it to get parts that fit exactly.
Common parts to replace are:
- O-rings
- Cartridges
- Seals
Having these ready helps you fix leaks faster without extra trips to the store.
Shut Off Water Supply
First, find the water supply valvesunder the sink. These valves control water flow to the faucet. They are usually two small knobsor handles, one for hot water and one for cold.
Turn each valve clockwiseto close them. This stops water flowto the faucet. Check if water has fully stopped by opening the faucet.
If water still runs, try closing the main water valvein your home. This valve is often near the water meter or where water enters the house.
Disassemble Faucet
Start by locating the set screwon the handle. Use an Allen wrenchto loosen it. Gently pull the handle upwards to remove it.
Next, grasp the spout firmly. Twist or pull it straight up, depending on your faucet model. This will expose the internal parts.
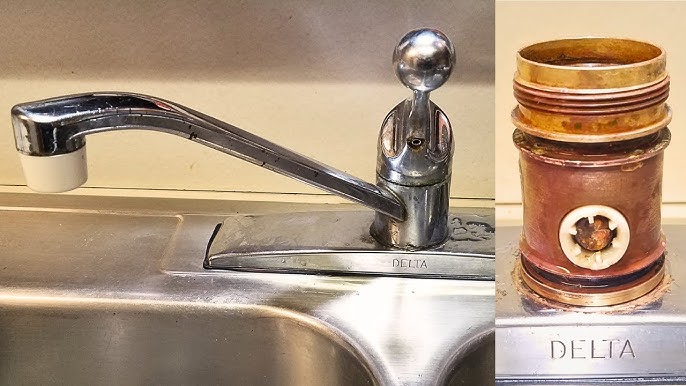
With the spout off, you can now access the cartridge, O-rings, and other components inside. Inspect each part for damage or wear.
Inspect And Replace Parts
Check the O-rings and sealsfor any cracks or wear. These small parts stop water leaks.
Replace the cartridgeif the faucet still leaks after fixing the seals. The cartridge controls water flow and temperature.
Remove the aeratorat the faucet tip. Clean it well to remove dirt and mineral buildup.
| Part | Action | Purpose |
|---|---|---|
| O-rings and seals | Inspect and replace if damaged | Prevent water from leaking |
| Cartridge | Replace if worn out | Control water flow and temperature |
| Aerator | Remove and clean | Fix water flow issues and splashing |
Reassemble Faucet
Place each part back in its correct spot carefully. Align the faucet pieces so they fit snugly. This helps stop leaks and keeps water flowing well.
Use a screwdriver or wrench to tighten screws. Make sure screws are tight but not too tight. Over-tightening can damage parts or cause leaks.
- Check each screw for firmness.
- Tighten screws evenly to avoid uneven pressure.
- Do not force screws if they resist.
Double-check that all parts move smoothly after tightening. This ensures the faucet works properly and no leaks occur.
Test For Leaks
Turn on the main water supplyunder the sink slowly. This helps avoid sudden pressure that may cause damage. Open the faucet handle to let water flow through the spout.
Watch the faucet carefully. Look for any drips or water leaksaround the base, spout, or handles. Check both hot and cold water sides.
- Listen for any unusual sounds like hissing or dripping.
- Look for water pooling under the sink cabinet.
- Observe if water flows smoothly without splashing.
Testing the faucet this way helps find the exact leak location. It also confirms if previous repairs worked well or need adjustment.
Prevent Future Leaks
Keep your Moen kitchen faucet working well with regular maintenance. Check for leaks often and tighten loose parts. Clean the aerator to stop water flow problems. Replace worn-out washers or O-rings quickly to avoid bigger leaks. Use a soft cloth and mild cleaner to prevent damage. Avoid harsh chemicals that can harm the faucet’s finish.
Watch for signs like constant dripping or low water pressure. These can mean internal parts need fixing. If leaks persist after simple fixes, it’s best to call a professional plumber. They have the right tools and skills to fix complex issues safely. Trying tough repairs alone might cause more damage or flooding.

Credit: www.reddit.com
Frequently Asked Questions
How Do I Fix A Leaking Moen Kitchen Faucet?
To fix a leaking Moen faucet, first turn off water supply. Remove the handle and cartridge. Inspect and replace worn parts like O-rings or cartridges. Reassemble and test for leaks. Using genuine Moen parts ensures better durability and fit.
What Tools Are Needed To Repair Moen Faucet Leaks?
You need an adjustable wrench, Allen wrench, screwdriver, pliers, and replacement parts. A towel helps catch drips. Having a flashlight aids in seeing small components. Using the right tools makes the repair easier and prevents damage.
Why Is My Moen Faucet Still Leaking After Repair?
Persistent leaks may result from improper installation or damaged parts. Check if the cartridge or O-rings are correctly seated. Ensure water supply valves are fully shut. Using non-genuine parts can also cause leaks. Reinspect or consult a professional if unsure.
Can I Repair Moen Faucet Leaks Without Professional Help?
Yes, many Moen faucet leaks are DIY-friendly. Follow step-by-step guides and use genuine Moen replacement parts. Basic tools and patience are key. If the leak persists or the repair seems complex, seek professional assistance to avoid damage.
Conclusion
Fixing a Moen kitchen faucet leak saves water and money. Start by turning off the water supply. Next, check the parts carefully for damage. Replace worn-out seals or cartridges as needed. Tighten connections to stop drips. Keep tools ready for quick fixes.
Small leaks can cause big problems over time. Take action early to avoid costly repairs. A steady faucet means less stress in your kitchen. Simple steps make your faucet work like new. Enjoy a leak-free sink every day!