Are you ready to take your pasta game to the next level? Making fresh pasta at home might sound tricky, but with your KitchenAid mixer, it becomes simple and fun.
Imagine biting into perfectly tender noodles you made yourself—no store-bought pasta can compare. In this guide, you’ll discover step-by-step how to turn basic ingredients into delicious pasta using your KitchenAid. By the end, you’ll feel confident creating restaurant-quality dishes right in your kitchen.
Let’s get started and make pasta that will impress everyone at your table!
Choosing The Right Ingredients
Choosing the right flour is keyfor pasta texture. Use 00 flourfor smooth, silky pasta. Semolina flour gives a firmer biteand a yellow color. You can mix flours to get the best of both.
Eggs add richnessand color. Use fresh eggsfor best taste. Liquids like water or olive oil help bind the dough. Measure liquids carefully to avoid sticky dough.
- Fresh herbs like basil or parsley add flavor.
- Grated cheese such as Parmesan enhances taste.
- Spices like pepper or nutmeg bring warmth.

Credit: www.amazon.com
Setting Up The Kitchenaid Mixer
First, make sure the Kitchenaid mixeris unplugged for safety. Attach the pasta rollerto the mixer’s power hub by tightening the screw firmly. The roller should feel secure but not forced.
Clean the mixer bowlthoroughly before use. Dry it well to avoid dough sticking. Use the dough hook attachment for mixing pasta dough.
- Keep hands clear of moving parts during operation.
- Do not overload the mixer with too much dough.
- Always unplug the mixer before changing attachments.
- Follow the manual for proper attachment fitting.
Making The Pasta Dough
Start by placing flourand eggsinto the mixer bowl. Use the dough hook attachment. Mix on low speed to combine ingredients evenly. Avoid overloading the bowl.
Turn the mixer to medium speed for kneading. Let the dough hook work for about 5 to 7 minutes. The dough should become smooth and elastic. Stop if dough sticks to the bowl too much.
Check the dough’s texture by pressing it gently. It should feel soft but not sticky. If too dry, add a teaspoon of water. If too wet, sprinkle a little flour. Adjust carefully to get the right feel.
Rolling The Dough Sheets
Start by setting the KitchenAid roller to the widest thickness. This helps flatten the dough gently. Pass the dough sheet through the roller without folding it first. Repeat this step 2-3 times. Then, adjust the roller to the next thinner setting. Keep feeding the dough through each setting once. Stop when the dough reaches your desired thickness. Thin sheets are best for delicate pasta like lasagna or ravioli.
Feed the dough slowly and evenly to avoid tears. Hold the dough firmly as it comes out. Use a light dusting of flour to stop sticking. If dough sticks, clean the roller and flour again. Avoid using too much flour as it can dry dough. Keep the dough cool to prevent sticking.
Cutting And Shaping Pasta
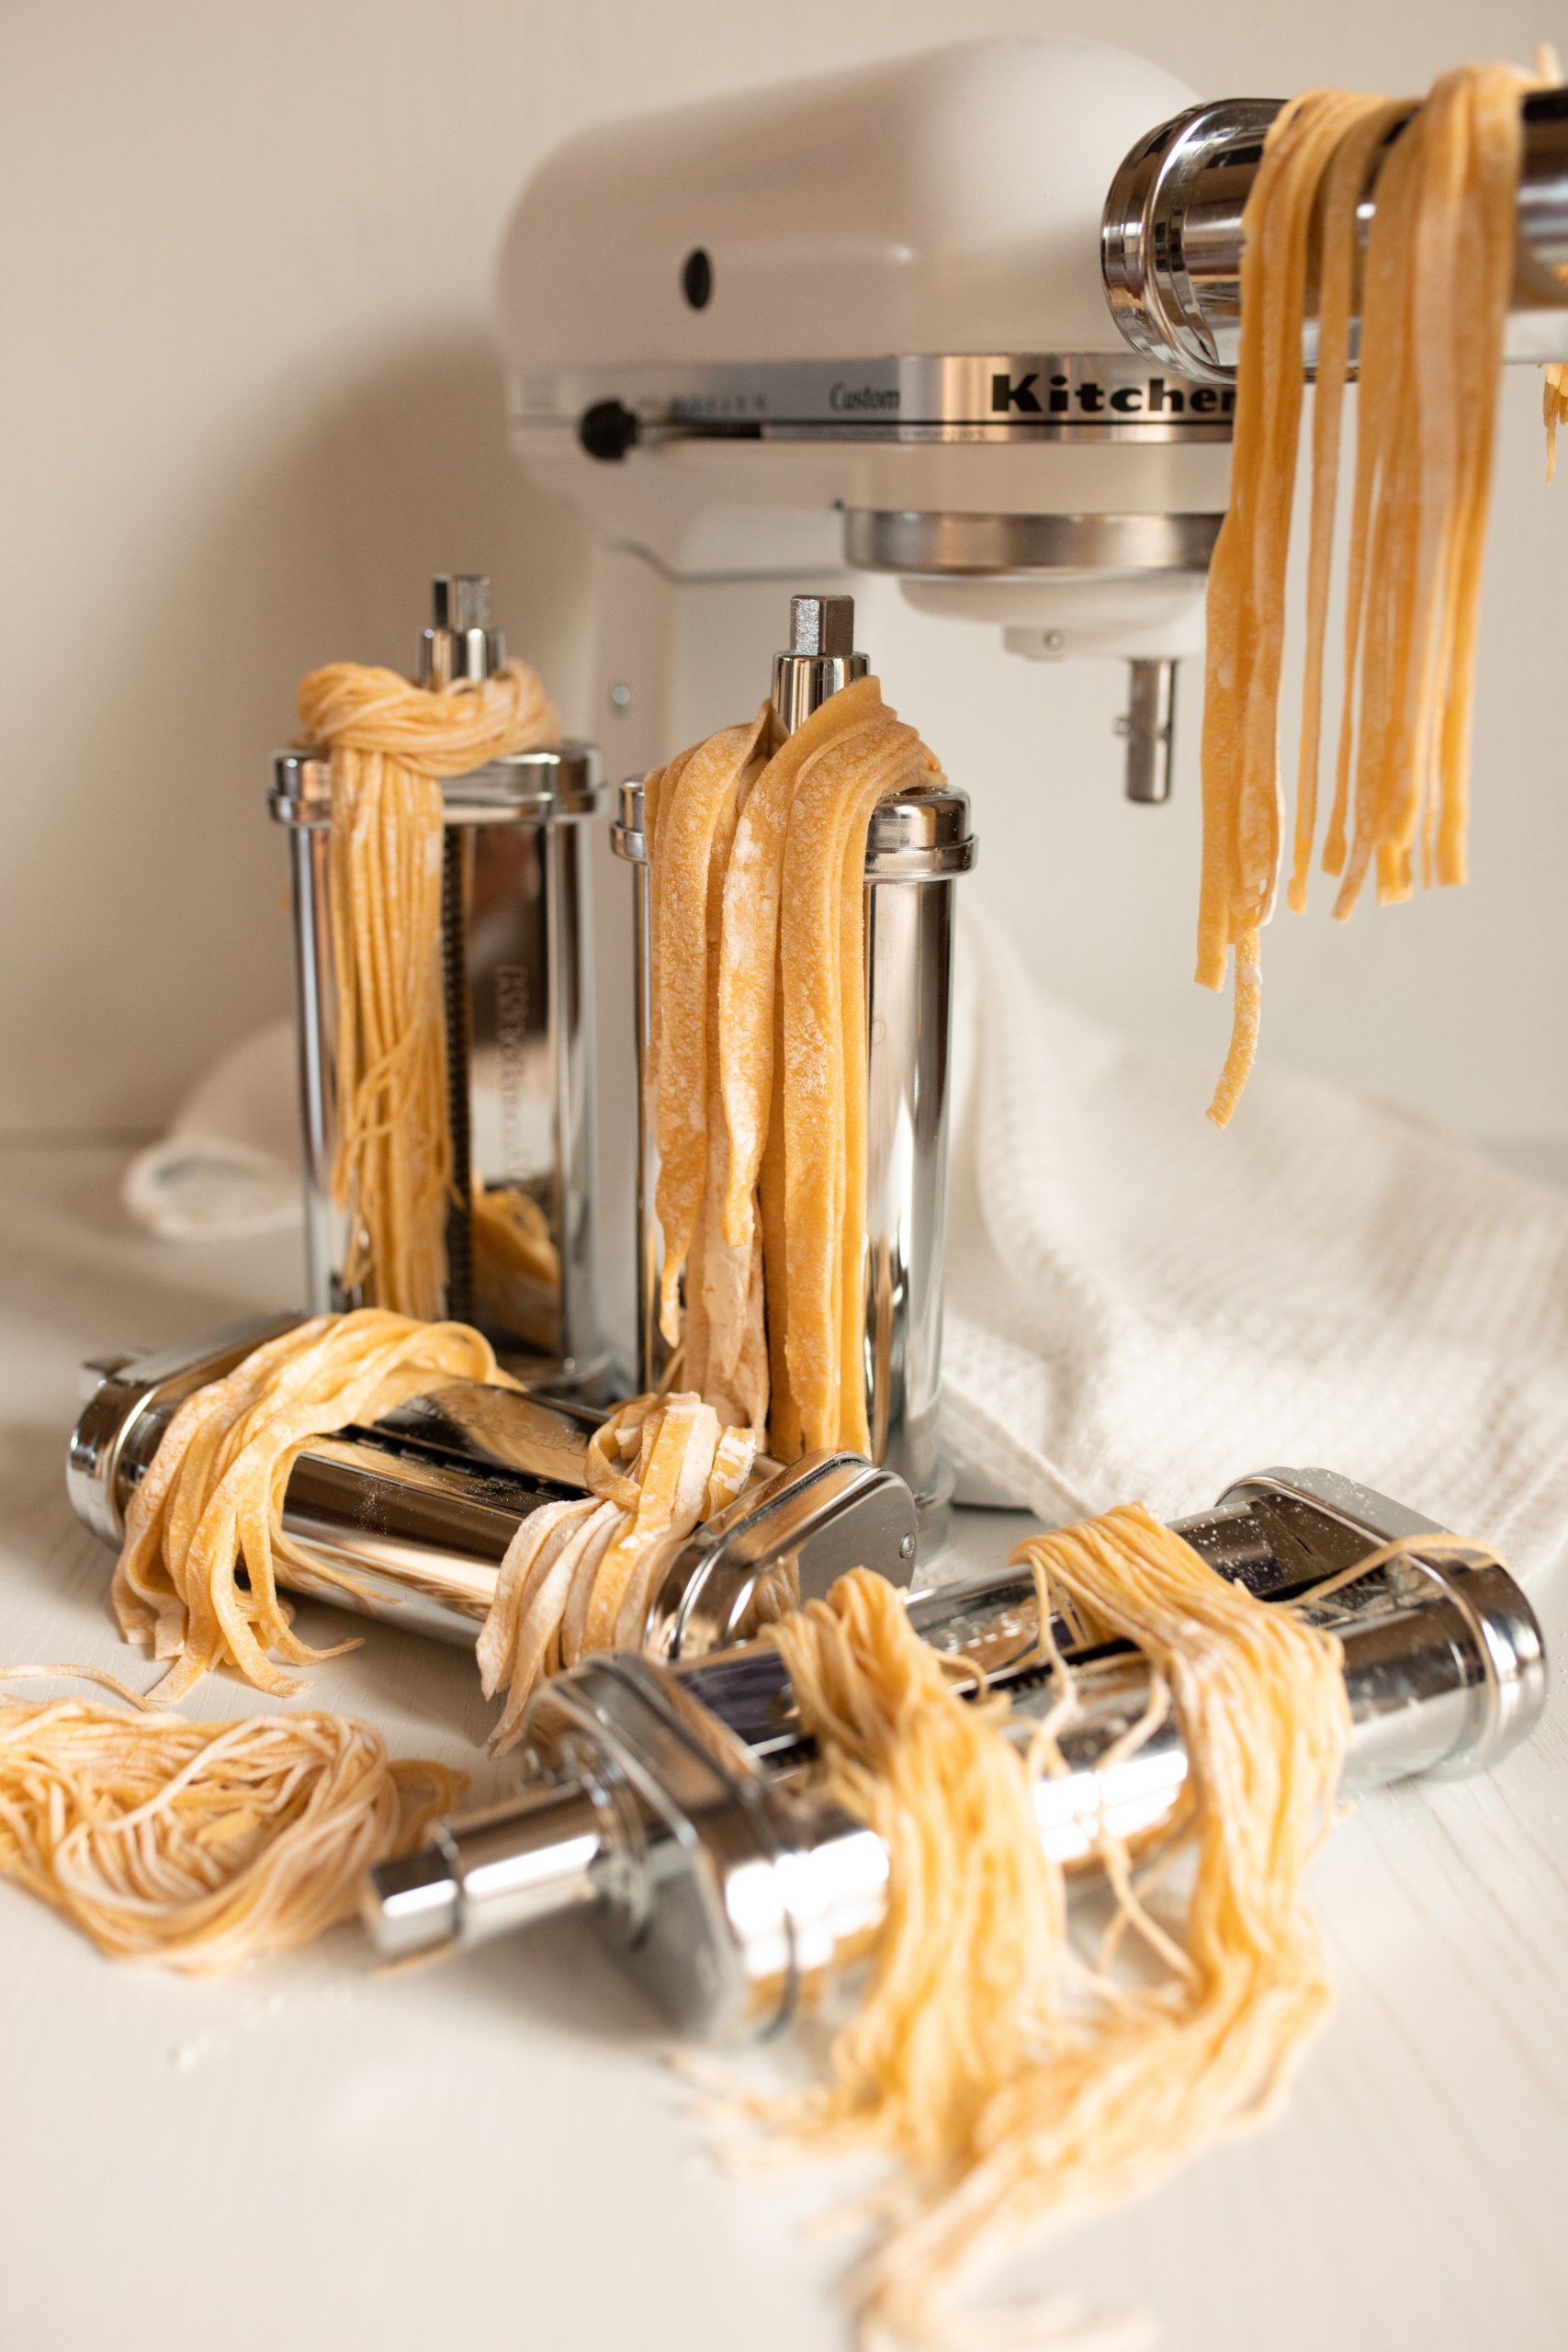
The pasta cutter attachmentfits easily onto the KitchenAid mixer. It helps to cut dough into perfect shapes fast. Attach it securely, then feed the dough through the rollers. Turn the mixer on low speed. The attachment will create even strips of pasta like fettuccine or spaghetti. You can adjust the thickness by changing the roller settings.
Hand-shaping pasta can be fun and creative. Use your hands to form shapes like ravioli, tortellini, or farfalle. Roll the dough thin, then cut into squares or circles. Fill with your favorite ingredients for stuffed pasta. Pinch edges tightly to seal. This technique is great for small batches or unique shapes.
| Drying Pasta | Storing Pasta |
|---|---|
|
|

Credit: www.youtube.com
Cooking And Serving Pasta
Fresh pasta cooks very fast. Use a large pot of boiling water. Add salt to make the pasta tasty. Drop pasta gently into the water. Stir often to stop sticking. Cook for 2 to 4 minutes until soft but firm. Drain pasta quickly to keep texture.
- Tomato-based sauces:Great with fresh pasta. Use simple marinara or meat sauce.
- Cream sauces:Rich and smooth. Alfredo or cheese sauces work well.
- Oil and herbs:Light and fresh. Olive oil, garlic, and basil are perfect.
Serve pasta on warm plates. Garnish with fresh herbs or grated cheese. Use a fork and spoon for twirling long pasta. Offer extra sauce on the side. Present food neatly for a nice meal.
Cleaning And Maintenance
Removing dough residueis important after making pasta. Use a soft brush or cloth to clean the attachments. Avoid using water on the mixer body. Dry the parts well before storing.
Storing attachmentsproperly keeps them safe and ready for use. Store each attachment in a dry place. Keep small parts together in a box or container to avoid loss.
Regular mixer carehelps your KitchenAid last longer. Wipe the mixer after each use. Check for any loose parts or damage. Oil the mixer gears once in a while, if needed.

Credit: www.youtube.com
Frequently Asked Questions
How Do I Attach Pasta Rollers To My Kitchenaid Mixer?
To attach pasta rollers, secure the mixer firmly. Insert the pasta roller attachment into the power hub. Tighten the attachment knob to lock it. Ensure it’s stable before use to avoid damage or uneven pasta sheets.
What Dough Ingredients Work Best For Kitchenaid Pasta?
Use flour, eggs, salt, and a bit of olive oil. All-purpose or “00” flour yields smooth, elastic dough. Avoid overly sticky or dry dough for easy rolling and consistent pasta texture.
How To Adjust Pasta Thickness With Kitchenaid Mixer?
Use the dial on the pasta roller to change thickness. Start thick and gradually reduce for thinner sheets. Always roll dough evenly for best pasta shape and cooking quality.
Can I Make Different Pasta Shapes With Kitchenaid?
Yes, use specific pasta attachments like spaghetti or fettuccine cutters. Attach them after rolling dough sheets. This helps create various pasta types easily at home with your mixer.
Conclusion
Making pasta with a Kitchenaid mixer is simple and fun. Follow the steps, and you’ll have fresh pasta quickly. Enjoy experimenting with different pasta shapes. Try adding herbs or spices for extra flavor. Homemade pasta adds a personal touch to meals.
It tastes better than store-bought options. Impress friends and family with your pasta-making skills. Share your creations and enjoy the compliments. Happy cooking!


