Are you ready to transform your kitchen with a fresh, stylish backsplash? Installing backsplash tile is one of the easiest and most affordable ways to add personality and protect your walls from spills and splashes.
But if you’ve never done it before, the idea might feel overwhelming. Don’t worry—this guide will walk you through every step, making the process simple and even fun. By the end, you’ll have the confidence to create a beautiful backsplash that reflects your style and makes your kitchen truly shine.
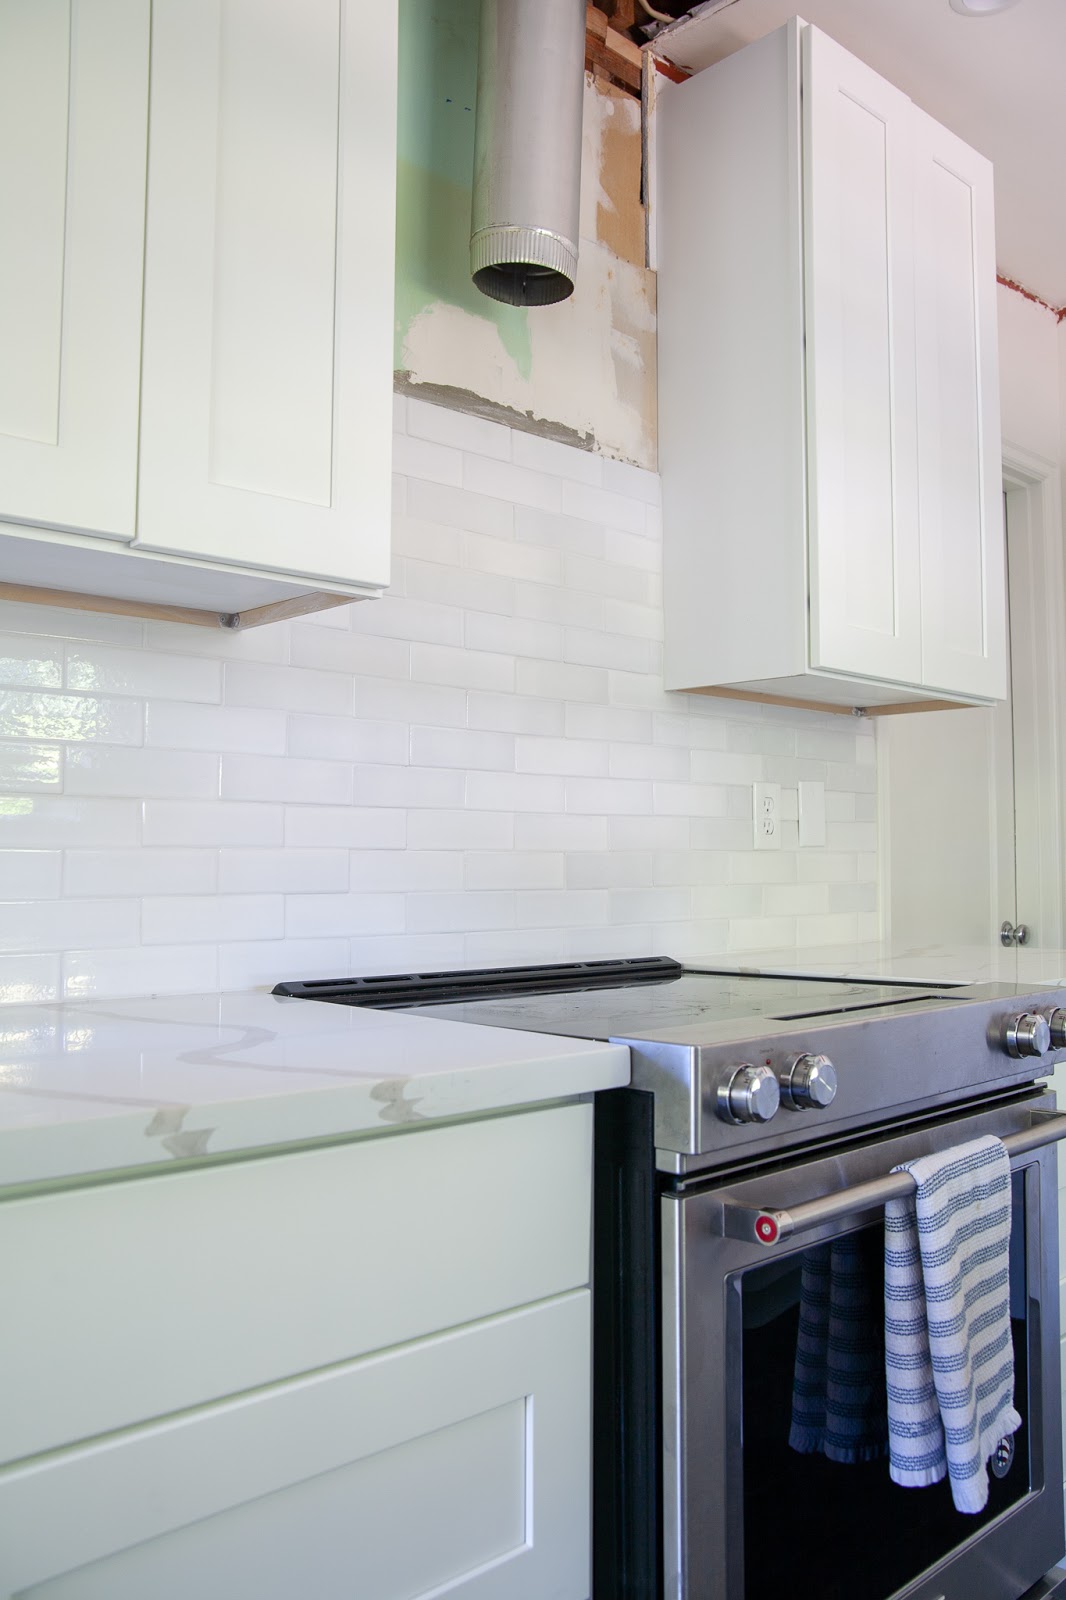
Keep reading to discover how you can get started right now!
Tools And Materials Needed
Essential tools make backsplash tile installation easier and precise. You will need:
- Tile cutter or wet sawto cut tiles to fit walls.
- Notched trowelto spread adhesive evenly.
- Tile spacersfor consistent gaps between tiles.
- Levelto keep tiles straight.
- Measuring tapefor accurate measurements.
- Rubber floatto apply grout smoothly.
- Spongefor cleaning excess grout.
Choosing the right tiles depends on style and durability. Ceramic and porcelain tiles are popular. Glass tiles add shine but need careful handling. Pick tiles that resist moisture and stains.
Adhesives and grouts hold tiles in place and fill gaps. Use a thin-set mortarfor strong adhesion. Select grout color that matches or contrasts tiles. Epoxy grout is durable but harder to clean.

Credit: designingvibes.com
Preparing The Wall
Cleaning the surfaceis very important before installing backsplash tile. Remove all dust, grease, and dirt using a mild cleaner. Make sure the wall is dry. This helps the tile stick better.
Repairing imperfectionsmakes the wall smooth. Fill holes or cracks with spackle or putty. Let it dry fully. Sand the area to make it flat. A smooth wall prevents tiles from cracking later.
Measuring and markingkeeps tiles in line. Use a tape measure to find the center of the wall. Mark a straight horizontal line with a pencil. This line guides tile placement and keeps them even.
Planning The Layout
Dry laying tileshelps you see how the tiles fit before glueing. Arrange them on the wall or floor to check the pattern and spacing. This step avoids surprises and saves time during installation.
Aligning patternsis key for a neat look. Make sure tiles match up at edges and corners. Use a level or straight edge to keep rows straight. Good alignment makes the backsplash look professional.
Cutting tiles to fitis needed around outlets, corners, or edges. Use a tile cutter or wet saw to make clean cuts. Measure carefully before cutting to avoid waste. Smooth edges with a tile file for safety.

Credit: southernhospitalityblog.com
Applying Adhesive
Choosing the right adhesiveis key for a strong backsplash. Use thin-set mortarfor ceramic or porcelain tiles. For glass or natural stone, mastic adhesiveworks better. Check the adhesive label to match it with your tile type.
Spreading techniqueshelp the adhesive stick well. Use a notched trowelto spread the adhesive evenly. Hold the trowel at a 45-degree angle. This creates small ridges that help tiles grip better.
Working in sectionskeeps the adhesive fresh and sticky. Spread adhesive only on a small area at a time. This way, tiles can be placed before the adhesive dries out. It also helps keep the work neat and tidy.
Setting The Tiles
Place the first tile at the center of your backsplash area. This helps keep tiles even on both sides. Use a level to make sure the tile is straight.
Use tile spacers between tiles. Spacers keep gaps the same size. This makes grout lines look neat and uniform.
Check each tile for alignment. Adjust tiles before the adhesive dries. Tap tiles gently with a rubber mallet to level them.
Keep an eye on the rows. Each row should line up well with the one below it. This avoids a crooked tile pattern.

Credit: www.create-enjoy.com
Grouting The Tiles
Fill the gaps between tiles with grout using a rubber float. Press firmly to ensure all spaces are sealed. Wipe away excess grout with a damp sponge for a clean finish.
Mixing The Grout
Start by pouring grout powder into a bucket. Add water slowly. Stir until it’s smooth. The mix should be like thick peanut butter. Let it sit for a few minutes. This is called slaking. Then, stir again before using. Wear gloves to protect your hands.
Applying And Smoothing
Use a rubber float to spread grout. Hold the float at an angle. Press grout into tile gaps. Work in small sections. Move the float diagonally. This helps fill the gaps well. Once filled, hold the float upright. Remove extra grout from tiles.
Cleaning Excess Grout
Take a damp sponge. Wipe tiles gently to remove extra grout. Rinse the sponge often. Do not use too much water. Let the grout dry for a bit. Buff tiles with a soft cloth. This makes them shine. Check for any missed spots.
Finishing Touches
Sealing the groutprotects your backsplash from stains and moisture. Use a grout sealer with a small brush or sponge. Apply evenly and wipe off excess quickly. Let it dry fully before touching the tiles.
Installing edge trimsgives a clean, finished look to your backsplash edges. Cut trims to size using a hacksaw. Attach trims with tile adhesive or silicone. Press firmly for a tight fit.
Final cleaningremoves any grout haze and leftover dust. Use a damp sponge and gentle cleaner. Wipe tiles carefully without scrubbing hard. Dry with a soft cloth to avoid streaks.
Maintenance Tips
Regular cleaningkeeps your backsplash looking fresh. Use a soft cloth and mild soap. Avoid harsh chemicals that can damage tiles. Wipe spills quickly to stop stains from setting. Dry tiles after cleaning to prevent water spots.
Preventing stainsmeans acting fast. Avoid letting grease or food sit on tiles. Use a splash guard when cooking. Seal grout lines yearly to keep moisture out. This helps tiles stay bright and clean longer.
Repairing damaged tilesis simple. Remove cracked or loose tiles carefully. Clean the area well before placing new tiles. Use tile adhesive to fix new pieces in place. Match grout color to keep the look neat. Small repairs stop bigger problems later.
Frequently Asked Questions
What Tools Do I Need To Install Kitchen Backsplash Tile?
You need a tile cutter, adhesive, trowel, spacers, level, grout float, sponge, and a measuring tape. Safety gear like gloves and goggles is also recommended.
How Long Does It Take To Install Backsplash Tile?
Installation typically takes 1 to 2 days, including drying and grouting time. Complexity and tile type may affect the duration.
Can I Install Backsplash Tile Myself?
Yes, with basic DIY skills and proper tools, you can install backsplash tile yourself. Careful preparation and patience are key.
What Type Of Adhesive Is Best For Backsplash Tiles?
Thin-set mortar or mastic adhesive works best for kitchen backsplash tiles. Choose one compatible with your tile material for strong bonding.
Conclusion
Installing backsplash tile in your kitchen adds style and protects walls. Follow each step carefully for best results. Take your time to measure, cut, and place tiles correctly. Clean the surface well before starting the installation. Use the right adhesive and grout for a strong hold.
Small details like spacing and alignment matter a lot. Enjoy the fresh look and easy-to-clean surface. A new backsplash can brighten your kitchen space instantly. You can do this project yourself with patience and care. Ready to give your kitchen a simple upgrade?


