Have you ever admired the elegant touch crown molding adds to kitchen cabinets? It’s the secret ingredient that transforms ordinary cabinets into a centerpiece of sophistication and style.
Imagine walking into your kitchen each day and being greeted by the graceful lines and refined finish that crown molding provides. You might think this upgrade requires professional help, but the truth is, you can do it yourself. Why leave your kitchen lacking that special flair when you can effortlessly elevate its design?
In this guide, you’ll discover the simple steps to install crown molding on your kitchen cabinets. You’ll learn how to achieve a seamless look that impresses guests and enhances your home’s value. Ready to make your kitchen the envy of all who enter? Let’s dive in and unlock the secrets to perfect crown molding installation!

Credit: www.familyhandyman.com
Choosing The Right Crown Molding
Choosing the Right Crown Molding Enhance your kitchen by selecting crown molding that complements your cabinets. Consider size and style for a perfect fit. Proper installation adds elegance and value to your kitchen space.
Materials And Styles
Crown molding comes in various materialslike wood, plaster, and MDF. Each material has its own strengthsand looks. Wood is classic and strong. Plaster offers elegant designs. MDF is affordable and easy to work with. Stylesvary, from simple lines to detailed designs. Choose one that matches your kitchen decor. Look at the colors and shapes in your kitchen. Match them for a balancedlook.
Measuring And Planning
Measurecarefully to fit the molding perfectly. Use a tape measurefor accurate results. Measure the length of each cabinet top. Write down the numbers. Plan where each piece will go. Check corners and edges for fit. Thinkabout how the molding will connectat corners. Get more molding than needed. This allows room for mistakes. Planning well saves time and makes the job easier.
Gathering Necessary Tools
For installing crown molding, gather these essential tools:
- Measuring tapefor accurate measurements.
- Miter sawto cut angles precisely.
- Wood gluefor secure bonding.
- Nail gunto attach molding firmly.
- Sandpaperto smooth rough edges.
These tools help make the task easier and neat.
Using the right safety gear is very important:
- Safety gogglesprotect your eyes from dust.
- Ear protectionshields ears from loud noise.
- Work gloveskeep your hands safe.
- Dust maskprevents breathing in particles.
Always wear these to stay safe while working.
Preparing The Cabinets
Ensure cabinets are clean and free of dust. Sand surfaces gently for better adhesion. Securely attach any necessary supports before installation.
Cleaning And Sanding
Start by removing dust and grease from cabinets. Use a damp cloth for cleaning. Ensure surfaces are smooth for molding. Sand with fine-grit paper. This helps the crown molding stick better. Always wear a mask when sanding. This keeps dust away from your face.
Marking Installation Points
Use a pencil to mark the spots. Mark where the molding will go. Ensure marks are straight and even. Use a ruler or tape measure. Double-check your marks before proceeding. This avoids mistakes during installation.

Credit: www.thisoldhouse.com
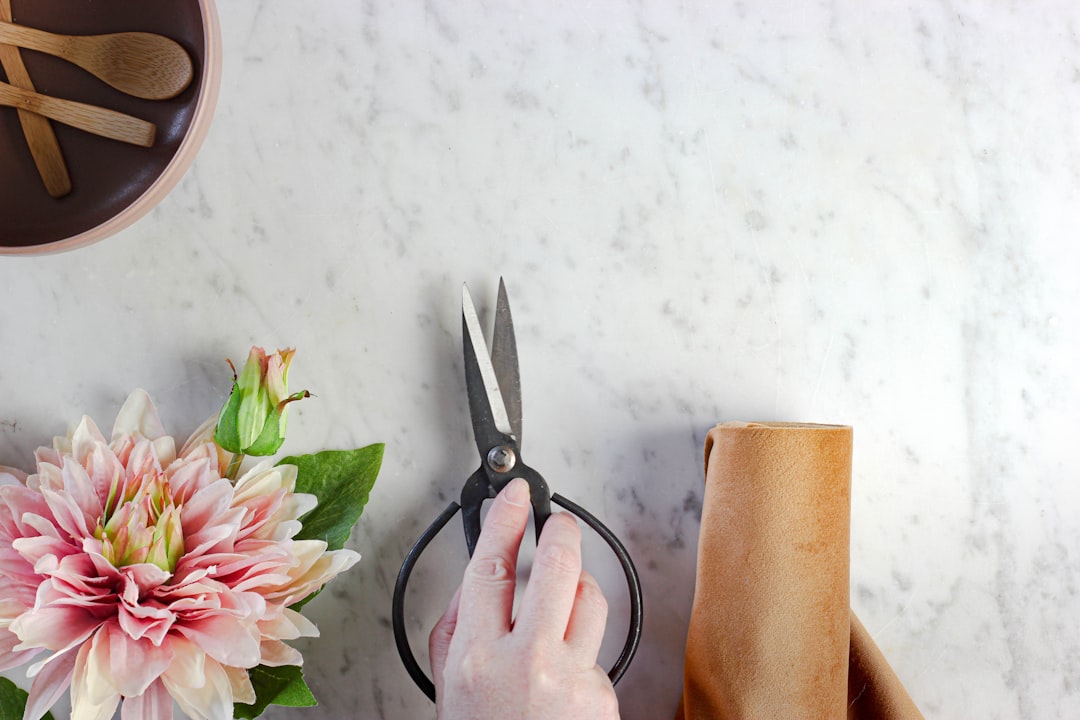
Cutting The Molding
Accurate cutting is essential for fitting crown molding on kitchen cabinets. Measure carefully and cut at precise angles. The right cuts ensure seamless joints and a professional finish.
Measuring Angles
Measure the corners of the cabinets. Use a protractor for accuracy. Write down the measurements. This will help when cutting. Make sure the angles are precise. Every degreematters. Mistakes can lead to gaps. Accurate measurements ensure a neat finish.
Using A Miter Saw
Set the miter saw to the correct angle. Check your notes before cutting. Hold the molding firmly. Make a straight cut. Safety is important. Always wear goggles. Keep hands away from the blade. Use the saw with care. Strong cuts make for better fits.
Installing The Molding
Enhance your kitchen by adding crown molding to cabinets. Begin by measuring the cabinet top edges. Carefully cut the molding to fit and secure with nails or adhesive.
Aligning The Pieces
Align the pieces carefully to fit the cabinet edges. It’s important to match corners perfectly. Use a miter sawfor precise cuts. Check the fit before securing. Adjust if necessary. Accuracyis key for a neat look. Double-check each joint. Ensure no gaps are visible. Measure twice, cut once. This saves time and materials. Proper alignment makes installation easier.
Securing With Nails
Use finishing nailsto secure the molding. Hammer gently to avoid damage. Nails should be evenly spaced. This prevents the molding from shifting. Start from one end and move to the other. Keep the molding pressed firmly while nailing. This ensures a tight fit. Use a nail punch to sink nail heads. Cover with wood filler for a smooth finish. Safety glasses protect eyes during nailing.

Credit: www.youtube.com
Filling Gaps And Seams
Seamless crown molding enhances kitchen cabinets, creating a polished look. Fill gaps and seams for a flawless finish. Use caulk and wood filler to ensure smooth transitions and professional results.
Using Caulk Or Wood Filler
Choose between caulkor wood fillerto fill gaps. Caulk works well for small spaces. Wood filler is better for larger gaps. Apply the chosen material with care. Use a putty knifeor your finger. Ensure the material is smooth. Let it dry completely.
Sanding For A Smooth Finish
Use sandpaper for a smooth finish. Start with fine gritsandpaper. Sand the filled areas gently. Check for a smooth surface. Feel with your fingers. Wipe away dust with a clean cloth. Repeat if needed. Be patient and careful.
Painting Or Staining
Enhance kitchen cabinets with crown molding, offering elegance and style. Choose painting or staining for a seamless finish. Both options add depth and character, while highlighting craftsmanship.
Choosing The Right Finish
Picking the right finish is important. Glossy finishes make cabinets shine. Matte finishes give a soft look. Semi-gloss is a good middle choice. It balances shine and softness. Think about your kitchen’s style. Match the finish to your decor. Dark colors hide dirt better. Light colors make spaces look bigger. Choose what suits your needs.
Application Techniques
Use a brush for small areas. A roller works for big surfaces. Spray guns give a smooth finish. Practice makes perfect. Always apply thin coats. Let each coat dry before the next. Sand lightly between coats. This makes the surface smooth. Clean tools after use. Proper care makes tools last longer.
Maintaining Crown Molding
Installing crown molding on kitchen cabinets enhances their elegance. Measure accurately, cut precisely, and attach securely. Ensure corners fit snugly for a polished look.
Regular Cleaning Tips
Use a soft cloth to clean the crown molding. Dust can make it look dull. A gentle cleaner helps to remove any sticky spots. Be careful with water. Too much can damage the wood. Clean at least once a month to keep it shiny. Look for cobwebs and wipe them away. Cleaning keeps the molding looking new and fresh. Pay attention to corners and edges. Dirt can hide there easily. Regular care makes a big difference.
Repairing Damage
Small cracks can be fixed with wood filler. Apply it gently and let it dry. Sand the area until smooth. Paint over it to match the rest of the molding. For bigger damage, call a professional. Loose molding needs extra care. Use nails or adhesive to secure it. Check regularly for any new damage. Keeping an eye on it prevents bigger problems. Simple repairs keep the molding in great shape.
Frequently Asked Questions
How To Measure For Crown Molding?
To measure for crown molding, first measure the length of each cabinet edge. Consider corner angles for accurate cuts. Then, add extra length for miter cuts. Proper measurements ensure a seamless fit, enhancing the kitchen’s aesthetic.
What Tools Are Needed For Installation?
You’ll need a miter saw, tape measure, nail gun, and safety gear. A level ensures precise alignment. These tools make installation easier and more efficient, ensuring professional-looking results. Proper tools are essential for smooth and accurate installation.
Can Beginners Install Crown Molding?
Yes, beginners can install crown molding with proper guidance and patience. Start with accurate measurements and practice miter cuts. Follow step-by-step instructions. Take your time to ensure a quality finish. With careful attention, beginners can achieve impressive results.
Why Add Crown Molding To Cabinets?
Crown molding adds elegance and sophistication, enhancing kitchen cabinet aesthetics. It offers a polished, finished look to your space. Molding can also hide cabinet imperfections, making your kitchen appear more custom and high-end.
Conclusion
Installing crown molding on kitchen cabinets enhances their look. It adds elegance and charm to any kitchen. Follow the steps carefully for a neat finish. Measure twice to avoid errors. Use quality materials for lasting results. Patience and precision are key.
Practice makes it easier each time. Soon, you’ll enjoy your stylish kitchen upgrade. Remember, every project is a learning experience. Don’t rush the process. Take your time to achieve the best outcome. Happy decorating!


