Is your kitchen faucet dripping incessantly, keeping you up at night or spiking your water bill? Or perhaps it’s starting to feel loose, making dishwashing a hassle?
A malfunctioning faucet is more than just an annoyance; it’s a problem begging for a solution. You might think fixing it is a job for a professional, but what if you could tackle it yourself with just a few simple tools and steps?
Imagine the satisfaction of solving this household issue on your own, not to mention the money you could save. You’ll discover how easy it can be to fix your kitchen faucet, empowering you to take control of your home repairs. Let’s dive in and transform that dripping frustration into a smooth-running fixture once more.
Tools And Materials Needed
Having the right tools and materials is important. For fixing a kitchen faucet, you will need a few things. A wrench is a must-have tool. It helps you loosen and tighten parts easily. Keep a screwdriver handy for screws. A pair of pliers can be useful too.
Don’t forget a towel or rag. It helps clean up any water spills. You will also need a bucket. It catches water if the faucet leaks. Make sure you have replacement parts. This could be washers or a cartridge.
Having all tools ready saves time. A smooth repair needs preparation. Gather everything before starting. This helps you fix the faucet quickly.
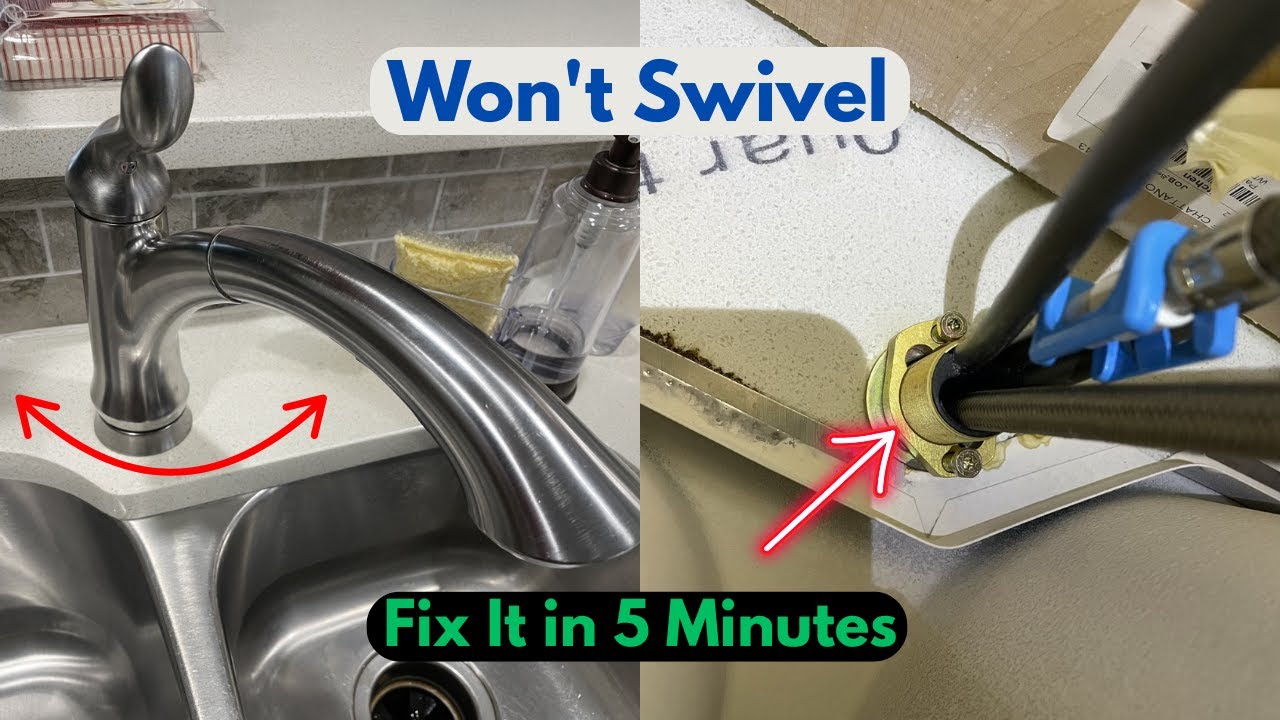
Identifying The Problem
Identifying the problem is crucial for fixing a kitchen faucet. Check for leaks, unusual noises, or low water pressure. Understanding the specific issue helps in selecting the right tools and methods for repair.
Leaking Faucet
A leaking faucet wastes water and raises bills. Check the faucet’s base and spout. Tighten loose parts with a wrench. Replace worn-out washers or O-rings. These small parts often cause leaks. Don’t ignore tiny drips. They might lead to bigger problems.
Low Water Pressure
Low water pressure makes tasks take longer. First, check the aerator. Sediment can block it. Unscrew it and clean it well. If pressure stays low, inspect the supply lines. Kinks or twists might be the reason. Replace damaged lines for better flow.
Unusual Noises
Unusual noises can be annoying. They might mean trapped air. Check the valves under the sink. Turn them off, then on. This can clear air from the lines. If noises persist, inspect for loose parts. Tightening them may solve the problem.
Shutting Off Water Supply
Find the water shut-off valvesunder the sink. These are usually round knobsor lever handles. Turn them clockwise to close the water flow. Make sure the valves are completely tight. Check both hot and cold water valves. Once shut off, test the faucetto ensure no water is flowing.
Credit: www.tiktok.com
Disassembling The Faucet
First, turn off the water supply. This prevents leaks. Locate the screw on the handle. It might be hidden under a cap. Use a screwdriver to remove the screw. Gently pull the handle off. Some handles might need extra force. Be careful not to damage anything.
After removing the handle, find the retaining nut. Use a wrench to unscrew the nut. This will expose the cartridge. The cartridge is important for water flow. Pull it out carefully. You might need pliers for this. Check for any damage or wear. Replace if necessary. This ensures smooth operation.
Replacing Faulty Parts
Replacing faulty parts is essential when fixing a kitchen faucet. Identify the malfunctioning component, gather tools, and follow repair instructions carefully. Ensure all parts are securely tightened and properly aligned to prevent leaks.
Installing A New Cartridge
Turn off the water supply first. Remove the handle using a screwdriver. Take out the old cartridge carefully. Check for damage or wear. Insert the new cartridge in the same position. Make sure it fits snugly. Reattach the handle securely. Turn on the water supply. Test the faucet for leaks. Enjoy your fixed faucet.
Replacing Washers And O-rings
Turn off the water supply completely. Remove the faucet handle and spout. Locate the washers and O-rings. Inspect them for damage or wear. Replace worn washers with new ones. Change any damaged O-rings too. Ensure they fit correctly. Reassemble the faucet parts. Tighten all screws properly. Turn on the water supply again. Check for any leaks. Your faucet should work perfectly now.

Credit: www.youtube.com
Reassembling The Faucet
Begin by placing the cartridgeback into the faucet. Ensure it sits correctly. Align it with the grooves. Next, insert the retaining nut. Tighten it using a wrench. This keeps the cartridge secure.
Attach the handleto the cartridge. Make sure it fits snugly. Secure it with the screws. Use a screwdriver for this task. Check if the handle moves smoothly. If not, adjust it slightly.
Reinstall the decorative cap. It covers the handle screws. Push it firmly into place. Ensure there are no gaps. Finally, test the faucet. Turn the water on. Check for any leaks. If all is well, your faucet is ready to use.
Turning On Water Supply
Find the main water valveunder the sink. It usually has a big round handle. Turn the handle clockwiseto open the valve. Check if the faucet is working. If not, the valve might be stuck. Use a wrenchto help turn it. Be gentle to avoid breaking the valve.
Sometimes, debris blocks water flow. Remove the faucet’s aeratorand clean it. Make sure the aeratoris not clogged. If the water still doesn’t flow, check pipes for leaks. Look for any wet spotsor drips.
If you find leaks, tighten any loose connections. Use plumber’s tapeif necessary. This helps seal the joints. Make sure everything is tight and secure. Water should flow smoothly now.
Testing The Repair
Check for leaks after reassembling your kitchen faucet. Turn on the water gently and observe any drips. Tighten any loose parts if needed.
Checking For Leaks
Turn on the faucet slowly. Watch for any drips or leaks. Pay close attention to the base and handle. If you see water, tighten the parts. Use a wrench if needed. Sometimes, a new seal is necessary. Make sure all connections are snug. No leaks should appear now.
Ensuring Proper Water Flow
Turn the faucet handle to full. Water should flow smoothly. Check both hot and cold settings. If the flow is weak, clean the aerator. Unscrew it gently with pliers. Rinse any debris from the screen. Reattach and test again. The water should now flow strong and steady.
Maintenance Tips
Leaky kitchen faucets can waste water and increase bills. Begin by turning off the water supply. Then, remove the handle to check for worn parts like O-rings or washers. Replace these parts if needed, and reassemble the faucet. Test for leaks after reassembly to ensure the problem is fixed.
Regular Cleaning
Keep your kitchen faucet clean to make it last longer. Use mild soap and water to wipe it daily. This prevents dirt buildup. Avoid harsh chemicals which can damage the finish. Check for mineral deposits around the faucet. Remove them with vinegar for a shiny look.
Inspecting For Wear And Tear
Check your faucet regularly for leaks and drips. Look at the handle and spout for any cracks. Tighten loose parts with a wrench. Replace worn-out washers and seals to stop leaks. Listen for any strange noises when using the faucet. Strange sounds can mean parts are worn out.

Credit: www.youtube.com
Frequently Asked Questions
How Do I Stop A Kitchen Faucet Leak?
To stop a kitchen faucet leak, first turn off the water supply. Remove the handle to access the cartridge or washer. Replace any worn parts, then reassemble the faucet. Finally, turn the water supply back on and check for leaks.
Regular maintenance can prevent future issues.
What Tools Are Needed To Fix A Faucet?
To fix a faucet, you’ll need a wrench, screwdriver, and pliers. Additionally, have replacement parts like washers or cartridges on hand. A towel and bucket are useful for catching water. Always ensure the water supply is off before starting any repairs to avoid spills.
How To Replace A Kitchen Faucet Cartridge?
Begin by turning off the water supply. Remove the handle to expose the cartridge. Using pliers, pull out the old cartridge. Insert the new cartridge, ensuring it fits snugly. Reassemble the faucet and turn the water supply back on. Test the faucet to ensure the leak is fixed.
Why Is My Faucet Making Noise?
Noisy faucets often result from loose or worn parts. Mineral buildup can also cause noise. First, check for any loose components and tighten them. If noise persists, consider replacing the washer or cartridge. Cleaning mineral deposits may also help reduce the noise.
Conclusion
Fixing a kitchen faucet can be simple. Follow the steps carefully. Gather the right tools before starting. Turn off water to prevent leaks. Check for worn-out parts and replace them. Tighten loose screws and nuts securely. Test the faucet after repairs.
Make sure it functions smoothly. Regular maintenance helps avoid future problems. A well-working faucet saves water and energy. Keep your kitchen efficient and hassle-free. Enjoy your improved kitchen experience. Fixing things yourself can be satisfying. Remember, small efforts lead to great results.
Stay handy and keep learning new skills.


