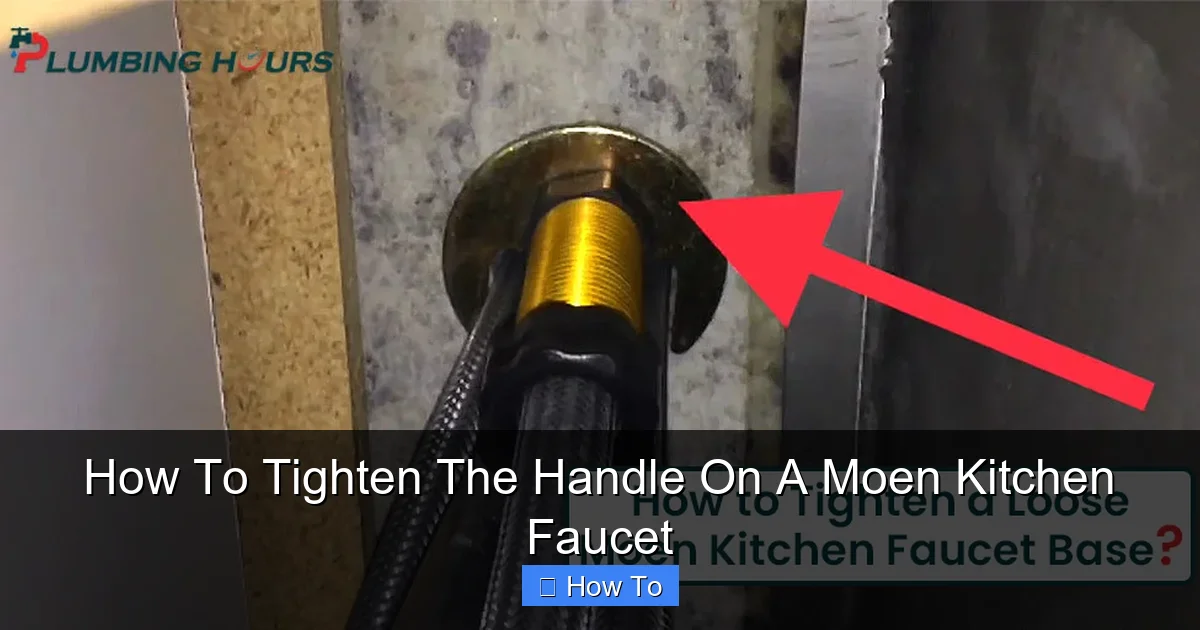
Is your old kitchen faucet leaking, rusty, or just plain outdated? Replacing it might seem like a big task, but removing your old kitchen faucet can be easier than you think.
Imagine the satisfaction of giving your kitchen a fresh look with a simple upgrade—starting right at the sink. In this guide, you’ll discover clear, step-by-step instructions that make the whole process smooth and stress-free. Ready to take control of your kitchen upgrade?
Let’s dive in and get that old faucet out of the way!

Credit: www.reddit.com
Gathering Necessary Tools
Use wrenches to turn and loosen nuts. Pliers help grip tight parts. Adjustable wrenches fit different sizes. Both tools make the job easier.
Keep a bucket under the sink. It catches water drips. Towels keep the area dry. Use them to wipe away spills. They protect your floor from water damage.
Buy new parts before starting. Check for a new faucet and seals. Make sure they fit your sink. Old parts might not work again. Having new parts saves time.
Shutting Off Water Supply
Find the shutoff valvesunder the sink or near the water meter. These valves control water flow to the faucet. Turn them clockwise to close and stop water. If no valves are found under the sink, turn off the main water supply.
After closing the valves, open the faucet to check water flow. Water should stop or drip slowly. This confirms the water is fully shut off. If water still flows, double-check valves or main supply.
Removing Faucet Handles
Locate the screw holding the faucet handle in place. It is often hidden under a decorative cap. Use a flathead screwdriver to gently pry off the cap. Then, use a screwdriver or an Allen wrench to unscrew the handle. Pull the handle straight up to remove it.
Some handles may be stuck due to mineral build-up or rust. Try spraying a small amount of lubricant around the base. Let it sit for a few minutes to loosen the parts. If the handle still won’t budge, use a rubber mallet to tap gently. Avoid using too much force to prevent damage.
Credit: www.diychatroom.com
Disconnecting Water Lines
Turn off the main water supply before loosening supply lines. Use an adjustable wrench to carefully loosen the nuts connecting the water lines to the faucet. Be gentle to avoid damaging the pipes or connectors.
Place a small bucket or bowl under the connections to catch any residual waterthat may drip out. This helps keep the area dry and prevents water damage under the sink.
After loosening the supply lines, gently pull them away from the faucet. Some water may still drip, so keep the bucket in place until the lines are fully disconnected.
Detaching The Old Faucet
Locate the mounting nutsunder the sink that hold the faucet in place. Use a wrenchor basin wrench to loosen these nuts carefully. Some nuts might be tight or rusted, so patience is key.
Once the nuts are loose, gently lift the faucet upwards. It may require a little wiggling to free it from the sink. Be careful not to damage the sink surface or plumbing connections.
Cleaning The Sink Area
Start by removing any loose debrisfrom around the sink. Use a cloth or brush to clean dirt and grime. Scrape off the old sealantcarefully with a putty knife or a plastic scraper. This helps to avoid damage to the sink surface.
After removing debris and sealant, wipe the area with a damp cloth to remove dust. Let the surface dry completely before installing the new faucet. A clean, dry surface ensures the new sealant will stick well.
- Remove loose dirt and debris.
- Scrape off old sealant gently.
- Wipe the area with a damp cloth.
- Let the surface dry fully.
- Prepare surface for new faucet installation.
Installing The New Faucet
Place the new faucet carefully into the sink hole. Make sure the faucet sits straight and stable. Align any gasket or seal under the faucet base to prevent leaks. Check all parts fit snugly in place.
Under the sink, hold the faucet steady. Use the mounting nuts to fix it firmly to the sink. Tighten the nuts by hand first, then use a wrench. Be careful not to overtightenas this can damage parts.
Check the faucet again from above to keep it aligned. Adjust if needed before fully tightening the nuts. This helps avoid a crooked faucet and future leaks.
Reconnecting Water Supply
Attach the supply lines to the faucet’s water inlets tightly. Use an adjustable wrench to secure them without over-tightening. Hand-tighten first, then give a slight turn with the wrench.
Turn on the main water supply slowly. Watch the connections carefully. Look for any drips or wet spots around the supply lines and faucet base.
- Check under the sink for leaks.
- Feel for moisture on the pipes and connectors.
- Tighten any loose connections if needed.
Let the water run for a few minutes to ensure no leaks appear. Tight seals prevent water damage and keep the faucet working well.
Testing Faucet Functionality
Turn the water supply back on slowly to avoid bursts. Watch for leaks around the faucet base. Test both hot and cold water to check temperature control. Make sure water flows smoothly from the spout without sputtering. Listen for strange noises like banging or dripping sounds. If water pressure feels low, check the shutoff valves. Tighten any loose connections under the sink. Look for drips or puddles forming while water runs. Confirm the handle moves easily without sticking. Proper flow and operation mean the faucet is ready for use.

Credit: www.youtube.com
Frequently Asked Questions
How Do I Prepare Before Removing An Old Kitchen Faucet?
First, turn off the water supply valves under the sink. Then, open the faucet to drain any remaining water. Clear the area beneath the sink to access plumbing easily. Gather necessary tools like a wrench, basin wrench, and bucket to catch drips.
What Tools Do I Need To Remove An Old Faucet?
You typically need an adjustable wrench, basin wrench, screwdriver, and pliers. A bucket helps catch water drips. Sometimes, you may require plumber’s putty or a utility knife to loosen stuck parts. Having these tools ready speeds up the removal process.
How Do I Disconnect Water Supply Lines Safely?
After turning off valves, use an adjustable wrench to loosen the nuts connecting supply lines. Place a bucket underneath to catch water. Turn the nuts counterclockwise gently to avoid damaging pipes or fittings. Remove supply lines carefully to prevent leaks or spills.
Can I Remove The Faucet Without Professional Help?
Yes, you can remove a faucet yourself with basic tools and patience. Follow safety steps, turn off water, and loosen fittings carefully. If you encounter rusted or stuck parts, consider using penetrating oil. Call a plumber if unsure or if complications arise.
Conclusion
Removing an old kitchen faucet is easier than it seems. Take your time and follow each step carefully. Turn off the water supply first to avoid spills. Use the right tools to loosen nuts and connections. Keep parts organized for smooth reinstallation.
A little patience helps prevent damage and frustration. Now you can enjoy your new faucet with confidence. Simple tasks like this save money and build your skills. Ready for your next home project?