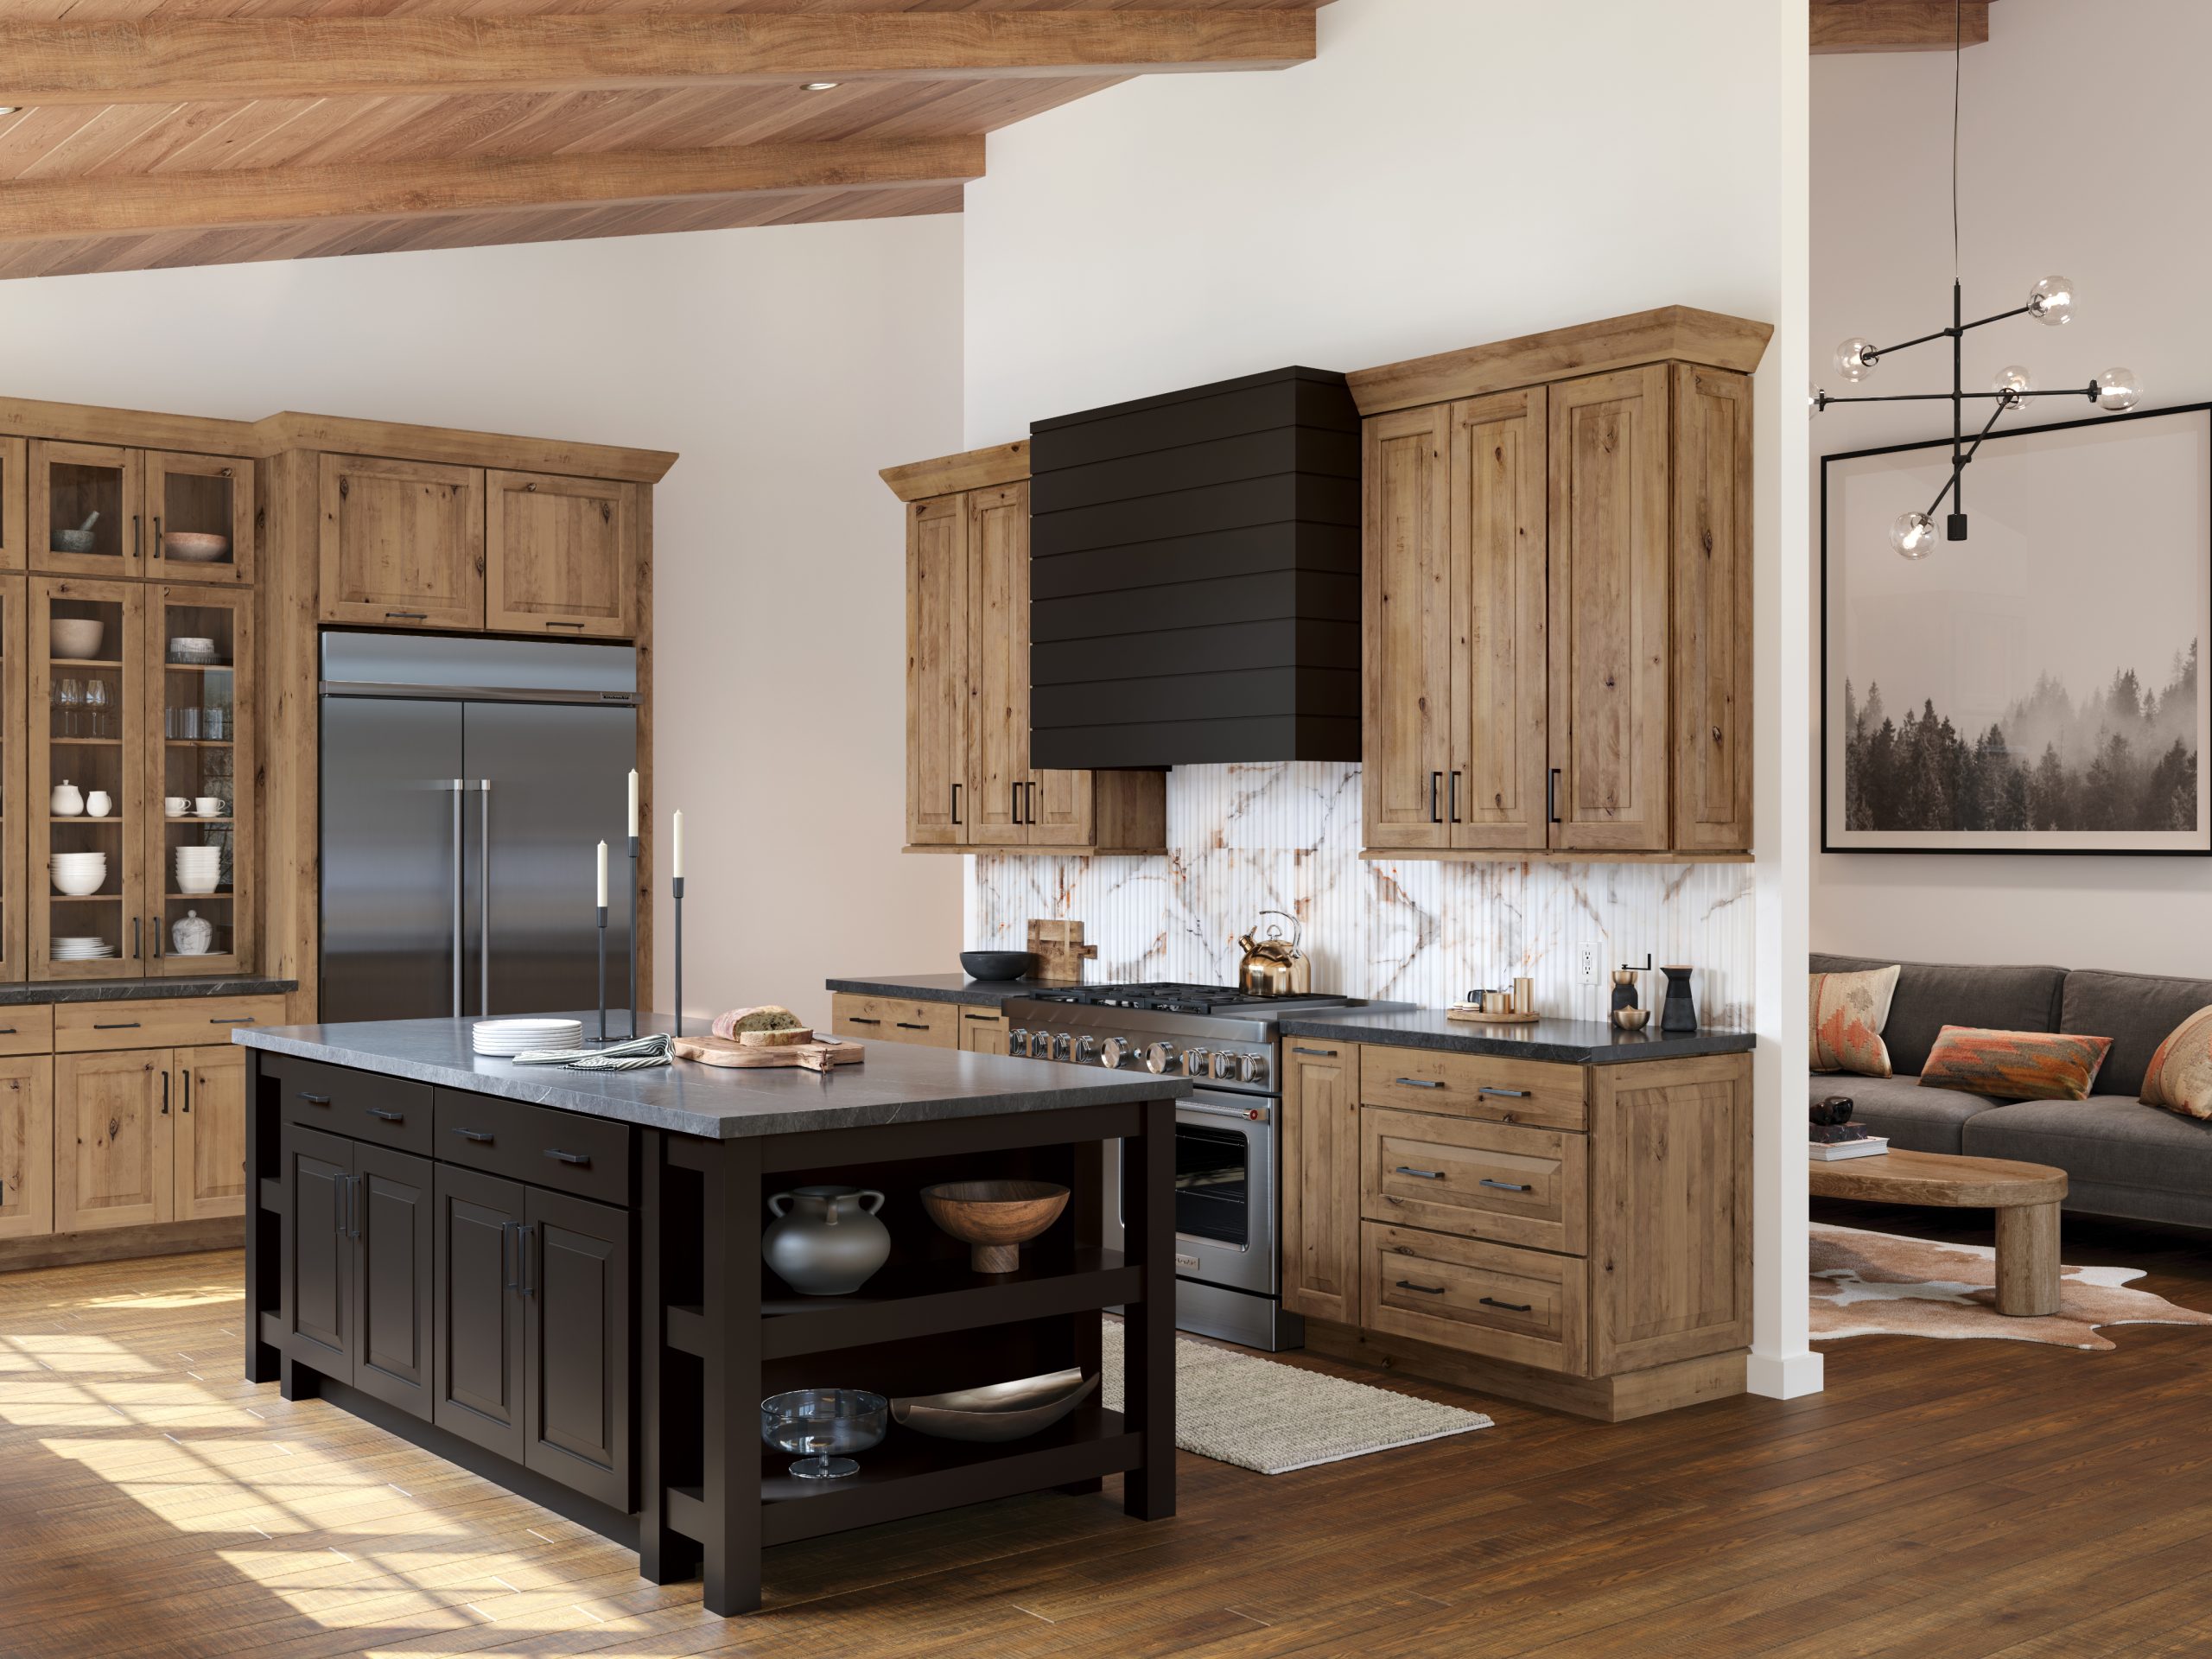
Are you dreaming of a kitchen island that not only adds extra workspace but also offers plenty of storage? Making a kitchen island with cabinets is a smart way to transform your kitchen into a more functional and stylish space.
Imagine having all your cooking tools and ingredients within easy reach, while guests gather around your new centerpiece. In this guide, you’ll discover simple steps to build your own kitchen island with cabinets, even if you’re not a DIY expert.
Keep reading, and you’ll soon have a practical, beautiful island that fits your space and your needs perfectly.
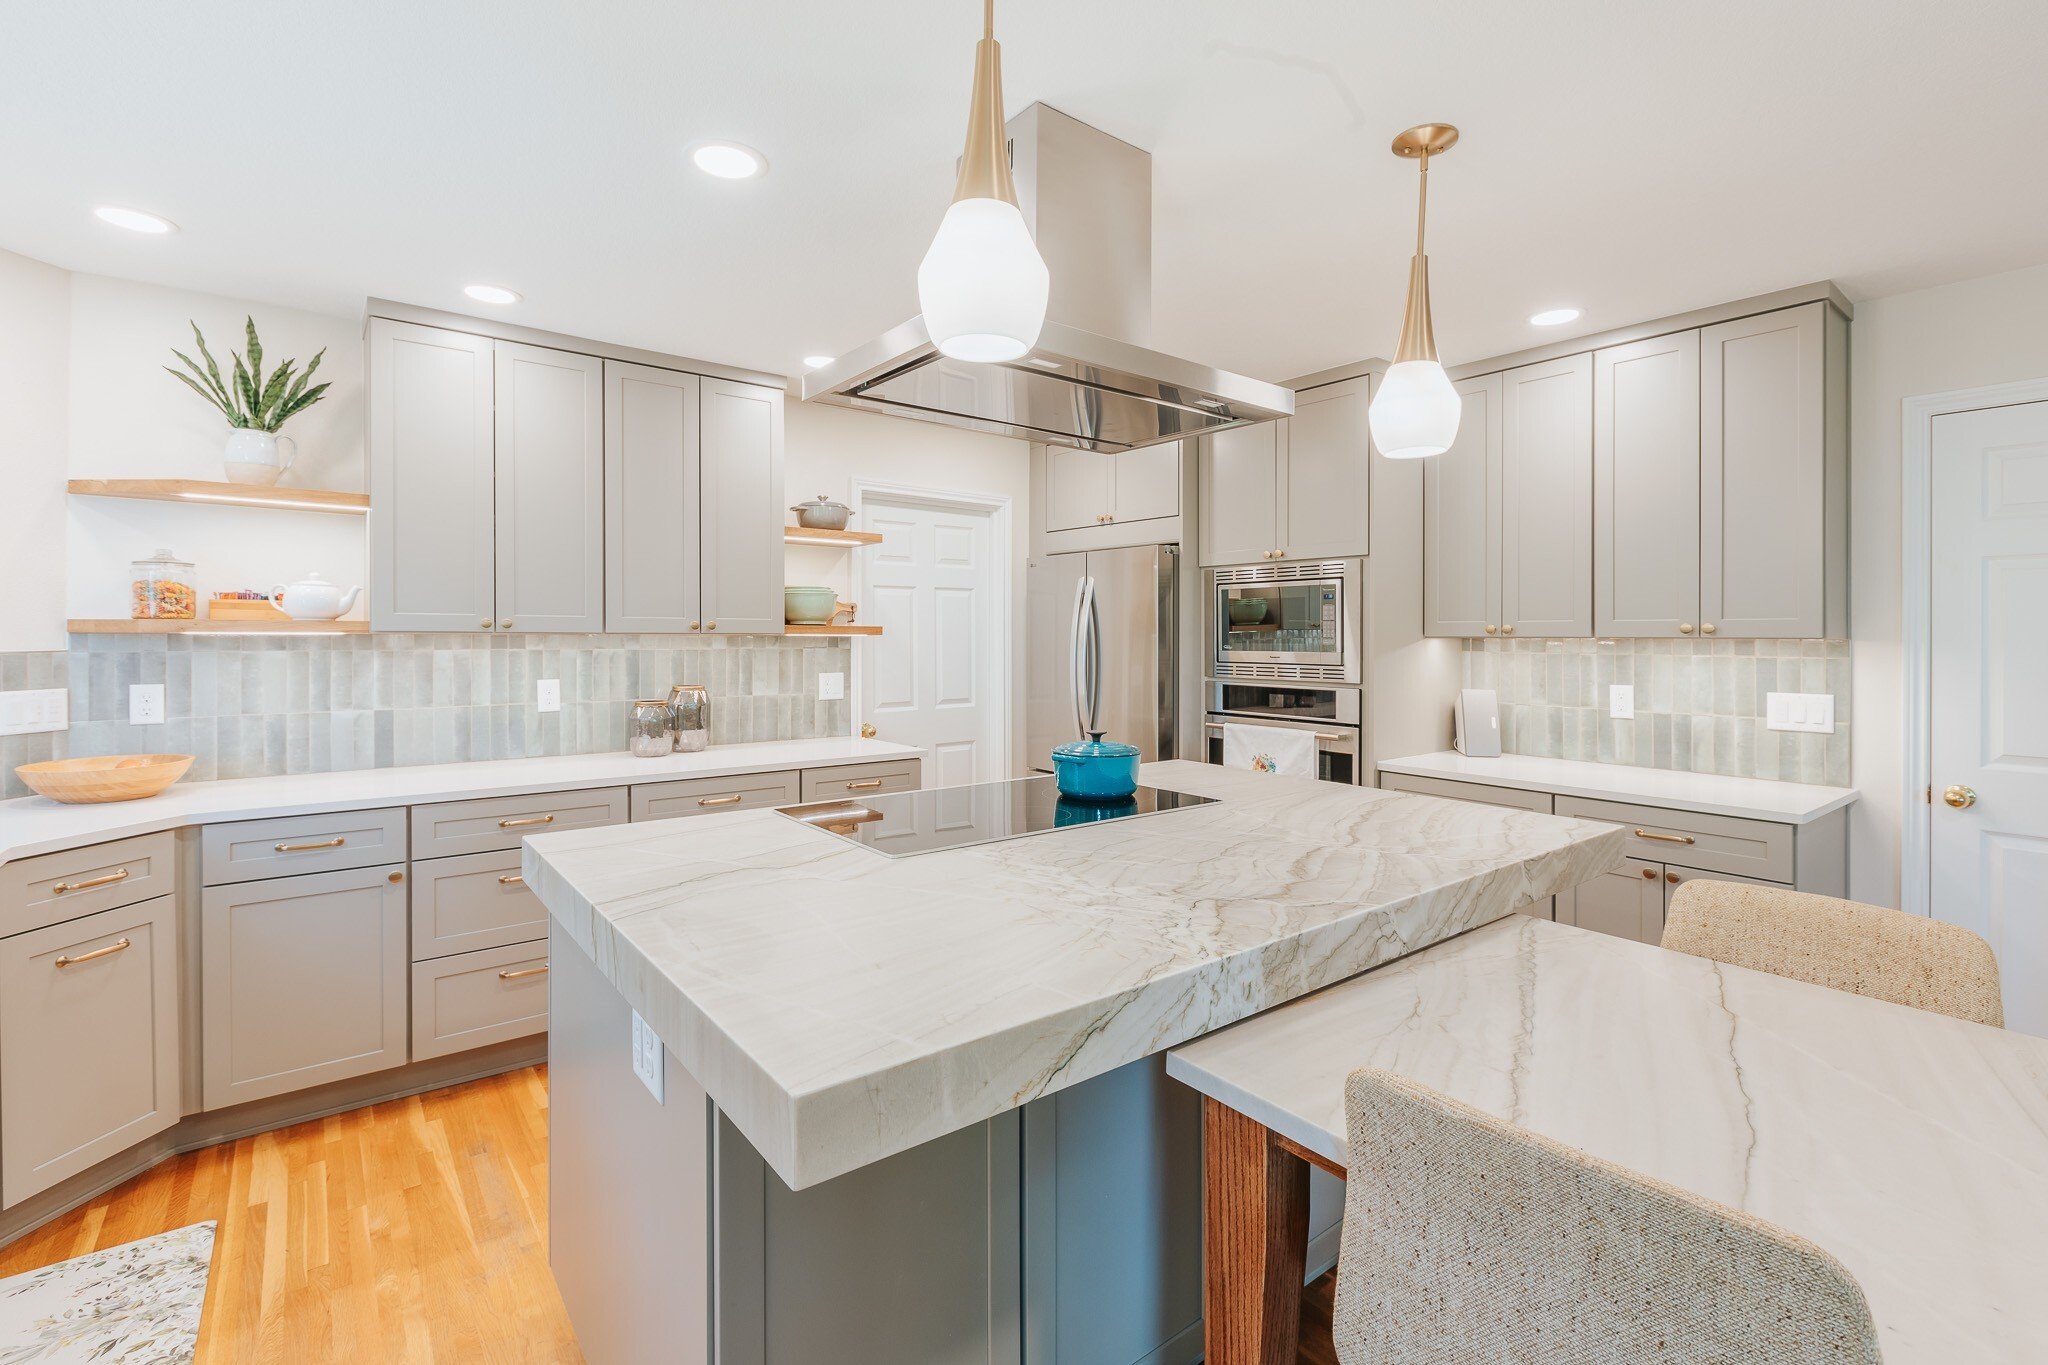
Credit: www.lamontbros.com
Planning Your Kitchen Island
Choose a kitchen island size that fits your room space well. Leave enough room around the island for easy walking. A good rule is to have at least 36 inches of clearance on all sides. This helps avoid crowding and keeps the kitchen safe and functional.
Select cabinet styles that match your kitchen’s look. Options include shaker, flat-panel, or raised-panel cabinets. Think about the color and finish too. This keeps the island looking like part of the kitchen, not out of place.
Decide what the island will do for you. Use it for extra storage, cooking, or dining space. Some islands have cabinets for pots and pans, while others have drawers for utensils. Consider adding a countertop for food prep or seating for friends and family.
Gathering Materials And Tools
Gathering the right toolsis key for building a kitchen island. Essential tools include a measuring tape, power drill, screwdriver, and a saw. A leveland clampshelp keep everything even and steady during assembly.
Cabinet components needed are base cabinets, doors, drawers, and drawer slides. Choose cabinets that fit your kitchen space and style.
Additional supplies like screws, wood glue, sandpaper, and paint or stainhelp complete the project. Also, consider countertop materialand hardwarefor handles and knobs.
Building The Cabinet Base
Start by cutting the wood pieces for the cabinet frame. Use strong wood like plywood or hardwood. Join the pieces with wood glue and screws. Make sure the frame is square and even. Check all corners with a carpenter’s square. Sand the edges smooth to avoid splinters.
Install shelves inside the frame by attaching shelf supports. Use screws to hold shelves firmly in place. For drawers, build boxes that fit inside the frame. Attach drawer slides on both the drawer and cabinet sides. This helps drawers open and close smoothly.
Secure the cabinet base to the floor or wall to avoid wobbling. Use corner braces or metal brackets for extra strength. Check the level with a spirit level. Tighten all screws and bolts properly. Stability is key for safety and durability.
Adding The Countertop
Choosing the right countertop materialis key for your kitchen island. Popular options include laminate, wood, granite, and quartz. Each has its own look and durability. Think about how much you will use it and your budget.
Cutting the countertop to fit your island shape is important. Measure the island carefully before cutting. Use a saw suitable for the material. Smooth edges help avoid injuries and give a clean finish.
Securing the countertop ensures it stays in place. Use strong adhesive or screws depending on the material. Check that the surface is level. Tighten all fasteners to avoid movement.
Finishing Touches
Painting or stainingyour kitchen island gives it a fresh look. Choose colors that match your kitchen style. Light colors make the space feel bigger, while dark colors add depth. Staining shows the natural wood grain and adds warmth. Use a primer before painting for better coverage and durability.
Installing hardwarelike knobs and handles makes cabinets easy to use. Pick hardware that fits your kitchen’s style—modern, classic, or rustic. Make sure screws fit well and doors open smoothly. Hardware can also add a little shine or color to your island.
Lighting and accessoriesbring your island to life. Pendant lights above the island add style and light. Under-cabinet lights help see inside cabinets. Consider adding hooks for towels or a small shelf for cookbooks. These small touches make your kitchen island both pretty and useful.
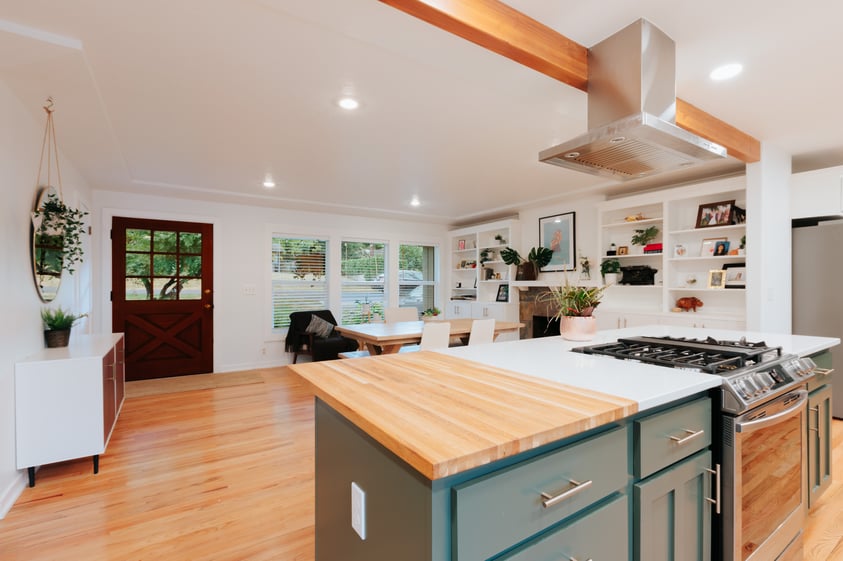
Credit: www.lamontbros.com

Credit: penniesforafortune.com
Frequently Asked Questions
What Materials Do I Need To Build A Kitchen Island With Cabinets?
You need wood panels, screws, hinges, cabinet doors, drawer slides, and paint or finish.
How Much Space Is Required For A Kitchen Island With Cabinets?
Allow at least 36 to 48 inches of clearance around the island for easy movement.
Can I Customize The Size Of My Kitchen Island Cabinets?
Yes, sizes can be adjusted to fit your kitchen space and storage needs easily.
Conclusion
Building a kitchen island with cabinets adds space and style. It gives you extra storage and a work surface. You can choose the size and design to fit your kitchen. Using basic tools and materials makes the project doable. Taking your time ensures a sturdy and neat result.
Enjoy the new space for cooking and gathering. A kitchen island changes how your kitchen feels and works. Simple steps lead to a useful and attractive addition. Start small, plan well, and see your kitchen improve.