Is your kitchen faucet spraying water all over the sink or flowing too weakly? The problem might be your faucet aerator.
Replacing it is easier than you think, and it can save you money while improving your water flow. In this guide, you’ll learn step-by-step how to replace your kitchen faucet aerator quickly and without any hassle. Keep reading, and you’ll have your faucet working perfectly again in no time.
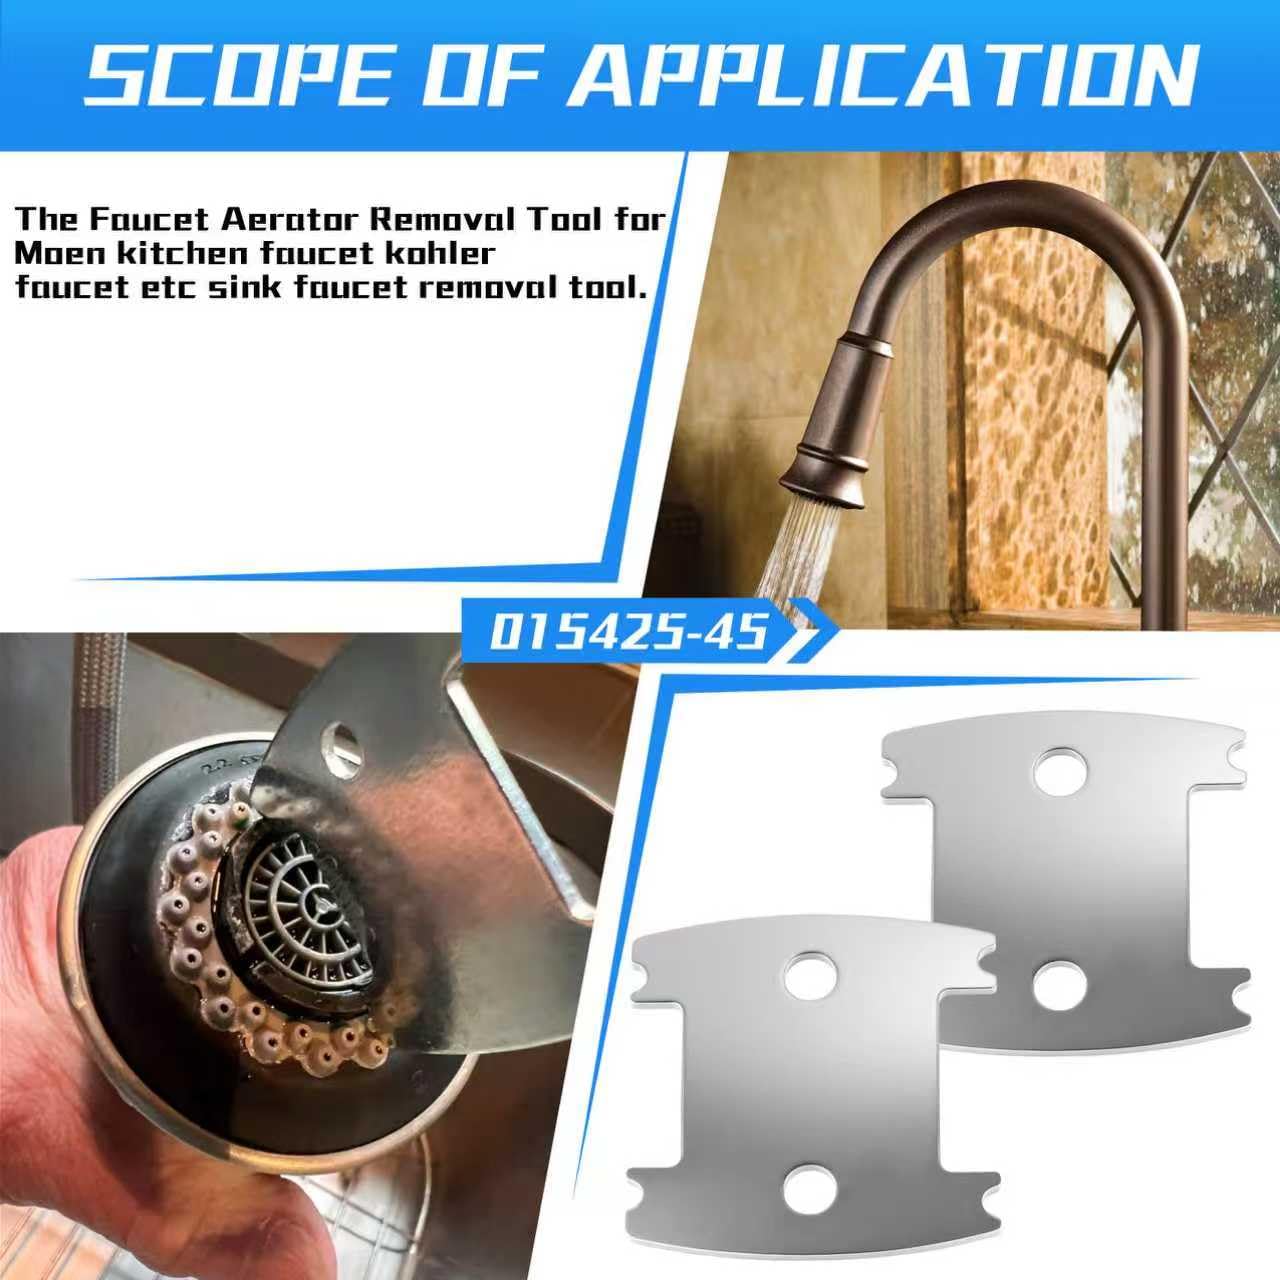
Tools And Materials Needed
Gather the right tools and materialsbefore starting. This helps the task go smoothly.
- Adjustable wrenchfor loosening the old aerator
- Replacement aeratorsuitable for your faucet
- Cloth or ragto protect the faucet finish
- Small brushor toothbrush for cleaning
- Teflon tapeto seal threads if needed
- Bowl or containerto catch water drips
Having these items ready saves time and avoids frustration.

Credit: www.reddit.com
Turning Off Water Supply
Locate the water shut-off valves under the kitchen sink. These valves control the water flow to the faucet.
Turn the valves clockwise to close them. This stops water from reaching the faucet.
Check if the water is off by turning on the faucet. No water should come out.
If there are no shut-off valves under the sink, turn off the main water supply for the house.
- Use a wrench if valves are hard to turn.
- Be careful not to force the valves to avoid damage.
- Keep a towel or bucket nearby to catch any drips.
Removing The Old Aerator
First, turn off the water supply under the sink. Next, cover the drain to stop small parts from falling. Use a cloth or rubber jar opener to grip the aerator. Turn the aerator counterclockwise to loosen it. Sometimes, the aerator is stuck due to mineral build-up. Soak it in vinegar for a few minutes if needed. Use pliers gently if hand turning is hard. Protect the aerator with a cloth when using tools. Once loose, unscrew it completely and remove it. Check the aerator for dirt and damage before replacement.
Choosing The Right Replacement Aerator
Choosing the right replacement aerator is key for a good fit and water flow. First, check the sizeof your current aerator. Most are either male or female threads. Use a ruler or tape measure to find the diameter.
Look for the flow rate. Common rates are 1.5 or 2.2 gallons per minute. This affects water saving and pressure. Pick one that matches your needs.
Consider the styletoo. Some aerators have a sprayoption or stream. Choose based on how you use your sink.
| Feature | Details |
|---|---|
| Thread Type | Male or Female |
| Size | Measured in inches (usually 15/16” or 55/64”) |
| Flow Rate | 1.5 GPM or 2.2 GPM |
| Style | Stream or Spray |
Installing The New Aerator
Before installing, make sure the new aerator fits your faucet. Check the threads carefully. Wrap plumber’s tape around the threads to prevent leaks. Screw the new aerator onto the faucet by hand. Tighten it gently to avoid damage. Use a cloth and wrench for a firm grip if needed. Turn on the water slowly to test for leaks. Adjust the aerator if water sprays unevenly. Clean any debris from the aerator screen to keep water flow smooth.

Credit: www.youtube.com

Credit: www.walmart.com
Frequently Asked Questions
How Do I Remove A Stuck Kitchen Faucet Aerator?
Use pliers wrapped in cloth to gently twist and loosen the aerator without damaging it.
How Often Should I Replace My Kitchen Faucet Aerator?
Replace the aerator every 1-2 years or when water flow decreases noticeably.
Can I Clean A Clogged Kitchen Faucet Aerator Instead Of Replacing It?
Yes, soaking it in vinegar and scrubbing can remove buildup and restore flow.
Conclusion
Replacing a kitchen faucet aerator is simple and quick. You just need a few basic tools and steps. This small part helps control water flow and saves water. Regularly checking and changing the aerator keeps your faucet working well. A clean aerator also improves water quality and pressure.
Now you can enjoy a better kitchen sink experience. Try this easy fix and see the difference yourself. No need to call a plumber for this small job. Save time and water with a new aerator today.


