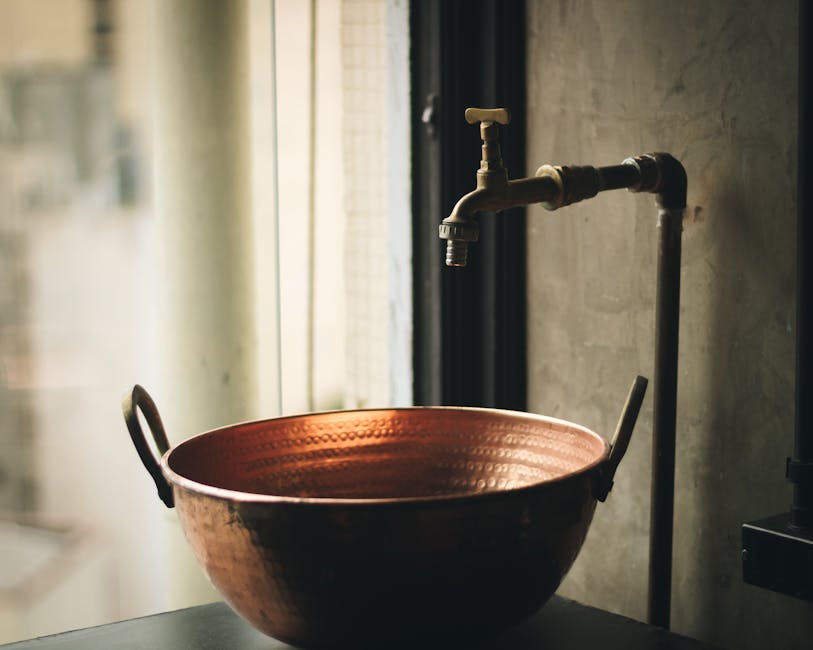
Imagine turning the kitchen faucet handle, expecting a stream of water, but instead, you’re greeted by a drip, a leak, or worse, no water at all. Frustrating, isn’t it?
Your kitchen faucet is like the heart of your cooking space, and when it’s not working right, everything feels off. But here’s the good news—you don’t need to be a plumbing expert to fix it. With a few easy steps, you can restore it to its former glory and feel the relief of a job well done.
Whether it’s a stubborn leak or a handle that’s lost its touch, this guide will walk you through the process, making it simple and stress-free. Ready to take control and fix your kitchen faucet yourself? Let’s dive in and turn that problem into a solution!
Identifying Faucet Problems
Understanding faucet problems is crucial for quick fixes. Leaky faucets often waste water. Listen for dripping sounds. Low water pressure can be annoying. Check for clogs in the aerator. Strange noises might mean loose parts. Tighten all connections. If the faucet handle is stiff, it may need lubrication. Use plumber’s grease for smooth movement.
Water discoloration can be a sign of rust. Inspect the pipes for corrosion. If the faucet wobbles, its base may be loose. Secure it tightly. Spray head issues are common in kitchen faucets. Clean it to ensure even spray. Water temperature problems can arise from valve issues. Adjust or replace the mixing valve.
Regular maintenance helps avoid major problems. Clean the faucet parts often. This ensures long-lasting performance. Always have basic tools ready. A wrench and screwdriver can solve many issues.

Credit: m.youtube.com
Gathering Necessary Tools
Before fixing your kitchen faucet, gather all the necessary tools. This makes the process easier and faster. You will need a wrench, a screwdriver, and some plumber’s tape. A bucket is also essential to catch any water spills. Make sure to have some towels ready for drying. If the faucet has specific parts, keep the instruction manual nearby. This helps understand the assembly better. A flashlight can be useful if the area is dimly lit. Prepare everything in advance to avoid interruptions. Check that all tools are in good condition. Damaged tools can make the task harder.
- Wrench:For loosening and tightening nuts.
- Screwdriver:To remove screws.
- Plumber’s tape:Prevents leaks.
- Bucket:Catches water spills.
- Towels:For drying and cleaning.
- Flashlight:Lights up dark areas.
Shutting Off Water Supply
Locate the water shut-off valves under the sink. These are usually round knobs. Turn the knobs clockwise to stop water flow. Make sure both hot and cold water valves are closed. This prevents any leaks while you work. If the knobs are hard to turn, use a wrench. Check if the water is fully stopped by turning on the faucet. No water should come out now. This step keeps your kitchen dry and safe. Remember to be careful when handling tools. Always check for leaks after turning the water back on.

Credit: www.tiktok.com
Disassembling The Faucet
Turning off the water supply is crucial. Locate the shut-off valves below the sink. Twist them clockwise to stop the water flow. Use a wrench to remove the handle. Unscrew it carefully. Handles might be tight, so apply gentle force.
Once the handle is off, locate the bonnet nut. It’s right under the handle. Use a wrench to loosen it. Pull it off gently. This exposes the cartridge. The cartridge controls water flow. Remove it carefully. Note its position for reassembly.
Inspect the cartridge for damage. Check for cracks or wear. If damaged, replace it with a new one. Ensure the new cartridge matches the old one. Correct alignment is important. Place it back into the faucet.
Reassemble the faucet by reversing the steps. Tighten the bonnet nut securely. Reattach the handle. Turn the water supply back on. Test the faucet to ensure it works properly.
Replacing Damaged Parts
First, turn off the water supply under the sink. This stops the water flow. Then, remove the handle by using a screwdriver. Be careful not to scratch it. Locate the damaged part inside the faucet. Common parts that break are cartridgesand O-rings.
Take the damaged part to a hardware store. This helps find the right replacement. Once you have the new part, install it carefully. Follow the same steps in reverse. Make sure all parts fit snugly. Turn the water supply back on. Check for leaks by running the faucet. If it drips, tighten the connections more. A good fix makes the faucet work like new.
Testing The Repair
Turn on the faucet to check for leaks. Ensure the water flows smoothly. Listen for any strange sounds. If you hear any, check the pipes. Look under the sink for water drips. Hold a tissue to any suspect areas. If it gets wet, you might have a leak.
Check the temperature settings. Adjust the hot and cold knobs. Feel the water to ensure it’s the right temperature. Make sure both knobs turn freely. Tight knobs can mean a problem.
Inspect the spray settings. Make sure the sprayer works. It should have a strong flow. If weak, there might be a blockage. Clean the sprayer head if needed.

Credit: www.youtube.com
Frequently Asked Questions
How Do I Fix A Leaking Kitchen Faucet?
First, turn off the water supply. Then, disassemble the faucet to identify worn washers or seals. Replace faulty parts, ensuring they’re secured properly. Reassemble the faucet and turn on the water supply to check for leaks. Regular maintenance can prevent future leaks.
What Tools Are Needed To Fix A Faucet?
You’ll need an adjustable wrench, screwdriver, and plumber’s tape. A basin wrench can help in tight spaces. Having replacement parts like washers and seals is helpful. These tools will assist in disassembling and reassembling the faucet efficiently. Always ensure you have the right tools before starting.
Why Is My Kitchen Faucet Dripping?
A dripping faucet often results from worn washers or seals. Over time, these parts degrade, leading to leaks. Mineral buildup can also affect faucet functionality. Regularly inspecting and replacing these components can prevent dripping. Addressing drips early can save water and reduce utility bills.
How Can I Stop My Faucet From Squeaking?
Lubricate the faucet’s O-rings and moving parts to reduce friction. Disassemble the faucet carefully, apply plumber’s grease, and reassemble it. Squeaking often results from dry or worn components. Regular lubrication can extend your faucet’s lifespan and ensure smooth operation.
Conclusion
Fixing a kitchen faucet can seem tough, but it’s doable. Start by identifying the problem. Then gather the right tools. Follow the steps carefully. Most issues are simple to resolve. Save time and money by doing it yourself. But remember, call a plumber if needed.
Regular maintenance prevents future problems. A well-functioning faucet makes cooking and cleaning easier. Enjoy your improved kitchen experience!