Is your kitchen lighting looking dull or outdated? Updating your fluorescent kitchen lighting can instantly brighten your space and make cooking more enjoyable.
You don’t need to be an expert or spend a fortune to give your kitchen a fresh, modern look. In this guide, you’ll discover simple, step-by-step tips to update your lighting safely and effectively. Keep reading to transform your kitchen into a brighter, more inviting place you’ll love to spend time in.
Choosing New Lighting
Fluorescent kitchen lighting can be replaced with many modern options. Popular types include LED panels, track lighting, and pendant lights. Each type offers different brightness and style.
Energy efficiency is key. LED lights use less powerand last longer than fluorescent bulbs. They help save money on electricity bills and reduce waste.
Choosing the right style is important. Lights should match the kitchen’s color schemeand design theme. Simple, clean designs work well in most kitchens. Bright, warm light creates a cozy atmosphere. Adjustable lights add flexibility for different tasks.

Credit: www.reddit.com
Tools And Materials Needed
A screwdriver is needed for this task. Make sure it fits your screws. A ladder helps you reach the light. Ensure it is stable. A voltage tester checks if the power is off. This keeps you safe.
Wear gloves to protect your hands. Safety glasses shield your eyes. A dust mask keeps you from breathing dust. These items keep you safe. Don’t forget them.
- New bulbs: Check the size and wattage.
- Ballast: If the old one is broken, get a new one.
- Light cover: Replace if cracked or yellowed.
Preparing For The Update
Start by turning off the powerat the circuit breaker. This step is very important for safety. Double-check that the lights are off by trying to switch them on. Use a voltage tester to be sure no electricity flows.
Next, carefully remove the old fixtures. Unscrew the cover and gently pull the fixture down. Disconnect the wires by loosening the wire nuts. Keep the screws and parts if you need them later.
Check the wiring condition. Look for any damaged or frayed wires. If wires look old or unsafe, replace them or call an electrician. Proper wiring prevents electrical hazards and ensures your new light works well.

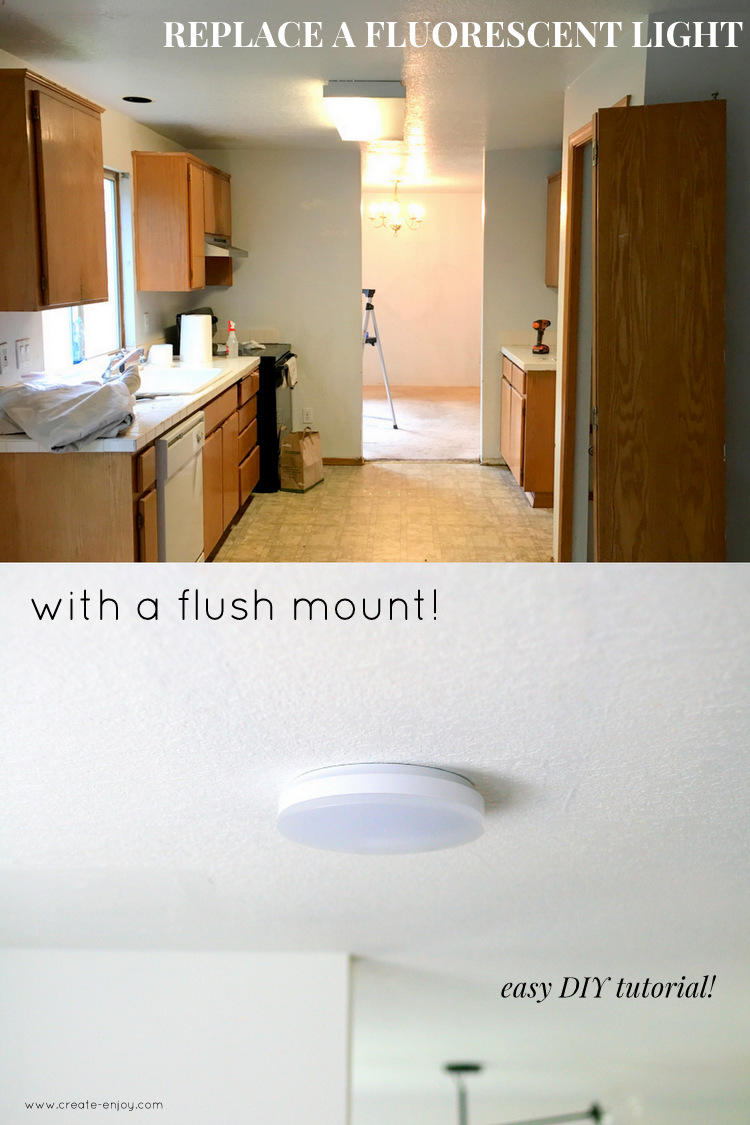
Credit: www.create-enjoy.com
Installing New Fixtures
Secure the mounting bracket to the ceiling or wall using screws. Make sure it fits tightly and aligns with the power source. Use a level to keep the fixture straight.
Turn off power at the circuit breaker before handling wires. Connect the black (hot) wire to the black fixture wire. Join the white (neutral) wire with the white fixture wire. Attach the green or bare copper wire to the ground screw or wire.
Push the wires carefully into the electrical box. Attach the fixture base to the mounting bracket with screws. Check that the fixture is firmly secured and does not wobble.
Testing And Adjustments
First, make sure the power switch is turned on. Check the circuit breaker if lights don’t work. Wait a few seconds for the fluorescent bulbs to start glowing. Some lights need time to warm up before shining fully.
Troubleshooting common problems helps keep the kitchen well-lit. Flickering lights often mean loose connections or old bulbs. Try tightening the bulbs or replacing them. If lights stay off, check the ballast or wiring. Sometimes, cleaning the light cover improves brightness.
Adjusting the light position can improve the kitchen’s look. Move fixtures to reduce shadows on counters. Angle lights toward work areas for better visibility. Use clips or brackets to hold lights steady. Small changes make a big difference in kitchen lighting.

Credit: www.create-enjoy.com
Maintaining Kitchen Lighting
Regular cleaning keeps kitchen lighting bright and clear. Use a soft cloth and mild soap to wipe the fixture. Avoid harsh chemicals that can damage surfaces. Dust the bulbs gently with a dry cloth to maintain brightness. Clean fixtures every few months for best results.
Replace bulbs as soon as they flicker or dim. Use bulbs that match the fixture’s specifications. Turn off power before changing bulbs to stay safe. Handle bulbs carefully to avoid breaking them. Proper bulb replacement ensures steady light and saves energy.
Extending fixture life saves money and effort. Avoid touching bulbs with bare hands to prevent damage. Check wiring and connections regularly for signs of wear. Keep vents and covers clean to avoid overheating. Timely maintenance helps your kitchen light last longer.
Frequently Asked Questions
How Do I Safely Update Fluorescent Kitchen Lighting?
Turn off the power at the circuit breaker before starting. Use a voltage tester to ensure no electricity flows. Wear safety gloves and goggles. Remove old tubes carefully and replace with compatible new ones. Follow manufacturer instructions for installing fixtures or ballasts.
What Tools Are Needed To Update Fluorescent Lighting?
You will need a screwdriver, voltage tester, gloves, and replacement tubes or fixtures. A ladder or step stool may be necessary. For ballast replacement, wire strippers and electrical tape are useful. Always check compatibility of new parts with your current setup.
Can I Replace Fluorescent Lights With Led Tubes?
Yes, LED tubes are energy-efficient and long-lasting alternatives. Ensure the LED tubes match your fixture’s size and ballast type. Some LED tubes require bypassing the ballast. Always follow installation instructions to avoid electrical issues and maximize savings.
How Often Should Fluorescent Kitchen Lighting Be Updated?
Fluorescent tubes typically last 7,000 to 15,000 hours. Update lighting when flickering, dimming, or color changes occur. Consider upgrading to LED for better efficiency and lifespan. Regular maintenance helps maintain optimal brightness and safety.
Conclusion
Updating fluorescent kitchen lighting improves both style and energy use. New lights brighten your space and save money on bills. The process is simple and does not take long. Choose the right bulbs and fixtures for your needs. Always follow safety steps to avoid accidents.
A fresh light setup makes your kitchen more inviting. Start your update today to enjoy a brighter kitchen tomorrow. Small changes bring big benefits.


