Are you ready to transform your kitchen into a stunning space that makes you feel proud every time you walk in? Laying tile in your kitchen can be a game-changer, adding both beauty and value to your home.
Imagine stepping into a kitchen where the floor reflects your style and creativity, making every cooking experience a delight. You might think that tiling is a daunting task, but with the right guidance, it can be a rewarding project that you accomplish yourself.
This article is your roadmap, guiding you through each step of the tiling process with simple, clear instructions. Dive in and discover how you can lay tile in your kitchen, turning your vision into reality.
Choosing The Right Tile
Selecting the perfect tile for a kitchen requires careful consideration of style and durability. Opt for tiles that match the kitchen’s decor and withstand daily wear. Proper installation ensures a long-lasting finish, making the kitchen both functional and visually appealing.
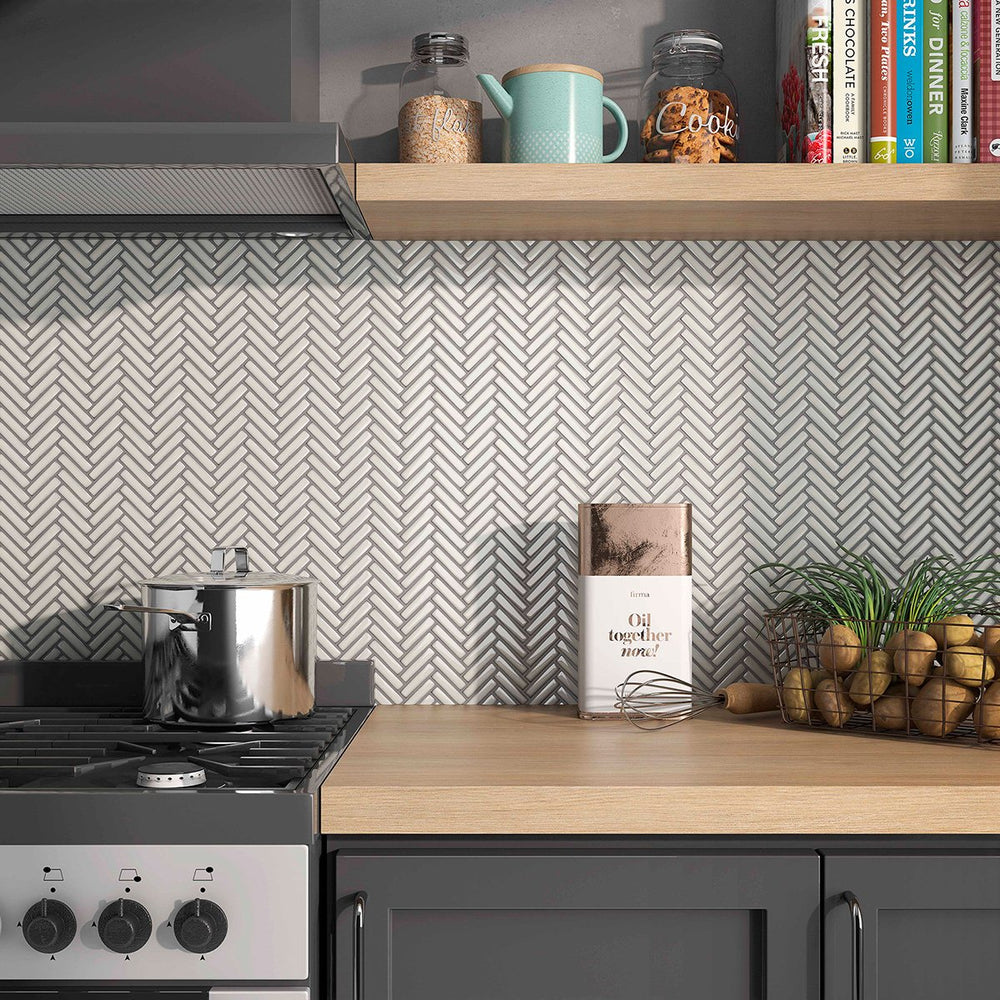
Types Of Kitchen Tiles
Kitchen tiles come in different types. Ceramic tiles are popular for their durability. Porcelain tiles are strong and resist water. Glass tiles add shine and reflect light. Stone tiles bring a natural look to kitchens. Each tile type has unique features.
Tile Size And Shape
Tile size matters for kitchen looks. Small tiles can create detailed patterns. Large tiles cover more area quickly. Square tiles offer a classic look. Rectangular tiles give a modern touch. Choose size and shape based on style.
Color And Design Considerations
Color can change the kitchen’s feel. Light colors make spaces look bigger. Dark colors add warmth. Patterns can be simple or complex. Some tiles have unique designs. Matching colors with kitchen cabinets enhances beauty.

Credit: www.youtube.com
Preparing The Surface
Preparing the Surface Ensure the kitchen floor is clean, dry, and level. Remove any debris or old adhesive. Check for cracks or uneven spots, and fix them. This creates a smooth base for the tiles.
Cleaning The Area
Dirt and dustcan stop tiles from sticking well. Use a broom to sweep the floor. Wipe the floor with a damp cloth. Remove any grease or sticky spots. A clean surface helps tiles stay in place.Leveling The Floor
Check if the floor is flat. Use a straight edge tool for this. If you find low spots, fill them with patching compound. High spots should be sanded down. A level flooris crucial for even tiles.Applying A Backer Board
A backer board makes the surface firm. Cut the board to fit the kitchen floor. Use screws to attach it. Ensure it’s tight and flat. This board prevents tiles from cracking. `Gathering Necessary Tools
Assemble essential tools like a tile cutter, spacers, and trowel. Ensure you have measuring tape and level. Proper tools make tile installation easier and precise.
Tile Cutter And Nippers
Tile cutters help cut tiles to the right size. They are easy to use. Nippers are great for small cuts. They shape tiles into curves. Always wear safety goggles when cutting tiles. You might need gloves too.
Trowels And Spacers
Trowels spread adhesive on the floor. Choose a flat or notched trowel. Spacers keep tiles evenly spaced. They come in different sizes. Use them for neat gaps between tiles.
Adhesive And Grout
Adhesive sticks tiles to the floor. It dries quickly and holds strong. Grout fills gaps between tiles. It keeps water out. Choose the right color for your tiles. Mix it well before use.
Planning The Layout
Planning the layout is crucial for a kitchen tile project. Measure the space accurately to determine tile quantity and placement. Consider tile patterns and grout lines for a cohesive design.
Measuring The Space
Get a tape measure and check the kitchen’s size. Measure the lengthand widthof the floor. Write down each measurement carefully. These numbers help buy the right amount of tiles. Accurate measurements prevent mistakes.
Creating A Reference Line
Find the middle of the room using measurements. Mark a straight linefrom one wall to the other. This line helps lay tiles evenly. Use a chalk line for accuracy. It keeps tiles straight and neat.
Dry Laying Tiles
Before gluing, place tiles on the floor. This shows how they fit together. Check how they look and adjust if needed. This step helps avoid cutting tiles later. Make sure patterns or colors look good. Dry laying saves time and effort.
Applying Adhesive
Applying adhesive correctly ensures tiles stick firmly in the kitchen. Spread a thin layer using a notched trowel. This creates grooves for better grip and alignment, ensuring a smooth finish.
Mixing The Adhesive
Prepare your adhesive by following the package instructions. Use a clean bucket for mixing. Stir until the adhesive is smooth and free of lumps. Proper mixing ensures strong tile bonding.
Spreading The Adhesive
Use a notched trowel to spread adhesive evenly on the floor. Work in small sections to prevent drying. Avoid spreading too much at once. This helps in setting tiles correctly.
Setting The Tiles In Place
Press each tile firmly into the adhesive. Ensure tiles are aligned properly. Use spacers for even gaps between tiles. Check with a level to maintain flatness.

Credit: food52.com
Cutting And Fitting Tiles
Start by measuring your kitchen floor area. Mark where each tile should fit. Use a tile cutter for precision. Ensure tiles are aligned and spaced evenly. Adjust with spacers for uniform gaps. Apply adhesive and press tiles firmly. Check for levelness as you progress.
Using A Tile Cutter
Tile cutters help make straight cuts. Place the tile on the cutter. Align the blade with the mark. Push down to cut. Use smooth motion for best results.
Fitting Tiles Around Obstacles
Measure spaces around obstacles like pipes. Cut tiles to fit. Use nippers for small areas. Check the fit before placing. Adjust if necessary.
Ensuring Consistent Spacing
Use spacers between tiles. Spacers keep gaps even. Check alignment often. Make sure tiles stay straight. Adjust if tiles shift.
Grouting The Tiles
Grouting tiles adds the final touch to your kitchen floor. It seals gaps, prevents moisture, and enhances durability. Choose the right grout color for a seamless look.
Choosing The Right Grout
Grout comes in different colorsand types. Choose a color that matches your tiles. There are two main types: sandedand unsanded. Sanded grout is good for wider gaps. Unsanded grout is smooth and works for small gaps.
Applying Grout Evenly
Use a grout float to spread grout. Hold it at a 45-degree angle. Press the grout into the gaps between tiles. Work in small sections for best results. Make sure the grout fills all spaces completely.
Cleaning Excess Grout
After applying grout, let it sit for a few minutes. Use a damp sponge to wipe away extra grout. Be gentle to keep the grout in the gaps. Rinse the sponge often to clean it.

Credit: www.youtube.com
Sealing And Finishing
Sealing and finishing tile ensures durability and a smooth look. Use a quality sealant to protect tiles from stains. Apply evenly for a polished appearance.
Choosing A Sealant
Select a sealantthat suits your kitchen tiles. There are different types. Some are for ceramictiles, others for porcelain. Check the label on the sealant. Make sure it matches your tiles. This will keep them shiny and protected. A good sealant stops water and stains. It helps your tiles last longer.
Applying Sealant Properly
Start by cleaning the tiles first. Use a soft cloth to dry them. Then, apply the sealant with a brush. Cover all the tiles evenly. Make sure to reach the corners. Let the sealant dry for a few hours. Sometimes, you may need a second coat. Check the instructions on the bottle. They will guide you.
Final Cleaning And Polishing
After the sealant dries, clean the tiles again. Use a damp cloth for this. Remove any extra sealant on the tiles. This prevents sticky spots. Finally, polish the tiles gently. A soft cloth works best. This makes the tiles shine bright. Your kitchen will look freshand new.
Frequently Asked Questions
What Tools Do I Need To Lay Kitchen Tile?
To lay kitchen tile, you need a trowel, tile cutter, spacers, and a level. You also need adhesive, grout, and safety gear. Proper tools ensure a smooth tiling process and professional results.
How Do I Prepare The Kitchen Floor?
Clean the floor thoroughly and ensure it’s dry and level. Remove any debris or old flooring. Use a leveling compound if necessary. Proper preparation prevents future tile issues.
Can I Tile Over Existing Kitchen Tiles?
Yes, you can tile over existing tiles if they are stable. Ensure the old tiles are clean and intact. This method saves time but requires careful assessment.
How Long Does It Take To Lay Kitchen Tile?
Laying kitchen tile usually takes 2-3 days. This includes preparation, installation, and drying time. Complex designs or large areas may take longer.
Conclusion
Laying tile in your kitchen can be rewarding. The process is straightforward with the right tools. First, gather all necessary materials. Then, prepare the surface carefully. Next, measure and plan your layout. Begin laying tiles from the center. Use spacers for even gaps.
Apply grout once tiles set. Finally, clean the tiles for a polished look. With patience, your kitchen will transform beautifully. Enjoy your new, stylish floor. Remember, practice makes perfect. Don’t rush the job. Follow these steps, and you’ll succeed. Happy tiling!