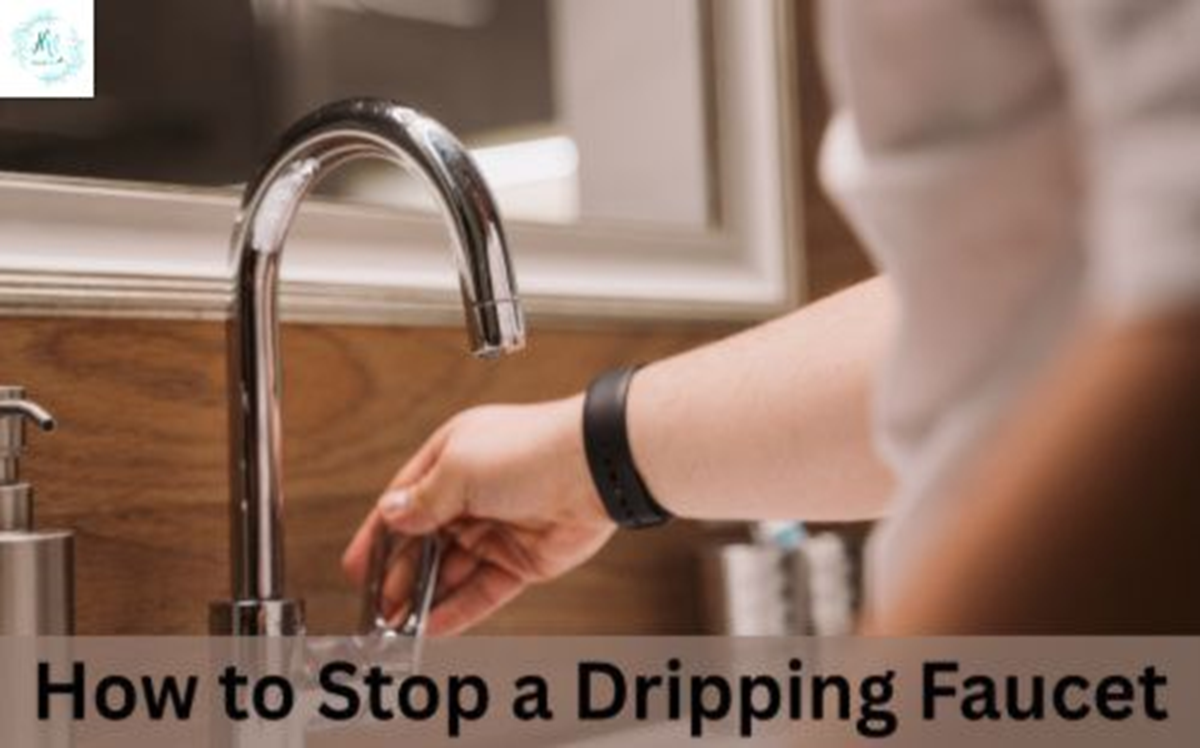
Have you ever been haunted by the relentless drip-drip-drip of your kitchen faucet, echoing through your home like a tiny, persistent reminder that something needs fixing? You’re not alone.
A dripping faucet is more than just an annoyance; it’s a water-wasting problem that can lead to higher bills and even damage over time. But here’s the good news: you can stop it. Yes, you can say goodbye to the nuisance and reclaim your peace at home without calling a plumber.
Imagine the satisfaction of solving this problem yourself, saving money, and having a quiet kitchen once again. We’ll guide you through simple steps to stop that drip, making it easier for you to enjoy your space without the constant sound of wasted water. Ready to take control? Let’s dive in and fix that faucet!
Identify The Type Of Faucet
First, check the faucet’s design. Common types are ball, cartridge, compression, and ceramic disk. Each type has unique parts and fixing methods. Look at the handle to determine the faucet type.
Ball faucets have one handle that moves in a circular motion. Cartridge faucets use a lever or double handle. Compression faucets have two separate handles for hot and cold water. Ceramic disk faucets have a sleek look and often one handle.
Understanding the faucet type helps in getting the right tools. It also guides you on the correct repair method. Identifying the type is crucial for effective repairs.

Credit: plumbing-united.com
Gather Necessary Tools
Fixing a dripping faucet is easy with the right tools. First, grab a wrench. This helps you tighten loose parts. Next, get a screwdriver. You might need this to remove screws. Have plumber’s tape ready too. It helps seal connections. A bucket is useful for catching water. Don’t forget a towel to wipe spills. Lastly, have replacement parts if needed. O-rings and washers are common replacements. Now, you’re all set to fix the drip!
Turn Off Water Supply
First, find the water valve under the sink. It’s usually near the pipes. Turn the valve to the right to stop the water flow. This stops the water from leaking. You might need a wrench if it’s tight. After turning, check if the faucet stops dripping. If it continues, the valve might not be fully closed.
Sometimes, the main water supply needs to be turned off. Look for it in the basement or near the street. Turn it off by rotating the handle clockwise. Ensure everyone in the house knows this step. It helps in emergencies too.
Always check for leaks after turning off the water. If there’s no drip, you’re on the right track. If the drip persists, other steps are needed. But turning off water is the first and important step.
Disassemble The Faucet
Turn off the water supplyunder the sink. This stops water flow. Use a wrench to remove the faucet handle. Find the screw and unscrew it. Take off the handle carefully. Next, remove the packing nut. Use pliers for this step. Be gentle to avoid damage. Pull out the stem. Check for any wear or damage. Replace if needed. Look at the O-ring. If it’s worn, change it. Put the stem back in place. Screw the packing nut back on. Reattach the faucet handle. Tighten the screw firmly. Turn on the water supply. Check for leaks.
Replace Damaged Parts
First, turn off the water supply. This stops the water flow. Use a wrench to remove the faucet handle. Look for any broken parts inside. Worn-out washers or seals are common culprits. Replace these with new ones. Check the faucet cartridge. A damaged cartridge often causes leaks. Swap it with a matching new one.
Use the right tools for each part. This includes a screwdriver and pliers. Follow the instructions carefully. Tighten everything back in place. Ensure all parts fit well. Test the faucet by turning the water on slowly. Check for any drips. If it still leaks, repeat the steps. Make sure every part is secure.

Credit: handy-vibes.com
Reassemble And Test
Start by putting the faucet parts back together. Ensure each piece is clean and dry. Carefully place the washer and screw in their spots. Use a wrench to tighten them. Do not over-tighten.
Next, attach the handle. Make sure it fits snugly. Turn the water supply back on. Slowly open the faucet to check for drips. If there is a drip, recheck the parts. Adjust if needed.
Make sure the water flows smoothly. Listen for any strange noises. If everything seems fine, your faucet is fixed. Enjoy your drip-free kitchen!

Credit: www.tiktok.com
Frequently Asked Questions
Why Is My Kitchen Faucet Dripping?
A dripping faucet is often due to worn-out washers or seals. Over time, these components can degrade. This causes leaks. Mineral deposits or corrosion can also contribute to the issue. Regular maintenance and inspection can prevent these problems. Addressing the underlying cause promptly can save water and reduce utility bills.
How Can I Fix A Dripping Faucet?
To fix a dripping faucet, start by turning off the water supply. Disassemble the faucet to identify worn components. Replace any faulty washers or seals. Reassemble the faucet carefully, ensuring all parts are secure. Turn the water supply back on and check for leaks.
If the issue persists, consult a professional plumber.
What Tools Do I Need To Stop A Leak?
Common tools needed include an adjustable wrench, screwdriver, and plumber’s tape. You may also need replacement washers or seals. Having a set of Allen wrenches can be useful. These tools help in disassembling and reassembling the faucet. Ensure all tools are in good condition to avoid damaging faucet components.
How Often Should I Check My Kitchen Faucet?
It’s advisable to check your kitchen faucet every six months. Regular inspections help identify potential issues early. This prevents costly repairs and water wastage. Look for signs of wear, corrosion, or mineral buildup. Addressing minor issues promptly can extend the faucet’s lifespan.
Regular maintenance ensures efficient operation.
Conclusion
Fixing a dripping kitchen faucet is simpler than you think. A few basic tools and some patience go a long way. First, turn off the water supply. Next, identify the type of faucet you have. Then, carefully replace any worn-out parts.
Testing the faucet ensures no more drips. Regular maintenance prevents future leaks. Save money and water with these easy steps. A dry kitchen sink is within your reach. Enjoy the peace of a silent, drip-free faucet.