Are you staring at your kitchen backsplash, dreaming of a fresh new look but unsure where to start? You’re not alone.
Many homeowners feel the same way, wanting to update their kitchen without the hassle of a total renovation. Removing a kitchen backsplash might seem daunting, but with the right guidance, it can be a straightforward task that transforms your space.
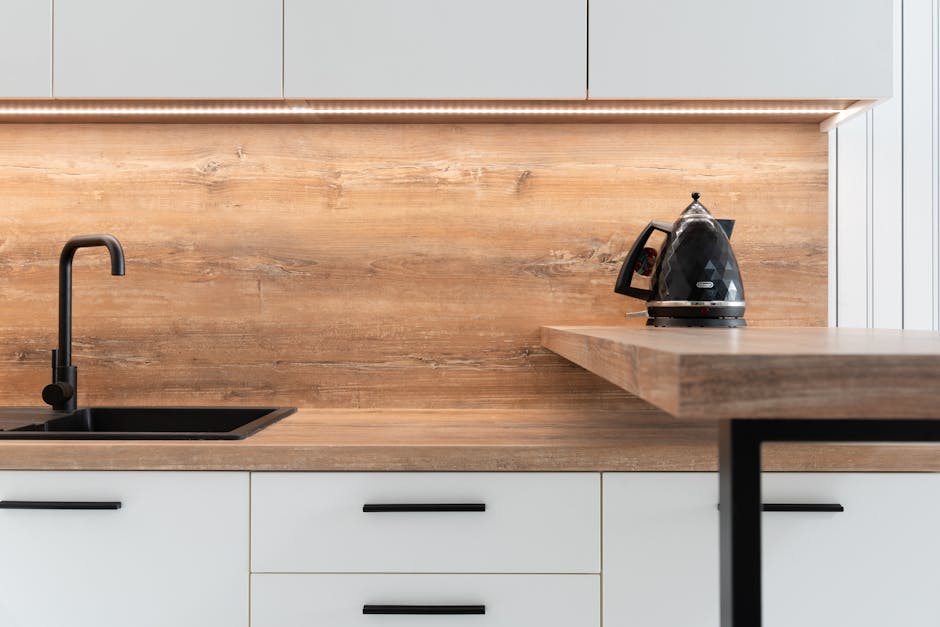
Imagine walking into your kitchen and feeling a renewed sense of satisfaction and pride. You can achieve this with just a few simple steps. Keep reading to discover how easy it is to remove your kitchen backsplash and begin the journey towards a kitchen that truly reflects your style. Let’s dive in and make the change you’ve been waiting for.

Credit: www.mrhandyman.com
Preparing Your Workspace
Begin by clearing the countertop. Remove any items like jars or utensils. This ensures nothing gets damaged during the process. Lay down a drop cloth or old sheet. It will catch falling debris. Protects your floor from scratches and mess.
Locate the power outlets. Ensure they are switched off for safety. Use painter’s tape to cover them. This prevents dust from entering the sockets. Gather all necessary tools. A putty knife and a scraper are essential. Keep them within reach for easy access.
Ensure good lighting in the workspace. A bright area helps you see better. This avoids mistakes while removing the backsplash. Wear protective gloves and goggles. Safety is important to prevent injuries. Now, your workspace is ready for action!

Credit: www.mrhandyman.com
Gathering Necessary Tools
Before you start, gather all the tools you need. This makes the job easier. You will need a putty knifeor a scraper. These help remove the tiles. A heat guncan soften the adhesive. Use safety gogglesto protect your eyes. Glovesprotect your hands from sharp edges. A bucketand sponge will help clean up. You might need a utility knifefor cutting. Make sure you have everything ready. It saves time and effort.
Removing Tile Backsplash
Start by preparing the area. Cover the countertops with a protective cloth. Wear gloves and goggles for safety.
Use a putty knife to pry tiles gently. Work slowly to avoid damage. If tiles resist, use a hammer to tap the knife.
Remove old adhesive with a scraper. Clean the wall thoroughly. Make sure all residues are gone.
Check for any wall damage. Repair it with spackle if needed. Let it dry completely.
Dispose of old tiles properly. Follow local waste guidelines. Clean the workspace once done.
Handling Adhesive Residue
Removing adhesive residue can be tricky. Start by scraping gentlywith a putty knife. Be careful not to damage the wall. If residue persists, try soapy water. Mix soap in warm water and scrub with a sponge. For stubborn spots, use a vinegar solution. Combine equal parts vinegar and water. Apply with a cloth and let it sit for a few minutes. Then wipe clean. If needed, use a commercial adhesive remover. Follow instructions on the package. Always test it on a small area first. Keep the room well-ventilated. This helps to avoid any strong smells. Finish by wiping the areadry with a clean towel. Make sure all residue is gone before proceeding.
Cleaning And Repairing Walls
Start by removing any leftover adhesive from the wall. Use a putty knife to gently scrape off the glue. Be careful not to damage the wall. Next, clean the wall with warm, soapy water. This will remove any dirt or grease. Dry the wall completely with a soft cloth.
After cleaning, check for any cracks or holes. These need to be fixed before a new backsplash can be installed. Use a wall filler or spackle to repair these areas. Apply it with a putty knife and smooth it out. Let it dry completely.
Once the repairs are dry, sand the area lightly. This makes the wall smooth and ready for painting or tiling. Use fine-grit sandpaper for the best results. Clean the wall again to remove any dust. Now, the wall is clean and ready for the next steps in your kitchen project.

Credit: www.edwardmartin.com
Safety Tips And Precautions
Wear safety gogglesto protect your eyes from flying debris. Gloves keep your hands safe from sharp edges. A dust mask helps you avoid inhaling dust particles. Turn off the electricityin the kitchen to prevent shocks. Secure loose wires with tape.
Keep the area well-lit to see clearly. Use a flashlight if needed. Ensure the floor is dryto prevent slipping. Remove small items from the counter to avoid accidents. Alert others in the house about the work.
Have a first aid kit nearby for minor injuries. Work slowlyand carefully to avoid mistakes. If you feel unsure, ask for help from a friend. Follow these tips for a safe backsplash removal.
Frequently Asked Questions
How Do I Start Removing A Backsplash?
Begin by turning off power to nearby outlets. Then, use a utility knife to cut through caulk or adhesive around the edges. Carefully pry off tiles using a putty knife or chisel. Work slowly to avoid damaging the drywall beneath.
What Tools Are Needed For Backsplash Removal?
You’ll need a utility knife, putty knife, and a chisel. Additionally, safety goggles and gloves are essential for protection. A heat gun can help loosen stubborn adhesive. These tools ensure a safe and efficient removal process.
Can I Remove A Backsplash Without Damaging The Wall?
Yes, it’s possible with careful technique. Use a putty knife or chisel to gently pry tiles. Avoid excessive force to prevent wall damage. Removing adhesive residue with a heat gun or adhesive remover ensures a clean surface.
How Long Does Backsplash Removal Take?
The duration depends on the size and type of backsplash. Generally, it can take between two to four hours. More complex installations may require additional time. It’s important to work patiently for the best results.
Conclusion
Removing a kitchen backsplash is easier than it seems. Follow the steps carefully. Gather your tools and materials beforehand. Start from one corner and work across. Be patient and take your time. Watch for any damage to the wall. Clean the surface thoroughly after removal.
This prepares the area for a new design. Safety is important, so use protective gear. Enjoy the fresh look of your kitchen. A new backsplash can refresh your space. With these tips, the task becomes manageable. Happy renovating!