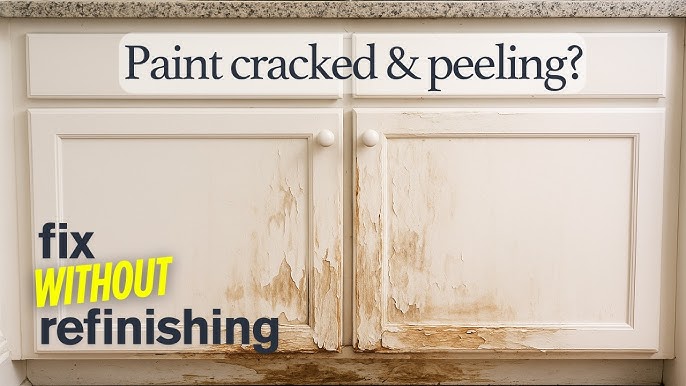
Is your kitchen sink looking dull, chipped, or stained? You don’t need to replace it to give your kitchen a fresh new look.
Repainting your kitchen sink is a simple and affordable way to bring it back to life. Imagine turning your worn-out sink into a stylish centerpiece that matches your kitchen’s vibe—all with just a few easy steps. In this guide, you’ll discover exactly how to repaint your kitchen sink like a pro, saving money and avoiding the hassle of a full renovation.
Ready to transform your sink and boost your kitchen’s appeal? Let’s dive in!
Gathering Supplies
Choosing the right paint is key to a long-lasting finish. Use paint made for sinks or cabinets. It should resist water and stains. Look for epoxy or acrylic enamel paint. These types stick well and dry hard.
Essential tools include:
- Sandpaper to smooth the sink surface
- Painter’s tape to protect edges
- Paintbrushes or small rollers for smooth application
- A clean cloth to wipe dust
- A primer to help paint stick better
Safety gear is important to protect yourself. Wear gloves to keep paint off your skin. Use a mask to avoid breathing in fumes. Make sure the room is well-ventilated. Safety glasses protect your eyes from splashes.

Credit: www.prettydistressed.com
Preparing The Sink
Start by cleaning the sinkwell. Use soap and water to remove dirt and grease. A clean sink helps paint stick better.
Remove any old paintthat is peeling or chipping. Use a scraper carefully to avoid damage.
Sanding the surfacemakes it smooth. Use fine-grit sandpaper and sand evenly. This step helps the new paint hold well.
Protect areas around the sink. Use masking tapeand plastic sheets to cover counters and walls. This keeps paint off unwanted spots.
Applying Primer
Applying primer creates a smooth base for paint to stick well on the kitchen sink surface. It prevents peeling and improves durability for a longer-lasting finish. Ensure the primer is fully dry before painting.
Selecting A Suitable Primer
Choosing the right primer is very important. Epoxy primers work well for metal sinks. Rust-resistant options are best. This helps the paint last longer. Always read labels carefully. Check for compatibility with your sink material.
Primer Application Tips
Apply primer with a small roller or brush. Use even strokes. Cover all areas of the sink. Thin coats dry better than thick ones. Make sure to ventilate the room. Fresh air helps the primer dry.
Drying Time
Let the primer dry completely. This may take a few hours. Touch-test to check dryness. If it feels sticky, wait longer. Always follow the instructions on the primer can. Proper drying helps the paint stick well.

Credit: www.youtube.com
Painting The Sink
Choose paint made for sinks or tiles.These paints resist water and stains well. Acrylic epoxy or polyurethane paints work best. Avoid regular wall paint; it peels quickly. Clean the sink fully before painting. Remove grease, dirt, and soap scum. Use fine sandpaper to roughen the surface. This helps paint stick better.
Use a good brush or small roller for smooth paint. Apply paint in thin, even layers. Avoid thick coats to stop drips and bubbles. Paint edges carefully to cover all areas.
- Apply multiple thin coats.
- Let each coat dry before next.
- Usually, 2 to 3 coats are enough.
Let paint dry for 24 hours after last coat. Full curing may take up to 7 days. Avoid heavy use during this time. This ensures the paint stays strong and lasts longer.
Finishing Touches
Carefully peel off the tape while the paint is still slightly wet. This helps avoid chipping or peeling the fresh paint. Pull the tape slowly at a sharp angle for a clean edge.
Look closely at the sink surface for any paint spots or rough areas. Use fine sandpaper to smooth out bumps or drips. Small touch-ups with a paintbrush can fix missed spots.
Clean the sink gently with a soft cloth and mild soap. Remove dust, paint flakes, and any leftover residue. Rinse well and dry with a clean towel to prevent water marks.
Maintaining The Repainted Sink
Use a soft sponge or cloth for cleaning. Avoid rough scrubbing pads.
Use mild soap and warm water. Harsh chemicals can damage the paint.
- Do not place hot pots directly on the sink surface.
- Avoid dropping heavy objects to prevent chips.
- Do not use abrasive cleaners or steel wool.
Keep some paint for small repairs. Fix scratches quickly to prevent peeling.
Clean the area before applying touch-up paint. Let it dry fully for best results.

Credit: food52.com
Frequently Asked Questions
How Do I Prepare My Kitchen Sink For Repainting?
Clean the sink thoroughly to remove dirt and grease. Sand the surface lightly for better paint adhesion. Mask off surrounding areas to avoid paint splatter. Ensure the sink is dry before starting the painting process.
What Type Of Paint Is Best For Kitchen Sinks?
Use epoxy or enamel-based paint designed for high moisture and heat resistance. These paints provide durability and a smooth finish. Avoid regular wall paint, as it won’t withstand daily sink use or water exposure.
How Long Does The Kitchen Sink Paint Take To Dry?
Typically, the paint dries to touch within 4-6 hours. Full curing takes 24-48 hours for maximum durability. Avoid using the sink during this period to prevent damaging the paint finish.
Can I Repaint A Stainless Steel Kitchen Sink?
Yes, you can repaint stainless steel sinks using appropriate primers and paints. Use a bonding primer designed for metal surfaces. Proper surface preparation is crucial for paint adhesion and long-lasting results.
Conclusion
Repainting your kitchen sink can freshen up your space quickly. With the right tools and steps, you can do it yourself. Take your time to prep and paint carefully for lasting results. Small changes like this can make your kitchen feel new again.
Enjoy the satisfaction of improving your home with a simple project. Keep your sink clean to maintain its new look longer. Try this easy update and see the difference it makes.


