Is your kitchen faucet leaking, outdated, or just not working the way you want? Replacing it might seem tricky, but you can do it yourself with the right steps.
Imagine saving money and gaining the satisfaction of fixing something on your own. In this guide, you’ll discover simple, clear instructions that make the process easy—even if you’re not a DIY expert. Keep reading, and soon you’ll have a fresh, fully functional faucet that makes your kitchen feel brand new.

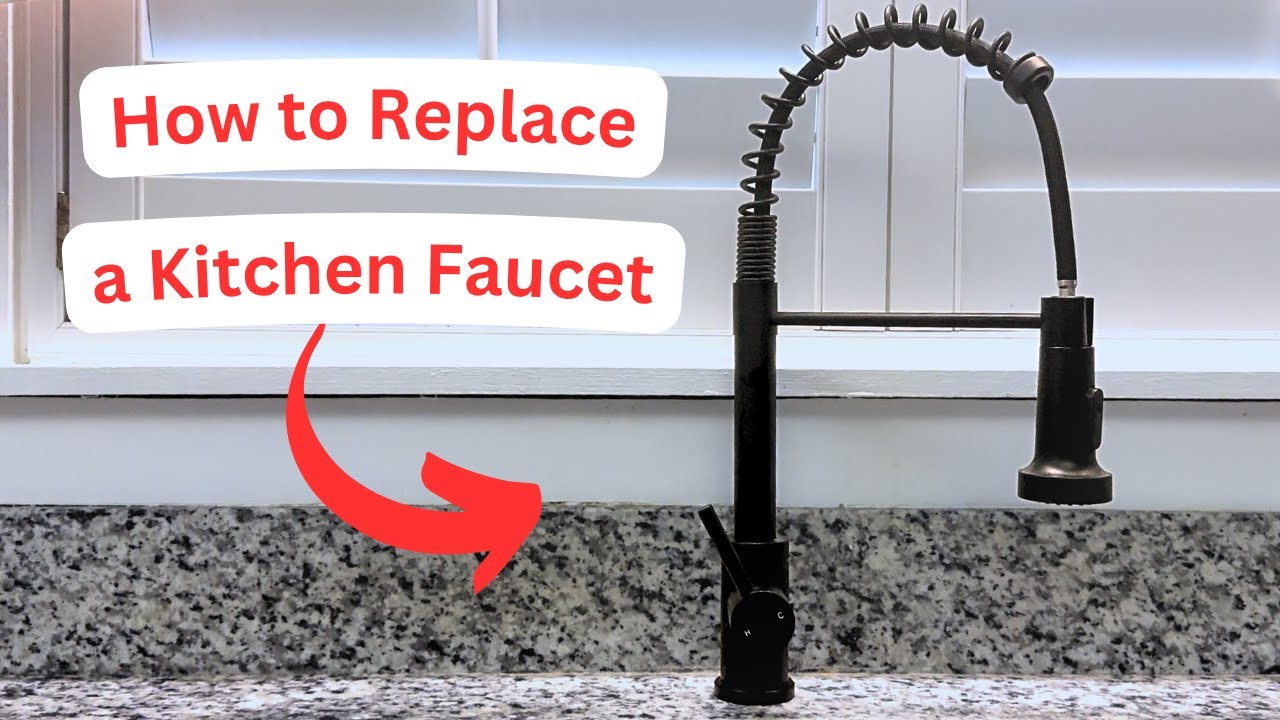
Credit: www.youtube.com
Tools And Materials
Essential tools include an adjustable wrench, basin wrench, and screwdriver. A bucket helps catch water drips. A flashlight may be needed for dark spaces under the sink.
Choosing the right faucet depends on your sink type and style. Consider single-handle faucets for easy control. Double-handle faucets offer separate hot and cold water control. Make sure the faucet fits your sink’s hole pattern.
Additional supplies like plumber’s tape prevent leaks. Clean cloths help wipe away water and debris. Silicone sealant can secure the faucet base to the sink. New water supply lines may be necessary if old ones are worn out.
Preparing The Workspace
Turn off the water supplybefore starting any work. Locate the shut-off valves under the sink and close them tightly. Open the faucet to drain any remaining water from pipes. This step prevents water spills and damage.
Clear the area around the sink. Remove dishes, soap, and other items to create enough space. A clean workspace helps avoid accidents and makes the job easier.
Protect cabinets and sink surfaces. Use old towels or cloths to cover counters and cabinet edges. This prevents scratches and water stains during faucet removal.
Removing The Old Faucet
First, turn off the water supply under the sink. Use a wrench to disconnect the water linesconnected to the faucet. Be ready with a bucket to catch any water left in the pipes.
Next, find the mounting nutsunder the sink that hold the faucet in place. Use a basin wrench or an adjustable wrench to loosen these nuts. It might be tight, so take your time.
After the nuts are loose, carefully lift out the old faucetfrom above the sink. Some twisting may help to free it. Clean the area before installing the new faucet.
Installing The New Faucet
Begin by assembling the faucet componentsaccording to the instructions. Connect parts like the spout, handles, and hoses carefully. Ensure all washers and seals are in place to prevent leaks.
Position the faucet over the sink holes. Align it so the handles and spout face the right direction. Hold the faucet steady while securing it.
- Slide the mounting hardware under the sink.
- Tighten the nuts by hand first.
- Use a wrench to firmly secure the faucet.
- Check the faucet does not move.
Connecting Water Lines
Attach the supply hoses to the faucet and the water valves firmly. Use plumber’s tape on the threads to avoid leaks. Hand-tighten first, then use a wrench carefully to avoid damaging parts.
Turn on the water supply slowly. Check all connections for any water drops or wet spots. A small leak can cause big problems later.
Use a wrench to tighten any loose connections. Do not over-tighten; this can crack fittings. Tighten just enough to stop leaks. Recheck for leaks after tightening.
Testing The Faucet
Turn on the water supply to check for leaks and proper flow. Watch closely for drips or loose fittings after installation. Testing ensures the new faucet works correctly and prevents future problems.
Ensure the water supply valves are fully open. This allows water to flow to the faucet. Check for leaks around the connections. Tighten if needed. Avoid using too much force. Turn the faucet handle. Water should flow smoothly. Listen for any unusual sounds. Noises can mean air in the pipes. Let water run for a minute. This helps remove air bubbles. Test the temperature by adjusting the handle. Make sure hot and cold work well. Feel the water with your hand. Adjust until it’s comfortable. Check the water pressure. It should be strong but not too hard. `Troubleshooting Common Issues
Leaks can cause a mess in your kitchen. First, check the connections under the sink. Tighten any loose nuts or bolts. Use a wrench for stubborn ones. If the faucet itself leaks, replace the washer. This small rubber piece stops water from dripping. Make sure it’s the right size. Secure it tightly in place. Reassemble the faucet and test for leaks again.
Low water pressure is frustrating. Start by cleaning the aerator. This small screen sits at the faucet tip. Unscrew it carefully. Rinse it under running water. Remove any debris or buildup. If pressure is still low, check the supply lines. Ensure they are not kinked or blocked. Clear any obstructions you find.
Loose fixtures make the faucet wobble. This can lead to leaks. Tighten the mounting nuts under the sink. Use a basin wrench for hard-to-reach areas. If they won’t tighten, replace them. Ensure the faucet sits flush with the sink. Test it by turning the handle. It should move smoothly and stay in place.

Credit: www.youtube.com
Maintenance Tips
Regular cleaning keeps the kitchen faucet working well. Wipe the faucet with a soft cloth and mild soap. Avoid harsh cleaners that can damage the finish. Rinse and dry to prevent water spots and stains.
Preventing mineral buildup saves time and effort. Use vinegar to soak areas with white deposits. A small brush can help remove stubborn spots. This stops clogs and keeps water flowing smoothly.
Replacing parts when needed is key for long life. Check washers, O-rings, and cartridges for wear. Changing these parts fixes leaks and drips fast. Keep spare parts handy for quick repairs.

Credit: directplumber.sg
Frequently Asked Questions
How Do I Remove The Old Kitchen Faucet?
Turn off water supply valves under the sink. Disconnect supply lines using a wrench. Remove mounting nuts securing the faucet. Lift the old faucet out carefully. Clean the sink surface before installing the new faucet.
What Tools Are Needed To Replace A Kitchen Faucet?
You need an adjustable wrench, basin wrench, screwdriver, plumber’s tape, and bucket. These tools help loosen fittings and secure the new faucet properly. Having towels and gloves handy is also useful to manage water spills.
How Long Does It Take To Replace A Kitchen Faucet?
Replacing a kitchen faucet usually takes 30 to 60 minutes. Time depends on faucet type and your experience. Preparing tools and shutting off water supply beforehand speeds up the process.
Can I Replace A Kitchen Faucet Myself?
Yes, you can replace a kitchen faucet yourself. Basic plumbing knowledge and the right tools are essential. Follow step-by-step instructions carefully to avoid leaks and damage. If unsure, consider professional help.
Conclusion
Replacing a kitchen faucet can save money and improve your space. Follow clear steps for a smooth, quick fix. Take your time to avoid leaks and loose parts. Use the right tools and check your work carefully. A new faucet can refresh your kitchen’s look.
Enjoy the satisfaction of doing it yourself. Small repairs build your confidence for future projects. Keep instructions handy for any future maintenance needs. Simple tasks like this make your home feel more personal and cared for.