Are your kitchen cabinets looking a little worse for wear? Perhaps they’ve lost their shine, or maybe they’re sporting a few too many scratches and stains from years of use.
Whatever the case, you might be wondering how to restore them to their former glory without breaking the bank. Here’s the good news: you can transform your kitchen cabinets with a few strategic steps and a little bit of elbow grease.
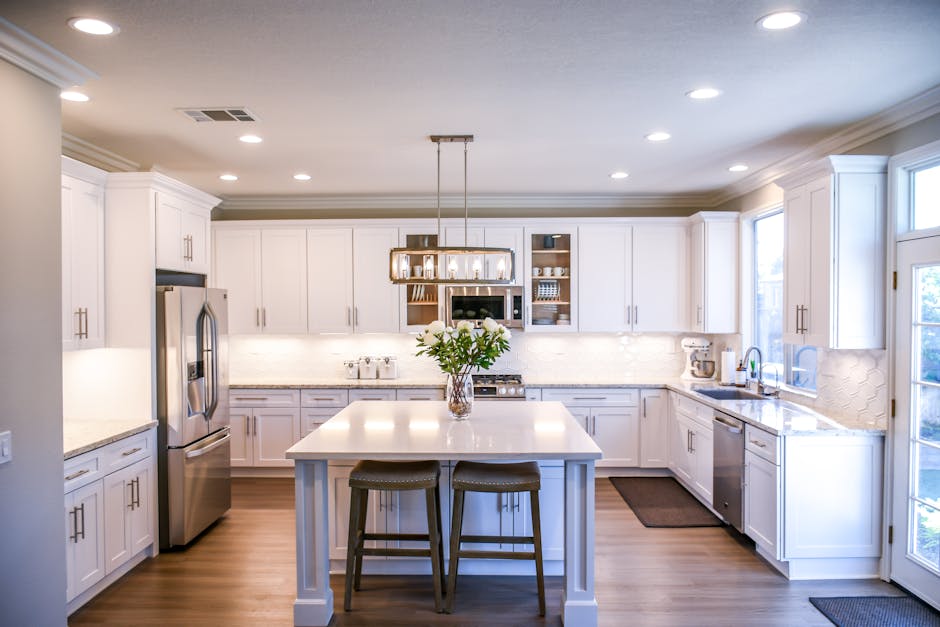
Imagine walking into your kitchen and feeling a sense of pride and satisfaction every time you see your beautifully restored cabinets. In this guide, we’ll show you how to bring back that fresh, vibrant look and make your kitchen feel new again. Ready to turn your kitchen into a space you love? Let’s dive in and explore how you can achieve professional-looking results all by yourself.
Assess Cabinet Condition
Check for any signs of damageor wearon the cabinets. Look for scratches and dents. These can affect the appearance. Open and close doors to see if hinges work well. Make sure shelves are sturdyand not loose. Examine the finish for chippingor peeling. These could need attention. Smell for mold or musty odors inside. This can suggest water damage. Cabinets should be dry and clean. Take note of any missing handles or knobs. These are easy to replace.
Gather Necessary Materials
Before starting, collect all the needed items. You will need a soft cloth, a sponge, and a bucket of warm water. A mild soap is useful for cleaning. Have some screwdrivers handy for removing cabinet doors. Don’t forget the sandpaper for smoothing surfaces. Wood filler helps fix any cracks. A paintbrush or roller is great for painting. Keep primer and paint ready if you plan to change colors. Use a drop cloth to protect your floor. Masking tape is useful for clean lines. Always wear gloves to protect your hands. Safety comes first, so wear goggles too. Make sure you have everything before starting. This saves time and keeps you organized. Now, you are ready to restore your kitchen cabinets. Enjoy the process!
Remove Hardware
First, take out all the screws from the cabinet doors. Use a small screwdriver for tight spaces. Keep the screws in a safe place, like a small bowl. This will help you find them later.
Next, remove the knobs and handles. They might be a bit tight. Use a soft cloth to hold them and twist gently. Be careful not to scratch the cabinet.
Finally, place all the hardware in a container. This keeps everything organized. Now, your cabinet is ready for the next step. This makes the process smoother.
Clean And Sand Surfaces
First, remove all items from the cabinets. Use a soft cloth to wipe surfaces. Mix warm water and mild soap in a bowl. Dip the cloth in soapy water and wring it out. Wipe down all cabinet surfaces carefully. Make sure to remove all dirt and grease. Let the cabinets dry completely before sanding.
Next, use sandpaper to smooth the surfaces. Choose sandpaper with medium grit for this task. Gently rub the sandpaper on the cabinet. Focus on areas with rough spots. Sand until the surface feels even and smooth. Remember to wear a mask to protect from dust. Clean off any dust with a clean cloth. Now, the cabinets are ready for the next step.
Apply Primer And Paint
Start with a good quality primerfor your kitchen cabinets. This helps the paint stick better. Use a brush for corners and a roller for flat areas. Let the primer dry fully. Check the instructions on the primer can.
Once dry, it’s time to paint. Pick a durable paintfor kitchen use. Apply the paint in thin layers. Two coats are often best for a smooth finish. Let each coat dry before adding the next.
Avoid painting when it’s humid. This can make the paint take longer to dry. Use a fan if needed to speed up drying. Clean your brushes and rollers right after use. This keeps them ready for your next project.
Reattach Hardware And Finish
First, make sure all hardware is clean. Remove any dirt or grease using a mild cleaner. Properly clean handles and knobs with a soft cloth. Once they are clean, let them dry completely.
Next, carefully reattach the hardware. Align the screws and tighten them securely. Use a screwdriver to ensure everything is fastened well. Check if the handles and knobs are firm.
Finally, apply a fresh coat of finish. Choose a finish that matches your cabinet’s style. Apply evenly using a brush or cloth. Let the finish dry completely before using the cabinets.
Frequently Asked Questions
How Do I Prep Cabinets For Restoration?
Start by cleaning the surface thoroughly to remove dirt and grease. Sand the cabinets to ensure a smooth finish. Repair any dents or scratches with wood filler. Finally, apply a primer to help the paint adhere better and enhance the finish.
What Tools Are Needed For Cabinet Restoration?
You’ll need sandpaper or a sanding block, a screwdriver, paintbrushes, and a paint roller. Also, use wood filler for repairs and a primer for better paint adhesion. Safety gear like gloves and goggles is recommended to protect yourself during the process.
Can I Restore Cabinets Without Sanding?
Yes, you can use a liquid deglosser to remove the finish without sanding. Apply the deglosser with a cloth to clean the surface. This method saves time and reduces mess while preparing cabinets for painting or staining.
How Long Does Cabinet Restoration Take?
The duration depends on cabinet size and condition. Generally, it takes a weekend to complete. Allow time for cleaning, sanding, repairs, and painting. Drying time between coats is crucial for a professional finish.
Conclusion
Restoring kitchen cabinets can refresh your space without breaking the bank. Simple steps like cleaning and sanding make a big difference. Painting or staining offers a fresh look. Choose colors that match your kitchen style. Replacing hardware is a quick upgrade.
It’s easy and affordable. Take your time to ensure quality work. Your kitchen will feel new again. A little effort leads to great results. Enjoy your revamped kitchen space. Feel proud of your accomplishment. A beautiful kitchen is within reach with patience and care.
Now, get started and transform your cabinets today!