Is your kitchen faucet wobbling or leaking at the base? A loose faucet can cause annoying drips and even water damage if left unchecked.
But don’t worry—you don’t need to call a plumber right away. You can tighten your kitchen faucet base yourself with just a few simple steps. In this guide, you’ll learn exactly how to fix that shaky faucet and keep your kitchen running smoothly.
Ready to save time and avoid costly repairs? Let’s dive in and get your faucet secure again!

Credit: www.reddit.com
Signs Of A Loose Faucet Base
A wobbling faucetis a clear sign the base is loose. It moves side to side or back and forth with little force. This instability can cause damage over time.
Water leaksaround the faucet base often appear when it’s loose. Drops or puddles form, wasting water and risking damage to cabinets and counters.
Unstable handle movementmeans the handle does not feel solid. It may tilt or wiggle instead of turning smoothly. This can make controlling water flow harder.
Credit: carolinagirlcooks.com
Tools Needed For Tightening
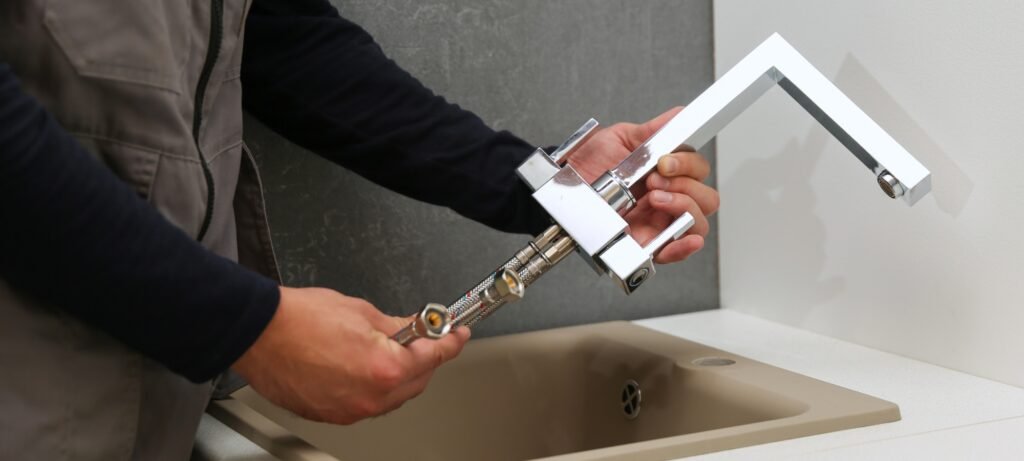
Several toolsare needed to tighten a kitchen faucet base. An adjustable wrenchhelps grip and turn nuts of different sizes. A basin wrenchis designed for tight spaces under the sink where regular wrenches can’t fit.
A screwdrivermay be needed to loosen or tighten screws securing the faucet. Using plumber’s putty or siliconehelps create a seal, preventing leaks after tightening.
- Adjustable Wrench: For gripping nuts of varying sizes.
- Basin Wrench: Reaches tight spots under the sink.
- Screwdriver: Loosens or tightens faucet screws.
- Plumber’s Putty or Silicone: Seals gaps to stop leaks.
Preparation Steps
Gather all necessary tools, like a wrench and screwdriver, before starting. Clear the area under the sink for easy access to the faucet base. Turn off the water supply to avoid leaks during tightening.
Turn Off Water Supply
Locate the valve under the sink. Turn it clockwise until it stops. This will ensure no water flows when working.Clear Under-sink Area
Remove all items from under the sink. This creates a clear workspace. Keep a flashlight handy if the area is dark.Protect Sink Surface
Place a soft cloth or towel over the sink. This protects the surface from scratches. Be gentle when placing tools on the cloth. `Accessing The Faucet Base
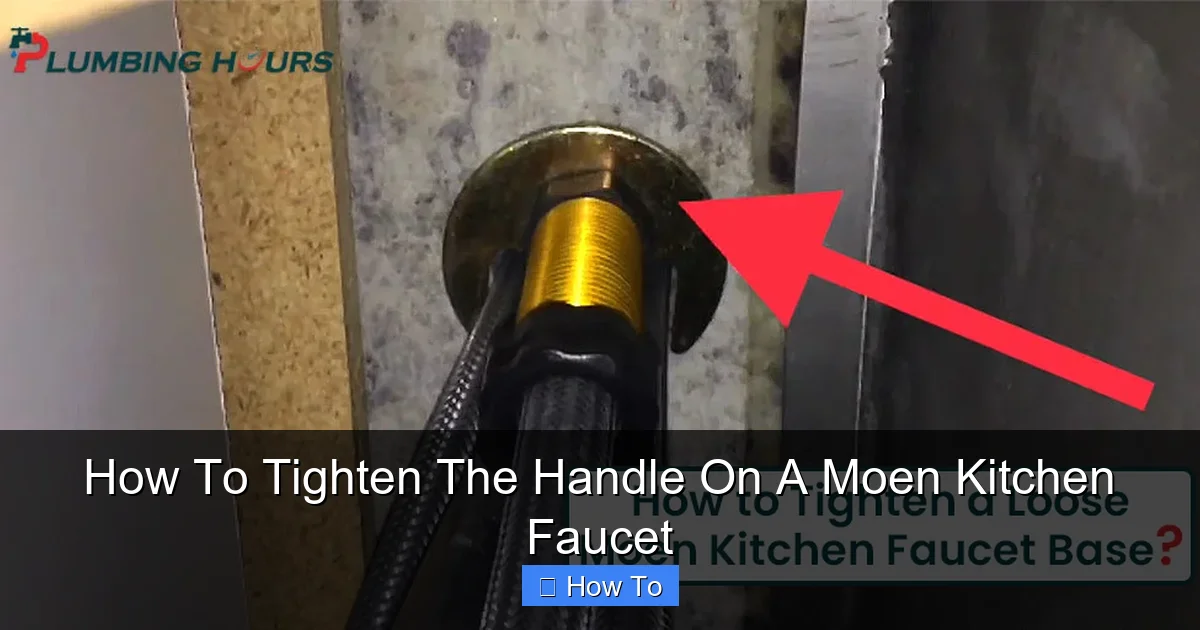
Start by finding the mounting nutsunder the sink. These nuts hold the faucet base in place. They are often hard to reach because of tight spaces.
A basin wrenchis useful here. It has a long handle and a special jaw to grip nuts in narrow spots. This tool makes loosening or tightening easier.
Check if the faucet has decorative capsat the base. These caps cover the mounting nuts. Gently pry them off with a flat tool to access the nuts underneath.
Tightening The Faucet Base
Start by hand tighteningthe faucet base. This helps avoid cross-threading and makes sure the faucet sits properly.
Next, use a wrenchfor a more secure fit. Turn the wrench slowly to tighten the base firmly but gently.
Be careful to avoid over-tightening. Too much force can damage the faucet or sink surface.
Sealing And Finishing
Apply a ring of plumber’s puttyor silicone sealantaround the base of the faucet. This helps to stop water from leaking under the sink. Press the faucet firmly into place to ensure a tight seal.
After sealing, reattach the decorative caps. These caps cover screws or bolts and give the faucet a clean look. Make sure they fit snugly and align properly.
Use a cloth to clean up any excess sealant. Removing extra putty or silicone keeps the area neat and prevents buildup. Let the sealant dry fully before using the faucet.
Testing For Stability And Leaks
Turn on the water supply slowly to check the faucet’s function. Listen for any unusual sounds. Watch closely for leaks around the base.
Test the faucet by gently moving it side to side. It should feel firm. Any movement means it needs tightening.
Inspect the area under the sink for drips. Use a dry cloth to spot moisture. Even small drops can cause damage over time.
- Water flow steady without sputtering
- Faucet base does not wobble
- No water drops or wet spots

Credit: www.reddit.com
When To Call A Professional
Persistent leaks under the sink can cause water damage. Fixing them might need special tools and skills. Damaged faucet parts like washers or seals often need replacement. Some damage is hard to see but affects faucet function.
Accessing mounting nuts can be tricky. Tight spaces make tools hard to use. If nuts are rusted or stuck, extra effort is required. Professionals have the right tools and experience.
- Leaks that keep coming back
- Broken or worn-out faucet parts
- Hard-to-reach mounting nuts
Calling a professional ensures the job is done safely and correctly. It saves time and prevents bigger problems later.
Frequently Asked Questions
How Do I Tighten A Loose Kitchen Faucet Base?
First, turn off the water supply. Then, locate and tighten the mounting nuts under the sink using a basin wrench. Check the base for stability and ensure no leaks are present after tightening.
What Tools Are Needed To Tighten A Kitchen Faucet Base?
You typically need a basin wrench, adjustable wrench, and possibly a screwdriver. These tools help access and tighten the mounting nuts securing the faucet base under the sink.
Can Tightening The Faucet Base Stop Water Leaks?
Yes, tightening the base can prevent leaks caused by loose connections. Ensure the mounting nuts are snug but avoid overtightening, which may damage seals and cause further leaks.
How Often Should I Check My Kitchen Faucet Base?
Inspect your faucet base every 6 to 12 months. Regular checks help catch loosening early and prevent leaks or damage from occurring over time.
Conclusion
Tightening your kitchen faucet base helps stop leaks and wobbling. It saves water and avoids bigger repairs later. You only need a few simple tools to do it. Follow the steps carefully and take your time. A stable faucet makes your kitchen work easier and cleaner.
Keep checking it now and then to stay safe. Small fixes like this improve your home without much effort. Try it yourself and enjoy a steady faucet every day.