Are you dealing with a leaky or clogged pipe under your kitchen sink? Knowing how to change those pipes yourself can save you time, money, and the hassle of calling a plumber.
It might seem tricky at first, but with the right steps, you can fix it quickly and confidently. In this guide, you’ll discover simple, clear instructions that anyone can follow. By the end, you’ll feel empowered to tackle this common household repair and keep your kitchen running smoothly.
Ready to get started? Let’s dive in.
Tools And Materials Needed
Essential toolsinclude a pipe wrench, adjustable pliers, and a bucket to catch water. A flashlight helps see under the sink clearly. You also need plumber’s tape to seal connections and a utility knife for cutting pipes.
Types of pipescommonly found under kitchen sinks are PVC, copper, and galvanized steel. PVC pipes are white or gray plastic and easy to cut. Copper pipes are metal and last long but need special tools. Galvanized steel pipes are old and can rust over time.
Additional suppliesmight include pipe connectors, replacement washers, and joint compound. Keep some rags handy to clean up spills. A small container can hold old screws and parts to avoid losing them.

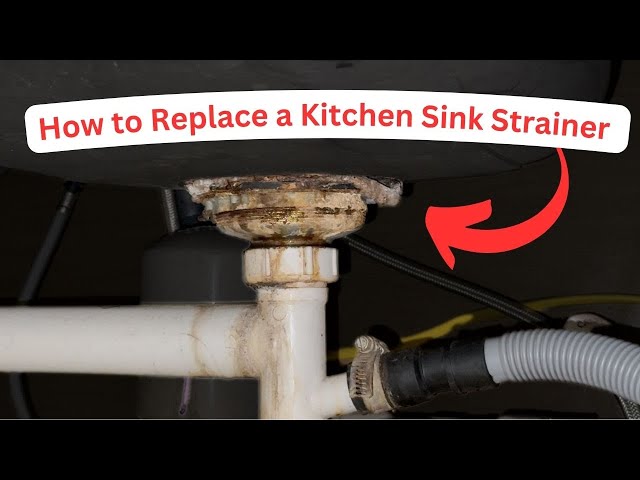
Credit: www.reddit.com
Preparing The Workspace
First, turn off the water supplyto avoid leaks. Usually, the shut-off valve is under the sink. Close it tightly.
Next, clear the areabeneath the sink. Remove items like cleaning supplies or trash bins. This gives you space to work safely and easily.
Gather basic safety gearbefore starting. Use gloves to protect your hands from sharp edges. Safety goggles keep your eyes safe from debris or splashes.
- Turn off water supply
- Clear under-sink area
- Wear gloves and goggles
Removing The Old Pipes
Start by turning off the water supply under the sink. Use a wrench to loosen pipe connections. Pipes may be tight, so take your time.
Next, remove the trap carefully. The trap is the curved pipe under the sink. It holds water to stop odors. Be ready for some water to spill out.
Check all fittings around the trap. They might need loosening or unscrewing. Keep a bucket nearby to catch any drips.
Old pipes should be disposed of properly. Do not throw them in regular trash. Many places have special recycling or disposal rules for pipes.
- Turn off water supply
- Use wrench to loosen connections
- Remove trap carefully
- Handle fittings gently
- Dispose of old pipes responsibly

Credit: www.doityourself.com
Installing New Pipes
Measure the pipe length carefully before cutting. Use a tape measure for accuracy. Mark the cutting points clearly on the pipe. Use a pipe cutter or saw for a clean cut. Smooth the edges with sandpaper to avoid leaks.
Gather all pipe components needed for assembly. Check for washers, nuts, and connectors. Fit pieces together snugly but without forcing. Align pipes to ensure smooth water flow.
Use plumber’s tape or sealant on threaded parts. Tighten connections by hand first, then use a wrench. Avoid overtightening to prevent damage. Check all joints for leaks after assembly.
Testing For Leaks
Turn the water back on slowly to check for leaks. Watch the pipes closely as water flows. Look for drips or wet spots near joints and connections. Use a dry cloth to wipe around the pipes and see if it gets wet again. This helps find small leaks you might miss.
Inspect all pipe joints carefully. Joints are common places for leaks. Tighten any loose connections with a wrench. Make sure not to overtighten, or pipes may crack. Check the washers and seals inside the joints. Replace any that look worn or damaged.
Fix minor leaks by applying plumber’s tape around threads. This tape helps seal connections tightly. For tiny cracks, use pipe sealant or waterproof epoxy. Let the sealant dry before turning water back on fully. If leaks persist, consider replacing the faulty pipe parts.

Credit: www.reddit.com
Maintenance Tips
Regular inspection helps catch leaks early. Check pipes under the sink for cracks or drips. Look for water stains or damp spots on cabinet floors. Tighten loose fittings to stop leaks. Keep an eye out for rust or corrosion on metal pipes.
Preventing clogs keeps water flowing smoothly. Avoid pouring grease or food scraps down the drain. Use a drain strainer to catch debris. Flush drains with hot water weekly to clear small blockages. Baking soda and vinegar can help clean pipes naturally.
Call a professional when leaks persist or pipes burst. Strange noises or foul smells signal a problem. If water pressure drops suddenly, it may be a sign of a serious issue. Professionals have tools to fix tough pipe problems safely and quickly.
Frequently Asked Questions
How Do I Turn Off Water Before Changing Sink Pipes?
Locate the shut-off valves under the sink and turn them clockwise. If absent, turn off the main water supply. This prevents leaks while replacing pipes safely.
What Tools Are Needed To Replace Kitchen Sink Pipes?
You’ll need a wrench, bucket, plumber’s tape, and replacement pipes. These tools help remove old pipes and install new ones efficiently.
How Long Does It Take To Change Kitchen Sink Pipes?
Changing pipes typically takes 30 to 60 minutes for a DIYer. Complexity depends on pipe type and sink accessibility.
Can I Reuse Old Pipes Under The Kitchen Sink?
It’s not recommended to reuse old pipes if they’re corroded or damaged. New pipes ensure better durability and leak prevention.
Conclusion
Changing pipes under the kitchen sink is a useful skill. It saves money and avoids waiting for a plumber. Always turn off the water before starting work. Take your time and follow each step carefully. Using the right tools makes the job easier.
Check for leaks once the new pipes are in place. A small fix today can prevent big problems later. You can handle this project with confidence and care. Keep your kitchen running smoothly with simple pipe repairs.


