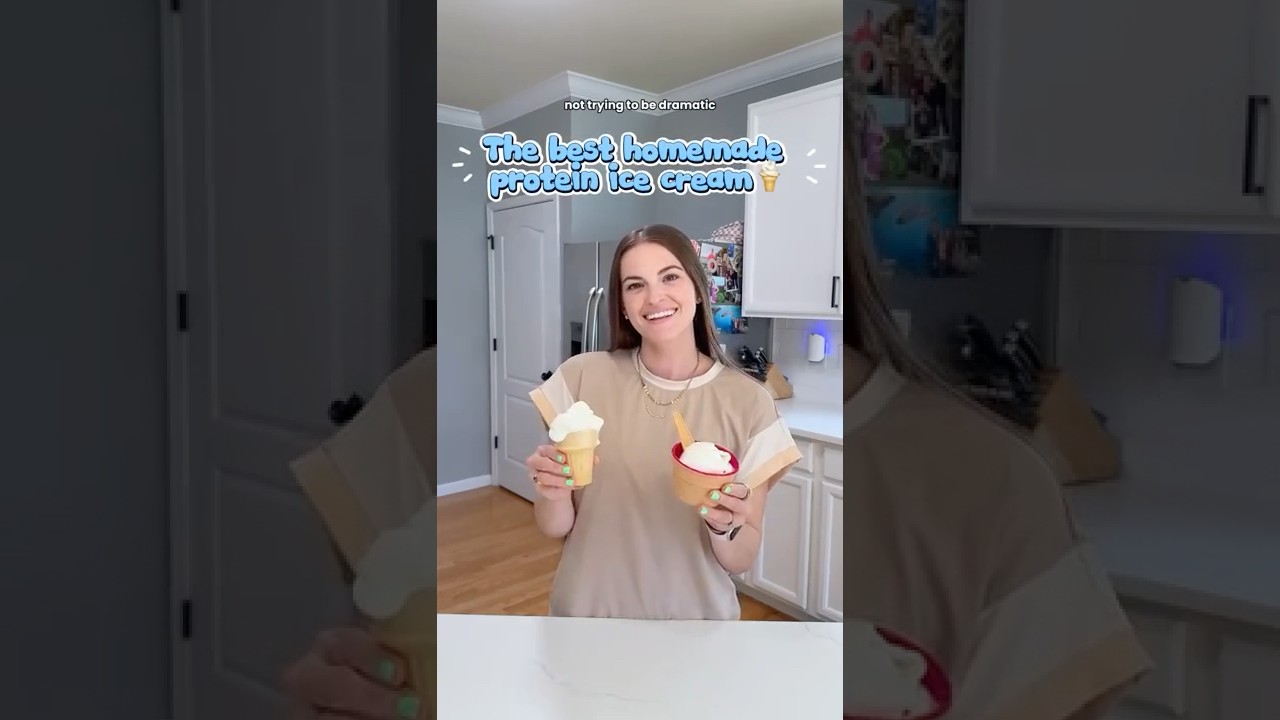
Craving homemade ice cream that tastes better than store-bought? You’re in the right place.
Making ice cream with your KitchenAid attachment is easier than you think—and the results are creamy, delicious, and totally customizable. Imagine creating your favorite flavors right in your own kitchen, impressing friends and family with every scoop. Keep reading, and you’ll discover simple steps to turn your KitchenAid stand mixer into the ultimate ice cream maker.
Your perfect frozen treat is just a few clicks away.

Credit: www.youtube.com
Choosing The Right Attachment
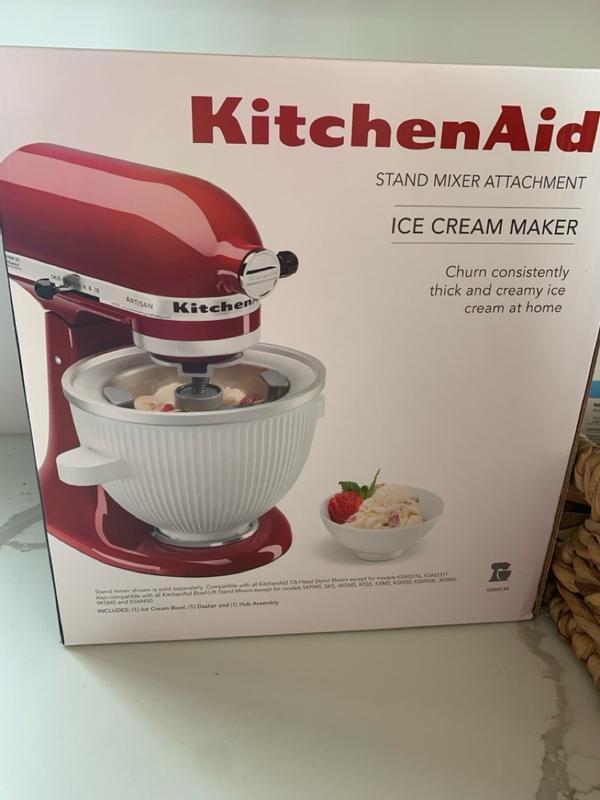
The KitchenAid ice cream attachmentscome in different types. Each type has a special design for making ice cream. Some use a freezer bowlthat you freeze first. Others have a built-in compressorto freeze while mixing.
Choosing the right attachment means checking which one fits your mixer. Not all attachments work with every KitchenAid model. Compatibility depends on the mixer size and model year. Using the wrong attachment can cause problems or not fit at all.
| Attachment Type | Freezing Method | Compatibility | Notes |
|---|---|---|---|
| Freezer Bowl Attachment | Requires pre-freezing bowl | Fits most KitchenAid mixers | Needs 15+ hours freezing before use |
| Compressor Attachment | Built-in freezing system | Fits only some mixer models | No need to freeze bowl in advance |
Credit: www.kitchenaid.com
Essential Ingredients
Basic ice cream needs three main ingredients: milk, cream, and sugar. These create a smooth and creamy texture. Eggs can be added for richness and help with thickness. Use whole milk for a better taste.
Optional flavor additions make ice cream special and fun. Common choices include:
- Vanilla extractfor classic flavor
- Cocoa powderor melted chocolate for chocolate ice cream
- Fresh fruitslike strawberries or mangoes
- Nutssuch as almonds or walnuts for crunch
- Cookiesor candies for extra sweetness
Mix these ingredients well before freezing with the KitchenAid attachment. This helps create a smooth, tasty ice cream every time.
Preparing The Ice Cream Base
Start by gathering fresh cream, milk, sugar, and flavoring. Use a bowl to mix these well. Stir until the sugar dissolves completely. This creates a smooth, sweet base for the ice cream.
Chilling the mixture is very important. Place the bowl in the fridge for at least 2 hours. Cold mixture helps the ice cream freeze better and taste creamier.
- Use cold ingredients for faster chilling.
- Cover the bowl with plastic wrap to avoid spills.
- Make sure the mixture is smooth before chilling.

Credit: suebeehomemaker.com
Setting Up The Kitchenaid Mixer
Make sure the Kitchenaid mixeris on a flat surface. It should be stable before attaching the ice cream maker.
To attach the ice cream maker, first remove the mixer’s bowl and beater. Then lock the ice cream maker attachment onto the mixer’s power hub.
Insert the freezing bowl into the ice cream maker. The bowl must be very cold for best results.
Freeze the bowl at least 15 hours before use. Keep it in the coldest part of the freezer.
Check the freezing bowl for cracks or damage before using. A damaged bowl will not freeze the mixture well.
Churning The Ice Cream
Churning ice cream with the KitchenAid attachment usually takes about 20 to 30 minutes. The exact time depends on the recipeand temperatureof your ingredients. Keep an eye on the texture. The mixture should thicken and start pulling away from the bowl.
Signs of perfect consistency include a soft, creamy texturethat holds its shape. It should look like soft-serve ice cream. Avoid over-churning, which can turn it grainy or icy.
- Ice cream thickens and looks smooth
- It starts to pull away from the bowl’s sides
- Mixture soft but firm enough to hold shape
- Stops spinning freely on the paddle
Adding Mix-ins
Mix-ins like chocolate chips or nuts can be stirred in near the end of churning. This adds texture and flavor without breaking the ice cream’s smoothness. Choose your favorite ingredients and mix gently for best results.
When To Add Ingredients
Mix-ins should be added when the ice cream is almost ready. Wait until it is soft and creamy. This usually takes about 20 minutes. Adding them too early might make them soggy. Ensure your ingredients are ready in advance. Be quick but gentle when mixing in. This helps to keep the texture smooth. You can mix by hand or with the machine. Watch closely so mix-ins spread evenly.
Popular Mix-in Ideas
- Chocolate chipsfor a sweet crunch
- Nutslike almonds or pecans for a nutty taste
- Fruit piecessuch as strawberries or bananas for a fresh burst
- Cookie chunksfor a chewy surprise
- Caramel swirlsfor a sticky sweetness
Storing And Serving
Keep your ice cream in an airtight container to maintain freshness and texture. Serve it chilled for the best creamy taste. Let it soften slightly before scooping for easier serving.
Freezing Tips For Firmness
Store ice cream in an airtight container. This keeps it fresh and tasty. Place a sheet of plastic wrap over the ice cream. This helps prevent ice crystals. Freeze the ice cream for at least 4 hours. It will become firm and scoopable. Avoid opening the freezer often. This keeps the cold air inside.
Serving Suggestions
Scoop the ice cream into bowls or cones. Add toppings like chocolate syrup or sprinkles. Try adding fresh fruits like strawberries or bananas. Nuts like almonds or walnuts add a nice crunch. Serve with cookies or brownies for extra fun. Ice cream is perfect for parties or family nights.
Troubleshooting Common Issues
Ice cream texturedepends on freezing time and mixture temperature. Soft ice cream often means it needs more freezingtime or the mixture was too warm. Hard ice cream can be a sign of over-freezingor too much liquid in the mix. Adjust the freezing durationor check the recipe for liquid amounts.
Mixer attachment issuescan cause problems. Check if the attachment is lockedproperly on the mixer. A loose attachment may not churn the ice cream well. Also, ensure the paddle is cleanand free from any leftovers before starting. Sometimes, the mixer speed setting affects churning, so use the recommended speed for ice cream making.
Frequently Asked Questions
How Do I Use The Kitchenaid Ice Cream Attachment?
Attach the ice cream maker bowl to your KitchenAid mixer. Pour your ice cream mixture into the bowl. Turn the mixer on low speed and churn until the ice cream thickens, usually 20-30 minutes. Then, freeze for a firmer texture.
What Ingredients Are Needed For Kitchenaid Ice Cream?
Basic ingredients include heavy cream, milk, sugar, and flavorings. You can add vanilla, fruit, chocolate, or nuts. Use fresh, high-quality ingredients for the best taste. Adjust sweetness and flavors to your preference before churning.
How Long Does Churning Ice Cream Take?
Churning typically takes 20 to 30 minutes with the KitchenAid attachment. This process incorporates air and freezes the mixture evenly. Check the consistency; it should be thick and creamy before freezing further.
Can I Make Dairy-free Ice Cream With This Attachment?
Yes, you can use dairy-free alternatives like coconut milk or almond milk. Ensure the mixture is well-chilled before churning. The KitchenAid attachment works well with most liquid bases for creamy results.
Conclusion
Making ice cream with a KitchenAid attachment is simple and fun. You only need a few ingredients and a little time. The attachment does most of the work, so you can relax. You get fresh, creamy ice cream at home anytime.
Experiment with flavors to find your favorite. This method saves money and avoids artificial additives. Enjoy homemade ice cream with family and friends. Try it today and taste the difference yourself.





