Are you tired of dealing with a leaky or slow kitchen faucet? Fixing it yourself might be easier than you think.
Replacing your Moen kitchen faucet cartridge can save you money and restore smooth water flow in no time. In this guide, you’ll find simple, clear steps that anyone can follow—even if you’re not a plumbing expert. Keep reading, and by the end, you’ll know exactly how to install your new cartridge and get your faucet working like new again.

Credit: www.fccminneapolis.org
Tools And Materials Needed
- Adjustable wrenchto loosen and tighten nuts
- Screwdriver(Phillips and flathead) for screws
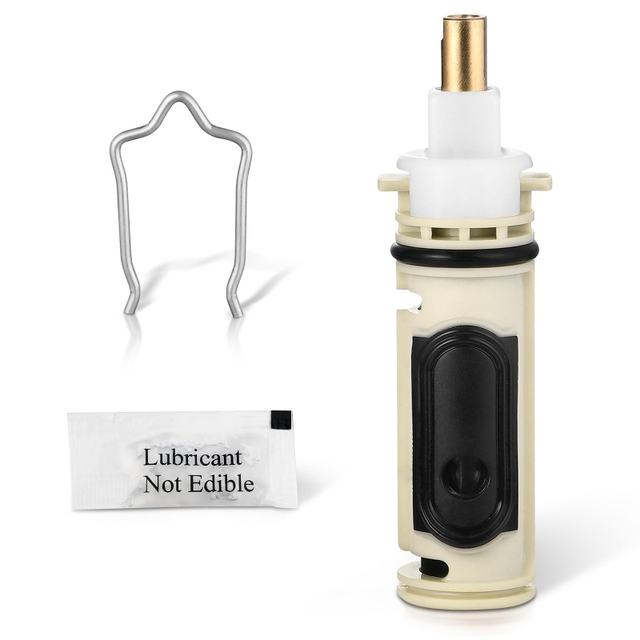
- Moen replacement cartridgespecific to your faucet model
- Plumber’s greaseto lubricate the cartridge
- Plumber’s tapefor sealing threads
- Bucketto catch any water drips
- Towelsto dry the area and avoid mess
- Allen wrenchif your faucet has set screws
Having all these tools ready will help the installation go smoothly. Make sure the water supply is turned off before starting. Keep the parts organized to avoid losing any small pieces.
Turn Off Water Supply
First, locate the water shut-off valves under the sink. Turn both valves clockwise to close them. This stops water flow to the faucet.
Open the faucet to release any water left in the pipes. This step prevents spills when removing the cartridge.
If you can’t find the valves, turn off the main water supply for the house. Keep a bucket or towel handy for any water drips.
Check that water is fully off by turning the faucet handle again. No water should come out.
Remove Faucet Handle
Begin by turning off the water supply under the sink. Use a flathead screwdriver or Allen wrench to remove the handle’s set screw. This screw is usually hidden under a decorative cap. Pry the cap off gently with a flat tool. Pull the handle straight up to remove it from the faucet assembly. If it is stuck, wiggle it slightly while pulling. Keep all screws and parts safe for reassembly. Clean the area around the handle to remove any grime or buildup. This step makes the next parts easier to access and replace.
Take Out Old Cartridge
First, find the retaining clipthat holds the cartridge in place. Use pliers to loosenor gently pull it out. This clip keeps the cartridge secure inside the faucet body.
After removing the clip, carefully extract the cartridgeby pulling it straight up. Avoid twisting or forcing it to prevent damage to the faucet parts.
- Make sure the water supply is off before starting.
- Use protective gloves for a better grip.
- Keep the clip safe for reinstallation.
- If stuck, try wiggling the cartridge gently.
Prepare New Cartridge
Check that the new cartridge matches your faucet model exactly. Using the wrong type can cause leaks or poor function. Look for the model number on the cartridge or faucet body to confirm.
Apply a small amount of plumber’s grease to the cartridge’s O-rings. This helps them slide in smoothly and creates a tight seal. Avoid using too much grease, as this can attract dirt.
Install New Cartridge
Turn off the water supply under the sink. Open the faucet to release any water left inside. Use a wrench to loosen and remove the retaining nut holding the cartridge. Pull out the old cartridge carefully; note its orientation. Clean the inside of the faucet body to remove debris or buildup. Align the new cartridge in the same position as the old one. Push it firmly into place until it sits snugly. Tighten the retaining nut to secure the cartridge but avoid overtightening. Turn on the water supply slowly and check for leaks around the faucet. Move the handle to test water flow and temperature control. Fix any leaks by tightening the nut a little more. Clean the area and enjoy your new faucet cartridge working smoothly.
Reassemble Faucet
Start by checking all parts. Make sure they are clean and dry. Insert the new cartridge into the faucet body. Align it properly. Press down firmly to ensure a snug fit.
Next, place the retaining clip back. It holds the cartridge securely. Tighten it using a wrench. Be careful not to over-tighten.
Attach the faucet handle. Align it with the cartridge stem. Secure it with the screw. Use a screwdriver for this step.
Turn the water supply back on. Check for leaks around the faucet. If there are leaks, tighten the connections slightly.
Test the faucet by turning it on and off. Ensure it works smoothly. If it does, your installation is complete!
Credit: www.homedepot.com
Restore Water Supply And Test
Turn the water valves back on under the sink. Ensure the knobs are tight and secure. Check for any leaks around the faucet. If water drips, tighten connections gently. Allow the water to run for a few minutes. This helps clear air and debris from the lines. Test both hot and cold water settings. Make sure the water flow is strong and consistent. Adjust the handle to check smooth movement. Listen for unusual sounds like squeaks or clanks. These might indicate an issue. Watch closely for any water pooling around the base. If everything looks good, your faucet is ready for use.
Troubleshooting Tips
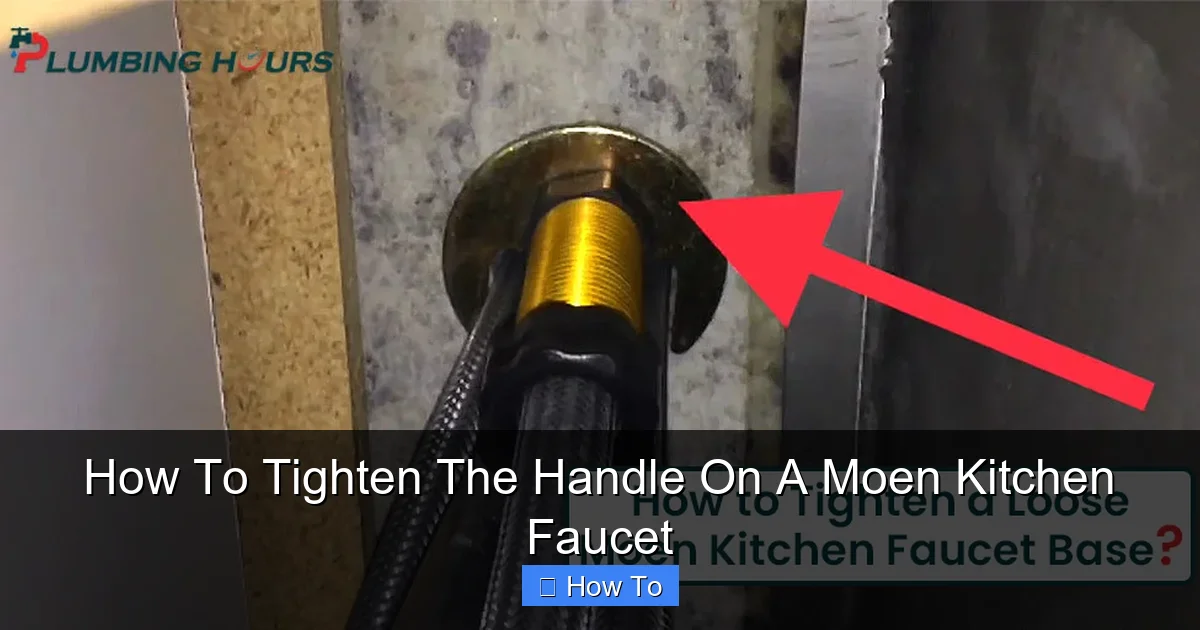
Leaking faucetsoften mean the cartridge is worn out. Check for cracks or damage. Tighten any loose nuts around the faucet base. Dirt or mineral build-up can cause leaks; clean the cartridge and surrounding parts carefully.
Handle issuesmay happen if the cartridge is not installed correctly. Ensure the cartridge is seated firmly and aligned properly. Lubricate the cartridge with plumber’s grease to help smooth movement. Avoid forcing the handle to prevent damage.
Water flow problemsmight be due to clogged or blocked cartridges. Remove the cartridge and rinse it with water to clear debris. Also, check water supply valves to make sure they are fully open. Reinstall the cartridge and test the flow again.

Credit: www.youtube.com
Frequently Asked Questions
How Do I Identify The Right Moen Kitchen Faucet Cartridge?
Check your faucet model number and compare it with Moen’s cartridge guide. This ensures you get the exact cartridge for your faucet.
What Tools Are Needed To Install A Moen Kitchen Faucet Cartridge?
You need an adjustable wrench, pliers, a screwdriver, and plumber’s grease for a smooth installation process.
How Long Does It Take To Replace A Moen Kitchen Faucet Cartridge?
Typically, it takes about 20 to 30 minutes, depending on your experience and faucet complexity.
Can I Install A Moen Cartridge Without Turning Off Water Supply?
No, always turn off the water supply to avoid leaks and water damage during installation.
Conclusion
Replacing a Moen kitchen faucet cartridge is simple and clear. Follow each step carefully to avoid leaks or damage. Take your time and use the right tools for best results. With patience, your faucet will work like new again. Regular maintenance helps keep your kitchen faucet smooth and reliable.
Save money by doing the repair yourself. Enjoy a drip-free sink and steady water flow. Keep this guide handy for future fixes.