If your KitchenAid mixer isn’t working just right, it can slow down your cooking and baking. But don’t worry—you can fix it yourself.
Knowing how to adjust your KitchenAid mixer will save you time and keep your favorite appliance running smoothly. In this guide, you’ll discover simple steps that anyone can follow to get your mixer back in perfect shape. Keep reading to make sure your mixer works like new every time you use it.
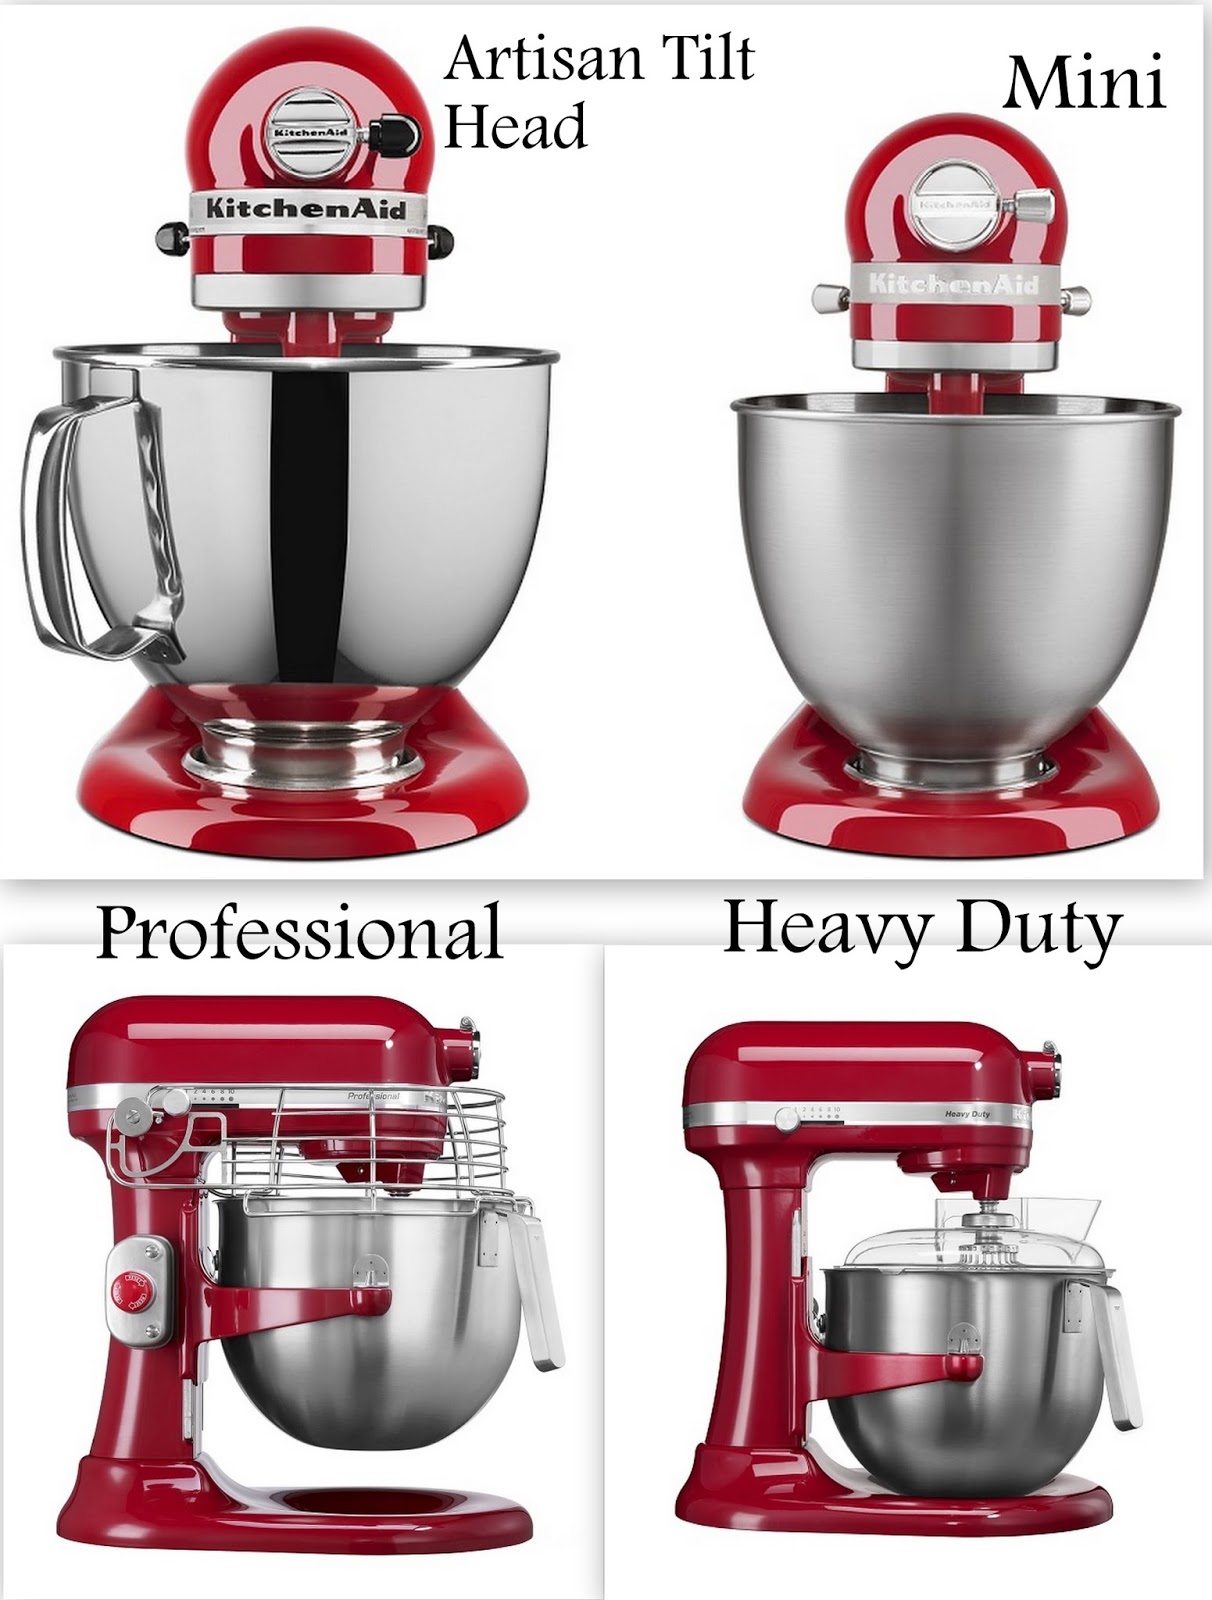
Mixer Parts To Know
The Attachment Hubis where you connect tools like beaters or dough hooks. It fits tightly to keep the attachments stable during use.
The Speed Controllets you change how fast the mixer turns. It has several settings, from slow to fast, for different recipes.
- Attachment Hub:Connects mixing tools
- Speed Control:Adjusts mixer speed

Credit: thekrazycouponlady.com
When To Adjust Your Mixer
Signs of misalignmentin your KitchenAid mixer often show through performance issuesand unusual noise and vibration. If the mixer struggles to turn or mixes unevenly, it may need adjustment. Notice if attachments do not fit snugly or wobble during use.
Unusual sounds, like grinding or rattling, can mean parts are loose or out of place. Vibrations beyond normal shaking suggest internal misalignment. These problems can worsen if not fixed quickly.
- Mixing takes longer than usual
- Attachments feel loose or slip
- Unusual grinding or rattling noises
- Excessive shaking or vibration
- Uneven mixing results
Tools Needed For Adjustment
Basic tools help make the adjustment process easier and safer. The essential tools include:
- Screwdrivers– both flathead and Phillips for removing screws.
- Wrenches– adjustable or fixed for bolts and nuts.
- Allen keys– for small hex screws inside the mixer.
- Lubricant– to keep parts moving smoothly.
- Soft cloth– for cleaning dust and grease.
Safety equipment protects you during the adjustment. Use:
- Protective glovesto avoid cuts or scrapes.
- Safety glassesto protect your eyes from dust.
- Work apronto keep clothes clean.

Credit: www.youtube.com
Step-by-step Adjustment Process
Always unplugthe mixer before starting any adjustments. This is for your safety. Clear the area around the mixer. Make sure the mixer is cool and clean.
Locate the adjustment points on your KitchenAid mixer. These are usually found near the head hingeand where the attachments connect. Use a screwdriver or the tool that came with your mixer.
Tighten the head by turning the adjustment screw. This will stop the head from wobbling during use. Do not overtighten; just firm enough to keep it steady.
Check the attachments to make sure they fit well. Align the attachments by gently adjusting their connection. Proper alignment ensures smooth mixing and less wear on parts.
Testing After Adjustment
Run the mixer at low speed first. Watch and listen closely for any unusual sounds or shaking. The mixer should move smoothly without jerks or noise. Check that all attachments spin evenly and do not wobble.
If the mixer does not run smoothly, try these fine-tuning tips:
- Make small adjustments to the tension knob or screws.
- Ensure the bowl is locked firmly in place.
- Check that the attachment is properly seated.
- Clean any dirt or debris from moving parts.
Test again after each adjustment. The goal is a quiet, steady operation. This careful testing keeps your mixer working well for a long time.

Credit: www.youtube.com
Common Adjustment Issues
Loose parts can cause noise and problems. Check screws and knobs regularly. Tighten them if they are loose. Inspect the beater and bowl connections. Ensure they fit snugly. A loose mixer head can make it wobble. Adjust the hinge pin to fix it.
Attachments might not fit well. Align them correctly with the mixer. Check the attachment hub. It should be clean and free of debris. Secure the attachments in place. Rotate them gently to ensure they lock.
Speed issues can affect mixing quality. Check the speed control knob. It should move smoothly. If speeds are inconsistent, inspect the motor. Clean dust from vents to prevent overheating. Adjust speed settings according to need.
Maintenance Tips To Avoid Adjustments
Keep your Kitchenaid mixerclean to avoid issues. Wipe the mixer after every use. Remove any food stuck in the attachments or bowl. Clean the beaters and other parts with warm, soapy water. Avoid using harsh chemicals that can damage the surface.
Store the mixer in a dry place. Protect it from dust and moisture. Cover the mixer with a cloth or a mixer cover. This helps keep it clean and ready for use. Avoid placing heavy objects on top of the mixer.
Lubricate moving parts occasionally. Use food-safe lubricant only. This keeps the gears smooth and quiet. Avoid over-lubricating, which can cause build-up. Regular lubrication helps the mixer last longer and work well.
Frequently Asked Questions
How Do I Adjust The Speed On A Kitchenaid Mixer?
To adjust speed, turn the speed control lever on the mixer’s side. Start slow, then increase gradually for best results. This prevents splattering and ensures even mixing.
How Can I Tighten A Loose Kitchenaid Mixer Attachment?
To tighten, lift the attachment hub lever, insert the attachment fully, then lower the lever. This secures the attachment firmly for stable mixing.
What Is The Best Way To Level A Kitchenaid Mixer?
Place the mixer on a flat, stable surface. Use a spirit level if needed. Proper leveling ensures consistent mixing performance and prevents wobbling.
How Do I Adjust The Beater Height On A Kitchenaid Mixer?
Loosen the beater height adjustment screw with a screwdriver. Adjust the beater close to the bowl without touching it, then tighten the screw securely.
Conclusion
Adjusting your KitchenAid mixer keeps it working smoothly and safely. Small tweaks improve mixing and extend your mixer’s life. Always check the settings before each use for best results. Regular care helps avoid breakdowns and saves repair costs. Now, you can enjoy baking with a mixer that works just right.
Simple steps make your baking easier and more fun. Keep your mixer in top shape and bake with confidence.