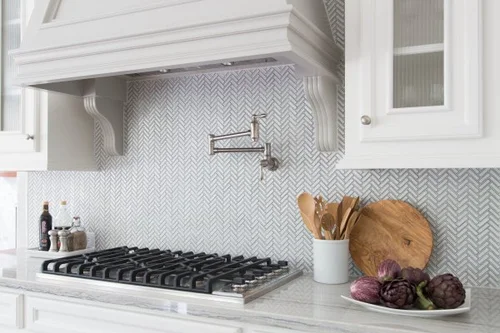
Are you dreaming of a kitchen that truly reflects your style and personality? Adding a backsplash can instantly transform your space, giving it a fresh and polished look.
It’s not just about aesthetics; a well-installed backsplash protects your walls from spills and stains, making it a practical upgrade. Whether you’re a DIY enthusiast or a beginner, putting up a backsplash might seem daunting at first. But fear not! This guide will walk you through the process, ensuring you achieve that stunning kitchen makeover without the stress.
Imagine the satisfaction of admiring your handiwork every time you step into your kitchen. Dive in, and let’s make your kitchen the heart of your home!
Choosing The Right Backsplash
Choosing the right backsplash transforms kitchen spaces beautifully. Opt for durable materials like tiles or glass. Consider colors that complement cabinets and countertops.
Material Options
Backsplashes come in many materials. Tile is popular and easy to clean. Glass gives a shiny look, making kitchens bright. Stainless steel is strong and modern. Stone brings a natural feel. Ceramic is colorful and affordable. Choose what fits your kitchen style.
Color And Design
Colors can change the mood of your kitchen. Bright colors make it lively. Soft tones create a calm space. Patterns add fun and character. Simple designs are timeless and elegant. Match the backsplash with your kitchen’s theme. Bold colors make a statement. Light colors make rooms look bigger.
Gathering Necessary Tools
Gather tools like a tape measure, level, tile cutter, and adhesive. These ensure precise installation of kitchen backsplash. Proper preparation simplifies the process and leads to a clean, professional finish.
Essential Tools
Start with a measuring tapeto get the right size. You need a levelto keep lines straight. A tile cutterhelps fit tiles perfectly. Use a trowelfor spreading adhesive evenly. Get spacersfor equal gaps between tiles. Keep a spongehandy for cleaning. A bucketis good for mixing grout.
Safety Equipment
- Gogglesprotect your eyes.
- Gloveskeep your hands safe.
- Wear a maskto avoid dust.
- A strong apronprotects clothes.
- Use ear plugsif it’s loud.
Preparing The Wall Surface
Preparing the Wall Surface Ensure the wall is clean and dry for a smooth backsplash installation. Remove old paint or wallpaper, and repair any holes. A clean surface helps the backsplash stick better and last longer.
Cleaning The Area
Start by removing dust and dirt from the wall. Use a damp cloth for cleaning. Make sure the wall is dry before moving on. This helps the backsplash stick better. A clean surface is very important.
Repairing Imperfections
Look for any cracks or holes in the wall. Fill them with putty and let it dry. Sand the area to make it smooth. A smooth wall makes the backsplash look nice. Check again to see if the wall is even.
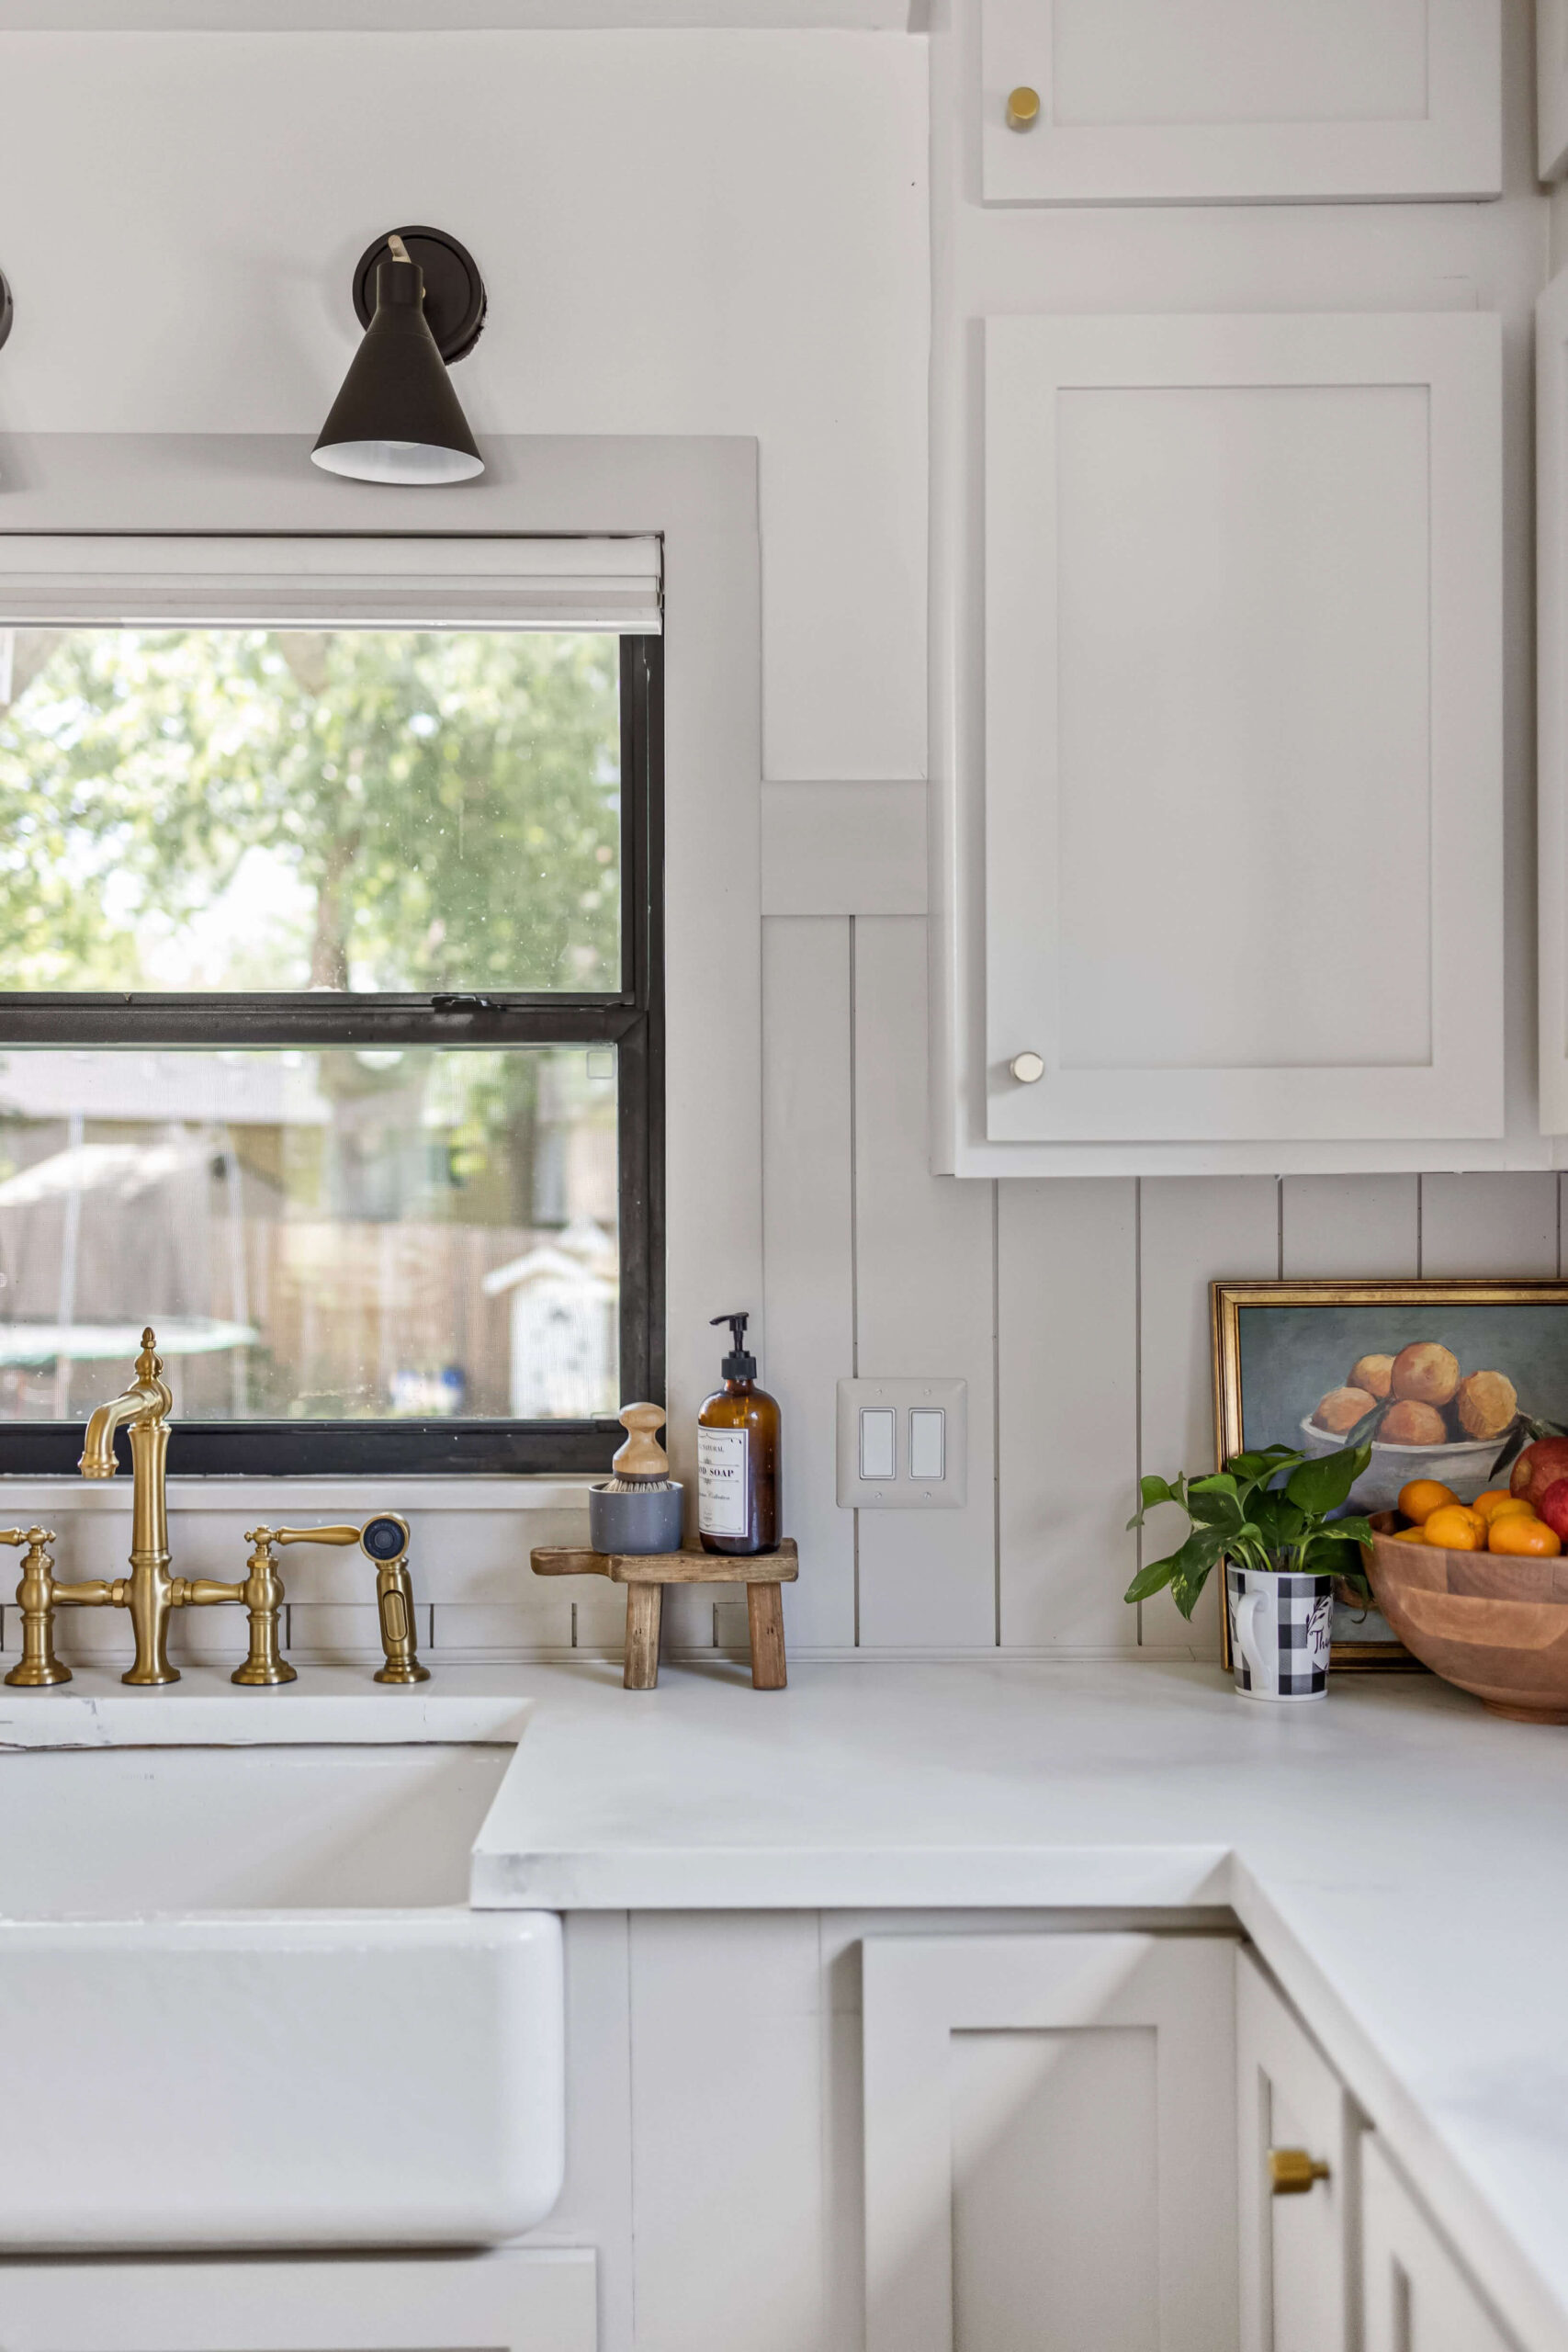
Credit: crystelmontenegrohome.com
Measuring And Planning
First, measure the length and height of your wall. Use a tape measure for accuracy. Multiply these numbers to find the area. This is your backsplash area. Always add a little extra for mistakes. Mistakes happen, and it’s good to be prepared. Write these numbers down to remember them.
Decide where you want your backsplash. It usually goes behind the stove and sink. Think about the pattern you like. Do you want tiles or a solid sheet? Lay out your tiles on the floor first. This helps you see how they fit. Adjust them if needed. This makes the final installation easier. Planning is key to success.
Cutting The Backsplash Material
Using a Tile Cutteris simple. Place the tile on the cutter. Align the cutting line carefully. Press down to make a cut. Use a smooth motion. Avoid jerking the cutter. This ensures a clean cut. Check the edges for rough spots. Sand them if needed. Always wear safety goggles. Protect your eyes from flying pieces.
Handling Special Cutsrequires patience. Mark the cut area clearly. Use a tile saw for odd shapes. Cut slowly to avoid mistakes. Small nicks can ruin the tile. Double-check the measurements. Precision is key. For curves, a diamond blade works well. Practice on spare tiles first. This builds confidence for tricky cuts.

Credit: www.instagram.com
Applying Adhesive
Choosing the best adhesive is key. Kitchen conditions can be tricky. Heat and moisture are common. Not all adhesives can handle these. Check the adhesive’s label. It should say “water-resistant”. This means it can handle kitchen moisture. Also, look for “heat-resistant”. This is important near stoves.
Some adhesives are strong but not flexible. Backsplashes need a bit of give. A flexible adhesive is better. It can handle slight movements. This helps prevent cracks. Always double-check before buying. The right choice saves time and trouble later.
Use a notched trowel to spread the adhesive. This tool helps you apply evenly. Apply a small section at a time. This keeps adhesive from drying too soon. Press the tile into the adhesive firmly. Hold it for a few seconds. This ensures it sticks well. Check for gaps or air bubbles. Smooth them out quickly.
Work from the bottom up. This keeps tiles from sliding down. Use spacers between tiles. This keeps the gap even. Remove excess adhesive before it dries. It is easier to clean when wet. Let it set before grouting. Patience is key for a strong bond.
Installing The Backsplash
Transform your kitchen by installing a backsplash. Choose your tiles, prepare the surface, and apply adhesive. Place tiles carefully, ensuring even spacing, and let them set. Finish by grouting and cleaning for a polished look.
Aligning Tiles Correctly
Start by holding the first tile against the wall. Use a level to check if it’s straight. Adjust it until it’s in the right position. Press it firmly onto the adhesive. Repeat with the next tile. Make sure each tile is aligned with the previous one. This keeps the design neat and uniform. Adjust as needed to ensure even lines.
Ensuring Even Spacing
Place spacers between each tile. These keep the gaps even. Spacers ensure consistency in your tile layout. Once tiles are set, remove the spacers. Check all tiles are secure. If any tile is loose, press it back into place. Let the tiles set before grouting. This ensures a strong and lasting finish.
Grouting And Finishing
Carefully apply grout between tiles for a seamless finish. Wipe excess grout with a damp sponge for a clean look. Let it dry completely before admiring your new kitchen backsplash.
Mixing And Applying Grout
Start by mixing the grout in a bucket. Follow the instructions on the package. Stir until it’s smooth like peanut butter. Use a rubber float to apply grout. Press it firmly into the gaps between tiles. Hold the float at a 45-degree angle. This helps fill the spaces well. Work in small sections to avoid drying.
Cleaning Excess Grout
Take a damp sponge to clean extra grout. Wipe gently in a circular motion. Rinse the sponge often to keep it clean. Make sure not to remove grout from the gaps. After cleaning, let it dry for 24 hours. Check for any grout haze on tiles. Use a soft cloth to polish the tiles if needed.
Sealing The Backsplash
Sealing the backsplash ensures durability and prevents moisture damage. Apply sealant along the edges after installing tiles. This simple step keeps your kitchen looking fresh and clean.
Choosing A Sealant
Picking the right sealant is key for a strong backsplash. Silicone sealants are popular because they are water-resistant. Epoxy sealants are also good; they are durable and last long. Ensure your sealant matches the backsplash material. This will prevent damage.
Application Process
Start by cleaning the backsplash surface. Make sure it is dry before sealing. Apply the sealant along the edges. Use a caulking gun for even application. Smooth the sealant with a wet finger or tool. Allow the sealant to dry completely. This might take a few hours. Check the instructions for exact drying time.
Maintenance Tips
Installing a backsplash in the kitchen enhances its look and protects walls. Start with a clean surface. Measure and cut tiles carefully. Use adhesive to secure them in place. Seal the edges to prevent moisture damage. Regular cleaning ensures a lasting and stylish finish.
Cleaning The Backsplash
Use a soft cloth to clean the backsplash regularly. Avoid harsh chemicals that can damage the surface. Warm water and mild soap work best. Rinse with clean water after washing. Dry with a clean towel to prevent spots. Check for stains and scrub gently if needed. Keep the backsplash shining and free from dirt.
Handling Repairs
Inspect the backsplash for cracks or chips. Small cracks can be fixed with adhesive. Fill gaps with matching grout. Replace broken tiles promptly to avoid further damage. Call a professional if repairs are too complex. Regular checks help maintain the backsplash’s beauty. Protect the backsplash from heavy impacts. Handle repairs quickly to prevent issues.

Credit: daviemactile.com
Frequently Asked Questions
What Materials Are Needed For Kitchen Backsplash?
To install a kitchen backsplash, you’ll need tiles, adhesive, grout, spacers, and a trowel. Tiles come in various styles and materials like ceramic, glass, or stone. Adhesive secures tiles to the wall, while grout fills gaps. Spacers ensure even spacing, and a trowel applies adhesive smoothly.
How Do I Prepare The Wall For Backsplash?
Start by cleaning the wall thoroughly to remove grease and dirt. Ensure it’s dry and smooth. Repair any cracks or holes. Mark the layout with a level, ensuring straight lines. Apply a primer if needed for better adhesive grip. Preparation ensures durability and professional finish.
Can I Install Backsplash Myself?
Yes, installing a backsplash can be a DIY project. Gather materials and follow instructions carefully. Plan the layout and measure accurately. Work patiently and ensure tiles are evenly spaced. Watch online tutorials for guidance. With proper preparation, tools, and patience, you can achieve a professional look.
How Long Does Backsplash Installation Take?
The time needed for backsplash installation varies. Typically, it takes one to two days. Factors include kitchen size, tile type, and complexity. Preparation, adhesive drying, and grouting affect duration. For beginners, it may take longer. Plan accordingly and allocate sufficient time for each step.
Conclusion
Putting up a backsplash can transform your kitchen. It adds style and protection. Follow these steps to get it right. Choose materials that suit your taste and budget. Measure carefully to avoid mistakes. Use the right tools for a smooth installation.
Don’t rush; patience ensures quality. Clean the area before starting and after finishing. Enjoy your refreshed kitchen space. A well-done backsplash not only looks great but also lasts longer. Keep these tips in mind for a successful project. Your kitchen will thank you!





