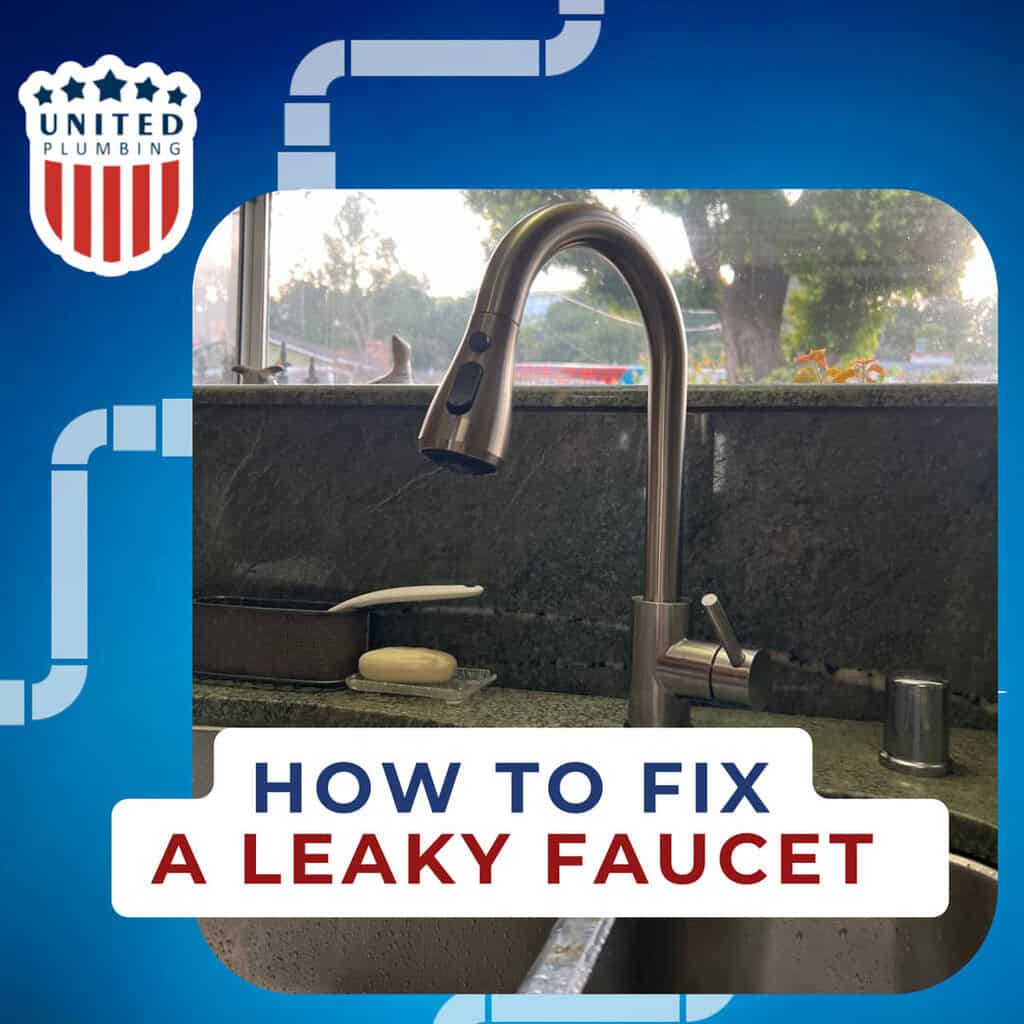
Is that dripping sound driving you up the wall? A leaky kitchen faucet isn’t just an annoying background noise; it can also lead to increased water bills and potential water damage over time.
If you’ve been putting off fixing it because you’re unsure where to start, you’re not alone. Many people feel overwhelmed by home repairs, but the good news is, you can tackle this one with just a bit of guidance. Imagine the satisfaction of silencing that constant drip, saving money, and knowing you did it yourself.
We’ll guide you step by step through the simple process of fixing your leaky kitchen faucet. By the end, you’ll not only have a quiet kitchen but also the confidence to handle other small repairs around your home. Let’s dive in and conquer that leak together!
Common Causes Of Faucet Leaks
Faucet leaks can be annoying. Often, a worn-out washer is the culprit. Washers are rubber rings. They seal the faucet tightly. Over time, they wear out. Water starts dripping. Another cause could be loose parts. Handles and nuts can become loose. This lets water escape. Faulty O-rings also lead to leaks. O-rings are small rubber parts. They seal the faucet spout. If they crack or break, water leaks occur.
Mineral deposits can cause trouble too. Hard water leaves deposits. These deposits block parts. Faucets may leak if blocked. Sometimes, the valve seat corrodes. This is where the faucet connects. Corrosion leads to leaks. Regular checks help spot these issues early. Fixing them prevents bigger problems.

Credit: www.youtube.com
Tools And Materials Needed
- Adjustable wrench for tightening loose parts.
- Phillips screwdriver to remove screws.
- Flathead screwdriver for prying open covers.
- Replacement washer or cartridge if needed.
- Plumber’s tape to prevent leaks.
- Bucket to catch any dripping water.
- Old rags for cleaning up spills.
- Flashlight for better visibility under the sink.
Gather all tools and materials before starting. This helps avoid interruptions. Always turn off the water supply first. Use the wrench to loosen nuts. The screwdriver helps remove faucet handles. Check if a replacement part is needed. Use plumber’s tape to seal connections. Have a bucket ready to catch water. Clean spills with old rags.
Identifying The Leak Source
Begin by checking the faucet handles and spout for visible water drips. Inspect the connections underneath the sink.
Spout Leaks
Spout leaks happen when water drips from the faucet spout. Check the washerinside the spout. It might be worn out or broken. A new washer could solve the problem. Ensure the spout is tightly attached. Loose connections can cause leaks. Test the faucet after fixing to see if the leak stops.
Handle Leaks
Handle leaks occur when water leaks from the faucet handle. Look at the O-ringsinside the handle. They might be damaged or missing. Replace them if necessary. Ensure the handle is secured properly. Loose handles can lead to leaks. Turn on the faucet to check for leaks after repairs.
Base Leaks
Base leaks are found at the faucet’s bottom. Check for a damaged gasketat the base. Replace if it is worn out. Tighten the bolts under the sink. Loose bolts can cause base leaks. Run the water to see if the leak is fixed.

Credit: www.youtube.com
Step-by-step Repair Guide
First, find the shut-off valves under the sink. Turn them to the right to stop water flow. Make sure both hot and cold water are off. This prevents any mess while working. Keep a towel nearby to catch drips.
Remove the faucet handle using a screwdriver. Take off the decorative cap if it has one. Loosen the screw beneath and lift the handle off. Carefully take out the nut and stem underneath. Remember how each part fits. This will help later.
Check the removed parts for damage. Look at the rubber washer and O-ring. If they are broken, replace them with new ones. Use the same size to fit correctly. Buy a repair kit if needed. It often includes these parts.
Put the stem back into its place. Tighten the nut securely. Attach the handle and screw it in. Replace the decorative cap. Turn on the water supply again. Check if the faucet still leaks. If not, you did it!
Testing The Repair
Turn the faucet on and off to check for leaks. Watch closely for any drips. If you see water, the repair might need adjustments. Tighten any loose parts, especially the handles and the spout. Check if the water flows smoothly without noise. If it still leaks, inspect the washers and seals again. Make sure they are not worn out. Replace them if necessary. Test the faucet once more. Ensure the water stops completely when turned off. Listen for any hissing sounds. These can hint at problems with the water pressure.

Credit: www.youtube.com
Preventing Future Leaks
Preventing future leaks involves regular maintenance and timely repairs. Tighten loose parts and replace worn-out washers to ensure a drip-free kitchen faucet. Check for mineral buildup and clean aerators regularly to keep everything in top shape.
Regular Maintenance Tips
Check the faucet regularly for any signs of wear. Tighten loose parts to prevent leaks. Clean the aerator to ensure water flows smoothly. Replace worn washers and seals promptly. Inspect the O-rings for cracks and damage. Use a soft cloth to clean the faucet surface. Avoid harsh chemicals that can damage the finish.
Choosing Quality Parts
Choose parts from trusted brands. Ensure the parts fit your faucet model. Select durable materials like brass or stainless steel. Avoid cheap plastic parts that break easily. Check for warranties on replacement parts. Quality parts last longer and save money in the long run. Ask for recommendations at the hardware store.
Frequently Asked Questions
How Do You Identify A Leaky Faucet?
To identify a leaky faucet, first, check for dripping water when the tap is off. Examine the faucet handle and spout for moisture. Listen for unusual sounds like hissing or dripping. If your water bill increases unexpectedly, it may indicate a hidden leak.
What Tools Are Needed To Fix A Faucet?
To fix a leaky faucet, you’ll need a wrench, screwdriver, and pliers. A new washer or O-ring may be required. For cartridge faucets, replacement cartridges are necessary. Plumber’s tape can help ensure a tight seal. Having these tools on hand makes the repair process smoother.
Can I Fix A Leaky Faucet Myself?
Yes, you can fix a leaky faucet yourself. Start by turning off the water supply. Identify the faucet type and gather necessary tools. Follow step-by-step instructions to replace worn parts. If you’re unsure, consult a tutorial or call a professional.
How Much Does It Cost To Fix A Faucet?
The cost to fix a leaky faucet varies. DIY repairs might cost $10 to $30 for parts. Professional services can range from $75 to $150, depending on the complexity. Regular maintenance helps prevent costly repairs.
Conclusion
Fixing a leaky kitchen faucet is easy with the right steps. Start by identifying the problem. Gather your tools and replacement parts. Follow the steps carefully to repair the leak. Pay attention to details, like washer placement. Ensure all connections are tight.
Test the faucet after repairs. No drips? Great! Regular maintenance helps prevent future leaks. Keep an eye out for wear and tear. Address issues quickly to avoid water damage. With practice, fixing leaks becomes simple. A non-leaky faucet saves water and money.
Enjoy a hassle-free kitchen experience.


