Are you struggling with a leaky or broken Moen kitchen faucet? Knowing how to take it apart can save you time, money, and frustration.
In this guide, you’ll discover simple steps to safely dismantle your faucet without causing damage. Whether you want to fix a drip or replace a part, understanding the process puts you in control. Keep reading, and you’ll gain the confidence to handle your faucet like a pro.

Credit: www.youtube.com
Tools Needed
Basic tools like an adjustable wrench, Allen wrench, and screwdriver help disassemble a Moen kitchen faucet. Having a towel and bucket nearby catches water spills during the process. These tools ensure a smooth and safe faucet removal.
- Adjustable wrench:For loosening nuts and bolts under the sink.
- Screwdrivers:Both flathead and Phillips for removing screws.
- Allen wrench (hex key):Needed to remove set screws on the handle.
- Plumber’s grease:Helps to lubricate parts during reassembly.
- Pliers:Useful for gripping and turning small parts.
- Bucket:To catch any water that may drip during disassembly.
- Towel or rag:For cleaning up spills and protecting surfaces.

Credit: www.amazon.ca
Turn Off Water Supply
Locate the water shut-off valves under the sink. Turn each valve clockwise to close it. This stops water flow to the faucet. Open the faucet to release any water left in the pipes. Check if water stops flowing completely. If not, turn off the main water supply for the house. Use a towel to catch any drips during this process. Ensuring the water is off prevents leaks and messes. Don’t skip this step to protect your workspace. Take your time to confirm the water is fully off. Safety first. Ready for the next step?
Remove Handle
First, find the set screwon the faucet handle. It is usually hidden under a small cap or on the side of the handle. Use a flathead screwdriver or an Allen wrench to remove the cap if needed. Then, unscrew the set screwcarefully. This will loosen the handle from the faucet body.
After the set screw is fully removed, gently pull the handle straight up or out. The handle should come off without force. If it feels stuck, wiggle it slightly to loosen it. This step is essential before accessing other parts of the faucet for repair or replacement.
Detach Escutcheon
The escutcheon is the metal plate that covers the faucet base. It protects the countertop from water and debris.
Start by turning off the water supply under the sink. This prevents any leaks.
Use a wrench or pliers to loosen the nuts holding the escutcheon in place. Be gentle to avoid damage.
Once the nuts are removed, lift the escutcheon carefully. It may be stuck due to old sealant or dirt.
If stuck, gently wiggle or use a plastic scraper to loosen it. Avoid using metal tools that can scratch.
After removal, clean the area under the escutcheon. Remove any old putty or residue before proceeding.
Disconnect Water Lines
Turn off the water supply valves under the sink. This stops water flow.
Use a wrench to loosen the nuts connecting the water lines to the faucet. Turn counterclockwise.
Place a bucket or towel under the connections to catch any water drips.
Carefully pull the water lines away from the faucet once the nuts are loose.
Check for any leftover water in the lines and wipe it up.
Keep the nuts and washers safe for reassembly or replacement.
Remove Cartridge
First, find the retaining clipthat holds the cartridge in place. Use needle-nose pliers to carefully releasethe clip. Be gentle to avoid damage.
Once the clip is removed, grip the cartridge firmly. Pull it straight out from the faucet body. Some twisting may help if it feels stuck.
Check the cartridge for any wear or buildup. Clean or replace it as needed before reinstalling.
Clean And Inspect Parts
Begin by turning off the water supply. Then, gently remove the faucet handle. Use a screwdriver if necessary. Once removed, clean each part carefully. Use a soft cloth and warm soapy water. Check for any signs of wear or damage. Look closely at the O-rings and washers. These parts often wear out first. Replace any damaged parts with new ones. This helps prevent leaks. Ensure all parts are completely dry before reassembling. This prevents rust and corrosion. A clean faucet works better and lasts longer.
Reassemble Faucet
Ensure all parts are clean before reassembling. Start with the faucet body. Align it properly with the sink holes. Attach the mounting hardware underneath the sink. Tighten the nuts securely with a wrench. This keeps the faucet stable.
Install the handle next. Slide it onto the cartridge stem. Secure it with a set screw. Use an Allen wrench for this. Be careful not to over-tighten.
Reconnect the water supply lines. Attach them to the faucet shanks. Use a wrench to ensure no leaks. Turn on the water supply. Check for any leaks under the sink.
If everything is dry, your faucet is ready. Test the handle for smooth operation. Ensure water flows correctly. If there are issues, adjust connections. Proper assembly ensures long-lasting performance.

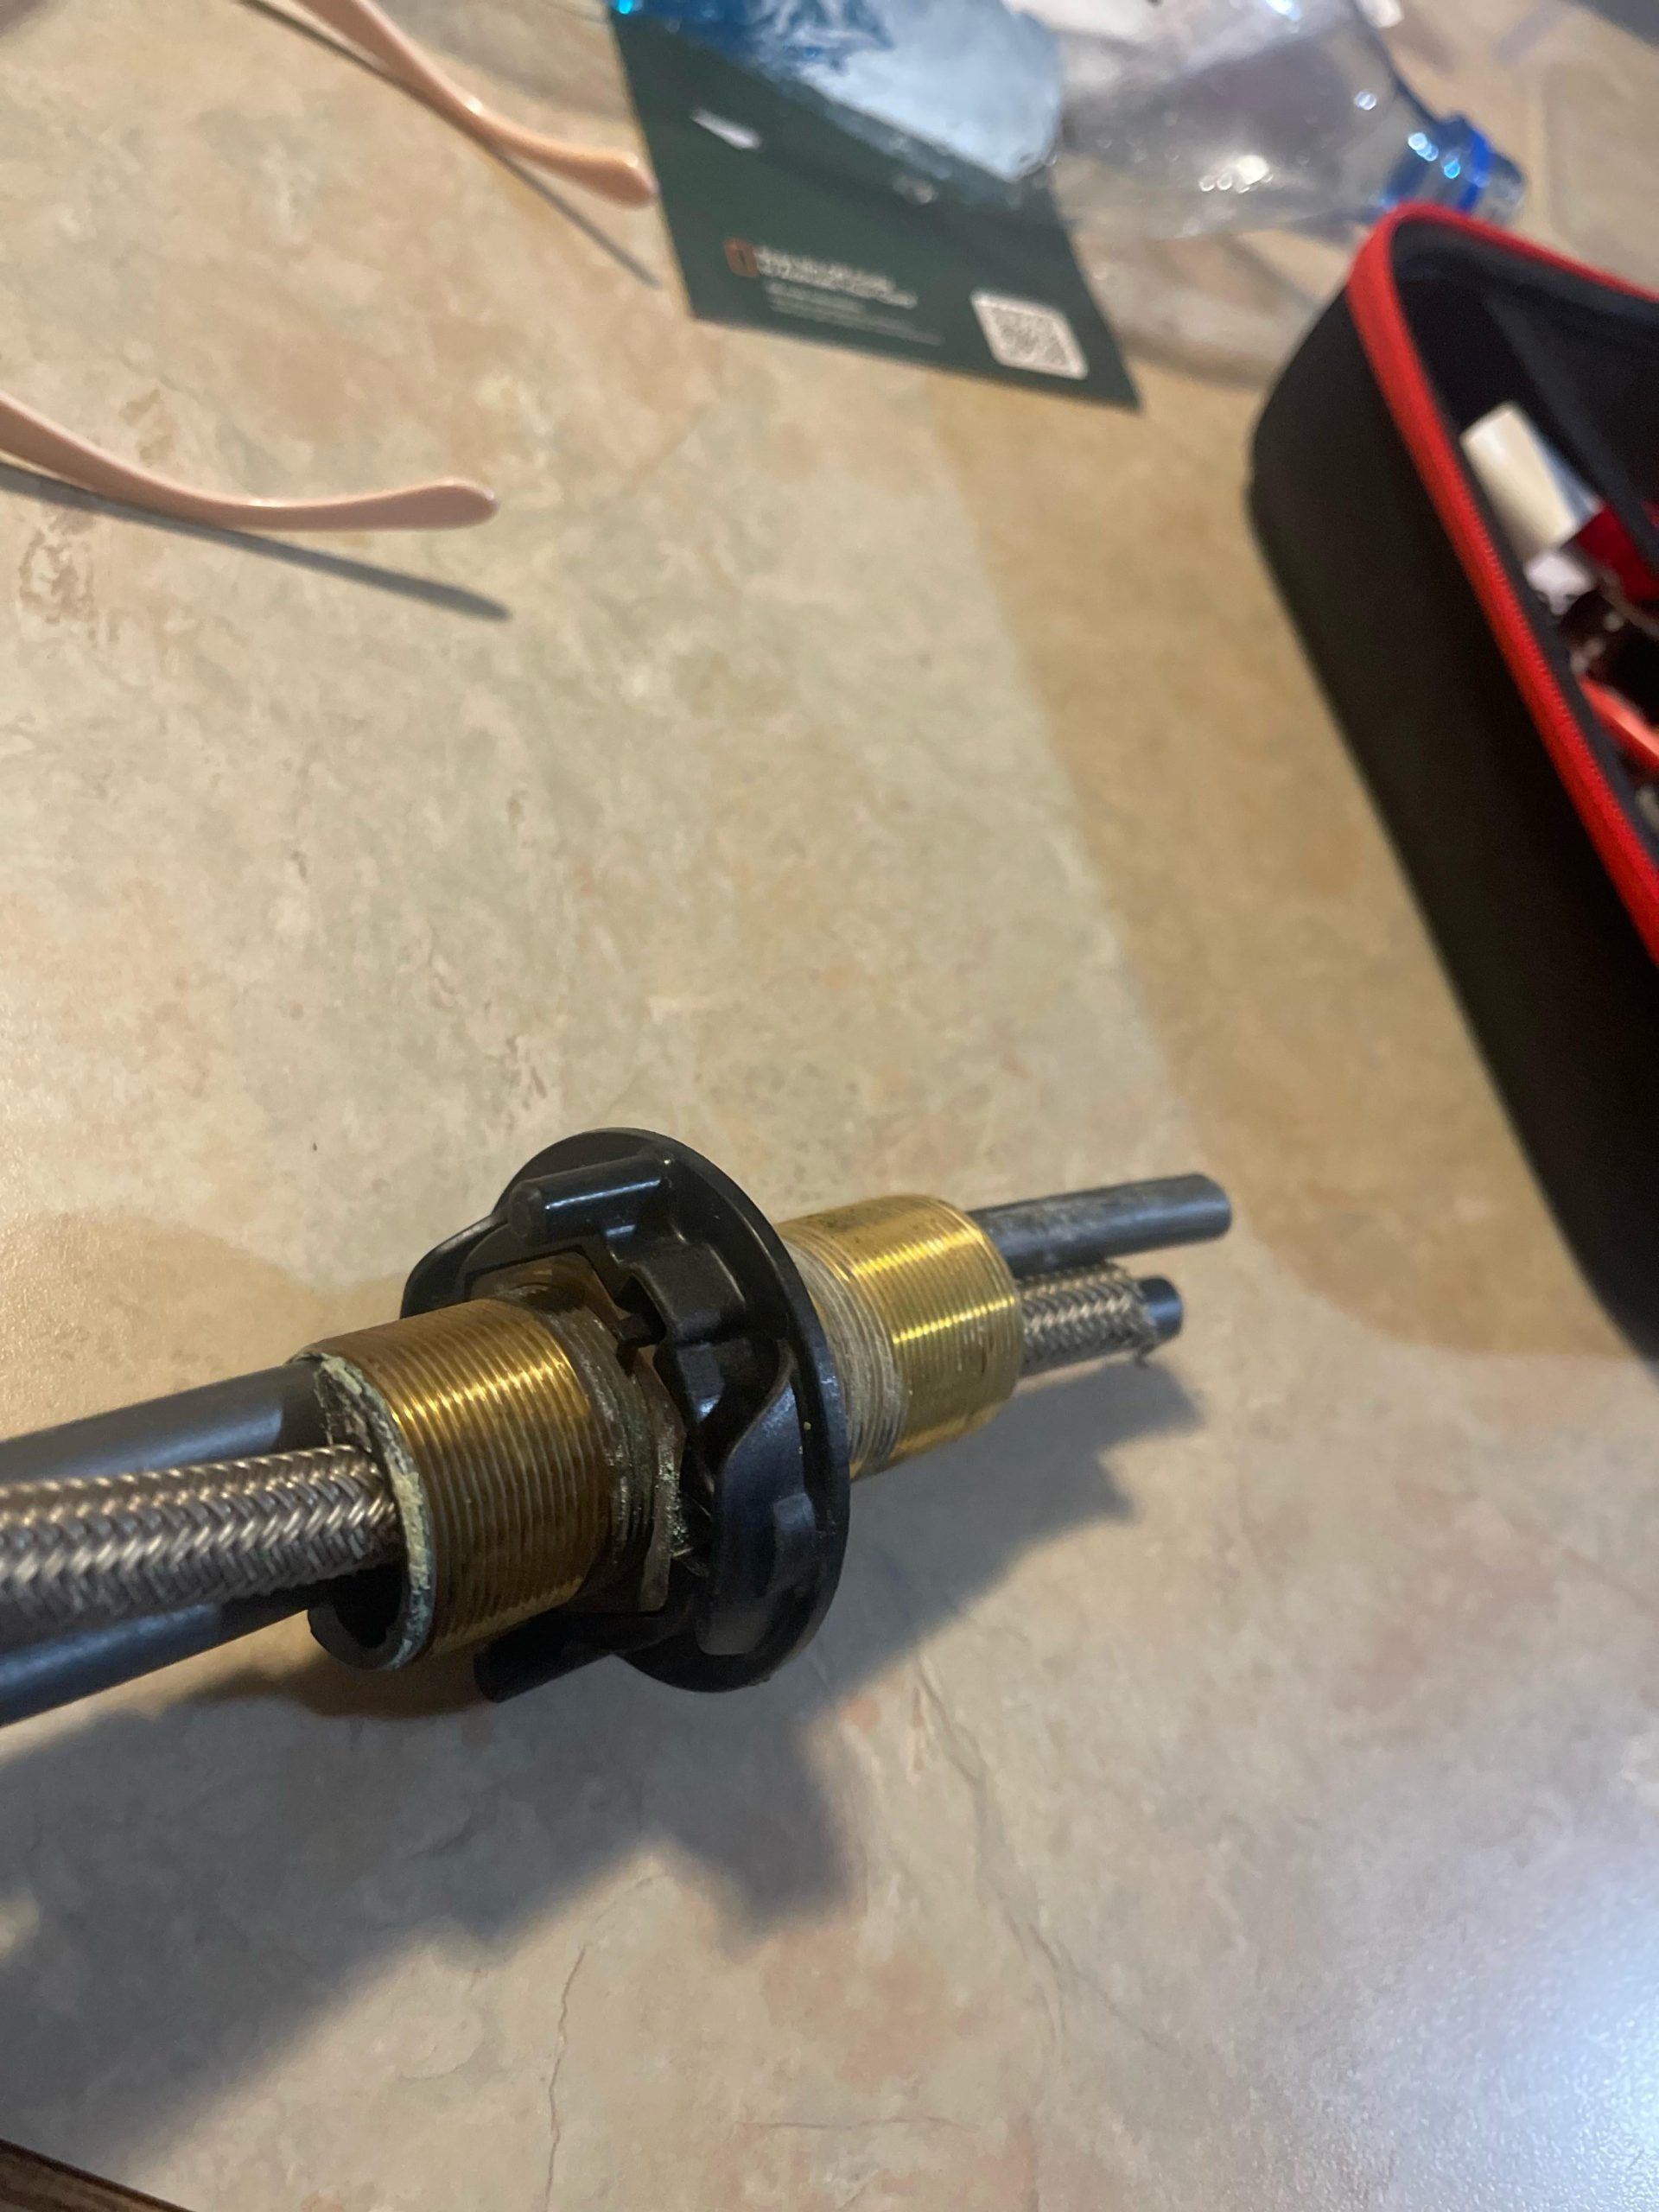
Credit: www.reddit.com
Frequently Asked Questions
How Do I Remove The Handle On A Moen Kitchen Faucet?
To remove the handle, first turn off the water supply. Locate and remove the set screw under the handle using an Allen wrench. Then, gently pull the handle straight up to detach it from the faucet.
What Tools Are Needed To Take Apart A Moen Faucet?
You will need an Allen wrench, adjustable wrench, and a screwdriver. These tools help remove the handle, retaining nuts, and other components safely.
How Do I Disconnect The Water Supply Lines Safely?
Turn off the water valves under the sink. Use an adjustable wrench to carefully loosen the supply line nuts. Disconnect the lines without forcing to avoid damage.
Can I Disassemble A Moen Faucet Without Damaging It?
Yes, by following the manufacturer’s instructions carefully. Use the correct tools and avoid forcing parts. Handle components gently to prevent breakage.
Conclusion
Taking apart a Moen kitchen faucet is easier than it seems. Follow each step carefully and use the right tools. Keep track of small parts to avoid losing them. This guide helps you fix or clean your faucet quickly. Doing it yourself saves time and money.
Stay patient and work slowly for the best results. Now you can handle faucet issues with confidence and ease.


