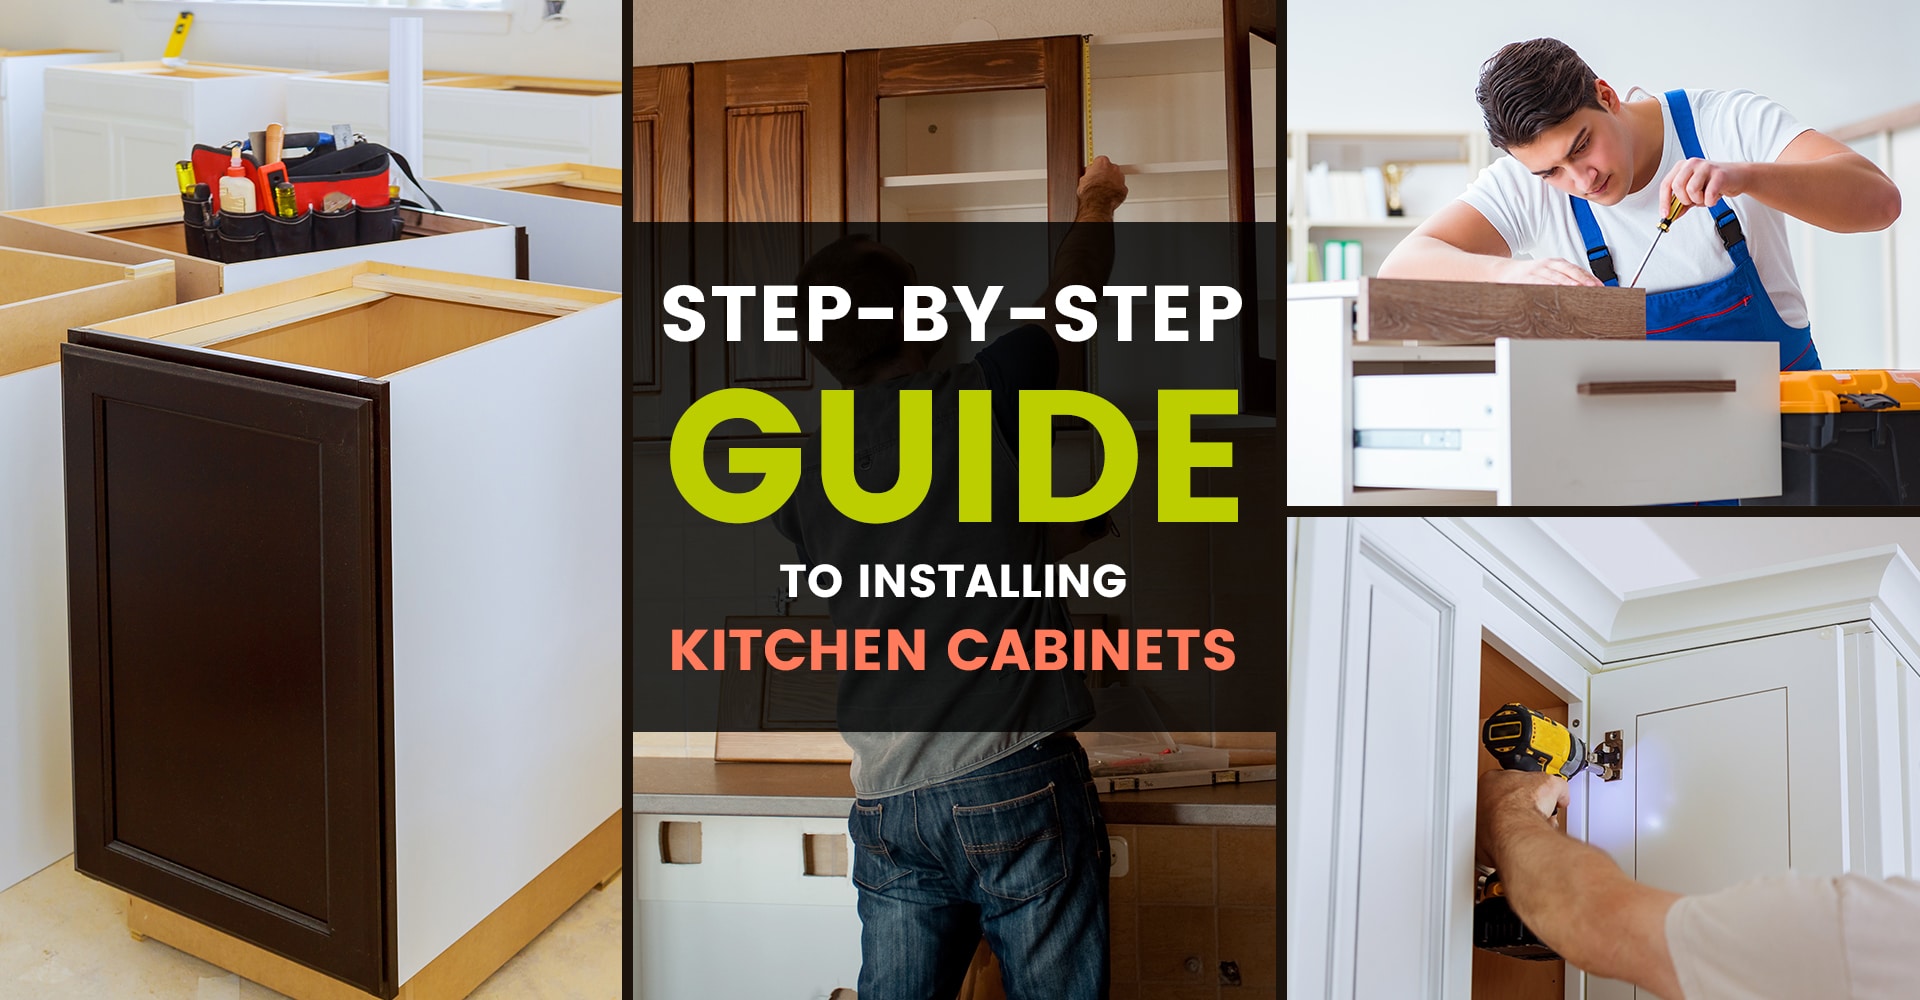
Are you planning a kitchen makeover and feeling a bit daunted by the task of attaching kitchen cabinets? You’re not alone.
The thought of installing these essential pieces can seem overwhelming. But fear not, because with the right guidance, you can tackle this project with confidence and precision. Imagine transforming your kitchen into a space that not only looks stunning but also functions efficiently.
The secret? Properly attached cabinets that stand the test of time. In this guide, you’ll discover step-by-step instructions that make the process straightforward and manageable. We’ll walk you through each phase, ensuring you understand exactly what to do and why it’s important. Plus, we’ll share insider tips that can save you time and prevent common mistakes. Whether you’re a seasoned DIY enthusiast or a newbie looking to take on your first big home project, this article is crafted to meet your needs. Let’s dive in and unleash the potential of your kitchen, turning it into a hub of beauty and practicality.
Preparation And Planning
Gather all the necessary tools for your project. You need a drill, a tape measure, and a screwdriver. Don’t forget the screwsand brackets. Having everything ready helps you work faster. Make sure your tools are in good condition.
Measure the space where you will install the cabinets. Use a tape measurefor this. Write down the measurements on paper. Check them twice to be sure. This helps prevent mistakes.
Pick cabinets that fit your kitchen style. Look at the color and size. Make sure they fit in the measured space. Choose cabinets with good quality wood. They last longer and look better.
Locating Wall Studs
Finding wall studs is crucial for securely attaching kitchen cabinets. Use a stud finder or knock to detect them. Proper alignment ensures stability and prevents damage.
Using A Stud Finder
A stud finderis a handy tool. It helps locate wall studs easily. Slide it across the wall. It beeps when it finds a stud. Move slowly and listen carefully. Repeat on different sections of the wall. Ensure accuracy before marking the spot.
Marking Stud Locations
Once a stud is found, mark the spot. Use a pencilto make a small dot. Repeat for other studs nearby. Draw a straight line between dots. This helps when attaching cabinets. Make sure the marks are visible and clear.
Installing Upper Cabinets
Start by marking the cabinet height on the wall. Use a level for straight lines. Attach a wooden ledger below this mark. This ledger holds the cabinet while you work. Ensure the ledger is sturdy. It must support the weight of the cabinets. Check if the ledger is straight. Adjust it if needed. A straight ledger makes cabinet installation easier.
Place the cabinet on the ledger. Use screws to secure the cabinet to the wall. Ensure screws go into wall studs. Studs provide strong support. Check alignment as you work. Each cabinet should be firm. Tighten screws for extra safety. Cabinets should not wobble. Secure tightly for safety.
Align cabinets using a level. Check each cabinet for straightness. Adjust until perfect. Cabinets must be level with each other. Use shims if needed. Shims help balance uneven spots. Keep checking as you install. A level cabinet looks neat and is functional. Double-check your work for accuracy.

Credit: www.familyhandyman.com
Positioning Base Cabinets
Positioning base cabinets involves ensuring they are level and secure. Start by marking the layout on the wall. Use a spirit level to check alignment. Attach them to wall studs using screws, ensuring stability and proper support.
Adjusting For Floor Level
Base cabinets must sit on a level floor. Use a level tool to check. Floors can be uneven. Adjust cabinet legs to match the floor. Some cabinets have adjustable legs. They help with uneven floors. Make sure cabinets are steady. This keeps them from tipping over.
Attaching To Wall And Floor
Secure cabinets to the wall first. Use screws to hold them tight. Check for studs in the wall. Screws grip better in studs. Attach cabinets to the floor if needed. Sometimes, extra stability is required. Make sure all screws are tight. This prevents cabinets from moving. Proper attachment is key for safety.
Joining Cabinets Together
Aligning cabinet faces is crucial. Use a level to check if the faces are even. Cabinets should be in a straight line. Adjust them if needed. Use shims or spacers to fix minor gaps. This ensures a smooth look. Proper alignment prevents problems later.
Clamps hold cabinets tight. Place clamps on the sides. Ensure they grip well. Secure cabinets with screws. Tighten screws until they are firm. Double-check the alignment after securing. It keeps cabinets sturdy. Strong cabinets last longer.

Credit: www.homedepot.com
Attaching Cabinet Doors
Start by gathering your tools. A screwdriver and a drill are needed. Place the hinges on the cabinet door. Make sure they are aligned. Use the drill to make small pilot holes. This prevents wood from splitting. Now, insert the screws into the hinges. Tighten them with the screwdriver. Ensure the screws are secure. The door should open and close easily.
Check if the cabinet door is level. Adjust if it looks tilted. Most hinges have screws for adjustment. Turn these screws to move the door up or down. If the door sticks out, move it inward. Small adjustments can make a big difference. Test the door after each adjustment. It should fit snugly and swing smoothly.
Incorporating Shelving And Drawers
First, gather all the tools you need. A drill and screwdriver are important. Use a level to keep the shelves straight. Mark where the screws will go. Make sure the marks are even. Drill holes at the marks. Then, attach the brackets to the wall. Check if they are tight. Place the shelf on the brackets. Screw the shelf to the brackets. Now, your shelf is ready to use.
Start with the drawer sides. Attach them with screws. Use the guide holes for accuracy. Add the bottom of the drawer. Secure it well. Attach the drawer front. Use a screwdriver for this. Now, slide the drawer into its slot. Make sure it moves smoothly. Adjust if it sticks. Finally, test the drawer by pulling it out and pushing it in. It should work easily.
Finishing Touches
Handles and knobs make cabinets look nice. Choose styles that match your kitchen. Use a screwdriver to attach them firmly. Check each piece for tightness. Handles should not wiggle. Knobs should be straight. This makes using cabinets easy and fun.
Sealing keeps cabinets safe from water. Use a good sealant. Apply it evenly on the surface. Let it dry completely. Cleaning is important too. Use a soft cloth and gentle cleaner. Wipe cabinets to keep them shining. This helps cabinets last longer. Avoid harsh chemicals. They can damage the finish.
Troubleshooting Common Issues
Walls in kitchens can be uneven. This makes cabinets hard to fit. Shims are helpful in this situation. They are small, thin pieces of wood. Place shims behind the cabinet. This helps make the cabinet level. Check using a level tool. Adjust the shims as needed. This makes sure your cabinets are straight.
Misaligned cabinets look bad. They can also be hard to use. Use a screwdriver to fix them. First, check all the screws. Some might be loose. Tighten them carefully. If one cabinet is higher, adjust it. Move the screw holes if needed. Double-check the alignment before finishing.

Credit: www.delineateyourdwelling.com
Frequently Asked Questions
How Do I Prepare Cabinets For Installation?
Before installing, ensure cabinets are clean and dust-free. Remove any doors or drawers to lighten the load. Check for any damage and repair if needed. Gather all necessary tools, including a level, drill, and screws. Proper preparation ensures a smoother installation process.
What Tools Are Needed For Cabinet Attachment?
You’ll need a drill, level, screws, and a stud finder. A tape measure ensures precise alignment. Having clamps can help hold cabinets in place. Always have safety gear like gloves and goggles. Proper tools make the installation efficient and safe.
How To Ensure Cabinets Are Level?
Use a spirit level to check the alignment of cabinets. Start by leveling the base cabinets first. Adjust using shims if necessary. Ensure wall cabinets match the base level. Regular checks during installation prevent future alignment issues.
What To Do If Walls Aren’t Straight?
Use shims to adjust cabinets for uneven walls. Measure to find discrepancies before attaching. Secure cabinets to the most stable points. A level and patience are key. Proper adjustments ensure a polished finish.
Conclusion
Attaching kitchen cabinets is easier than it seems. Follow the steps carefully. Measure accurately. Use the right tools and materials. Secure the cabinets firmly. Check alignment. Make adjustments as needed. Ensure cabinets are level and sturdy. Seek help if unsure about any step.
Practice patience throughout the process. Enjoy your newly attached kitchen cabinets. They add beauty and function to your space. Feel proud of your handiwork. Share your success with friends. Invite them to admire your kitchen. You’ve done a fantastic job! Keep learning and improving your skills.


