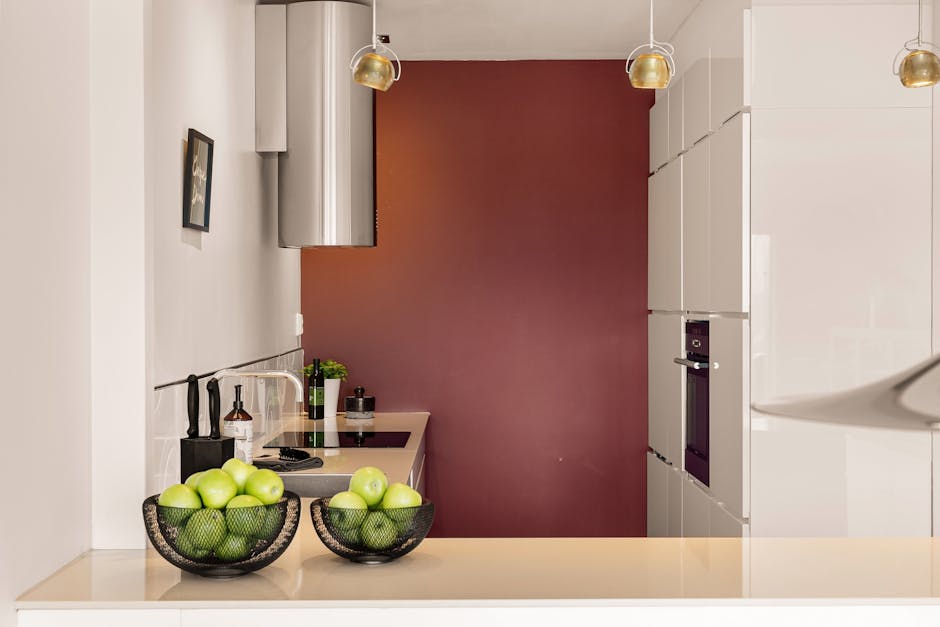
Are your kitchen cabinets looking a bit worse for wear? Before you grab that paintbrush and start transforming your kitchen space, it’s crucial to ensure your cabinets are spick and span.
Cleaning them properly not only helps the paint adhere better but also gives your cabinets a fresh start. Imagine the satisfaction of seeing your kitchen cabinets gleaming with a new coat of paint, with no dust or grime to spoil the look.
Are you ready to make that happen? In this guide, you’ll discover the best way to clean your kitchen cabinets to prepare them for painting, ensuring a flawless finish that lasts. Stick around to learn the simple steps that can make all the difference in your kitchen makeover.
Preparing The Area
Clear the countertops and remove items from cabinets. Protect surfaces with drop cloths or plastic sheeting. Ensure good ventilation for safety.
Clearing The Workspace
Move items off the counters and away from cabinets. Remove all kitchen appliances and tools. This keeps them safe from dust and paint. Clean the counters and floors. Keep the area tidy for easy movement.
Gathering Supplies
Collect all necessary supplies before starting. You need soap, water, and a sponge. Get sandpaper and a dust mask too. Have a bucket and towels ready. Keep a trash bag nearby for waste. These tools help you clean effectively.

Credit: www.youtube.com
Choosing The Right Cleaner
Different cleaners work for different surfaces. Soap and wateris simple and effective. It works well for most cabinets. Vinegar and wateris natural and safe. It cuts grease and grime. Commercial degreasersare strong. They remove sticky residue easily. Test cleaners on a small area first. This helps avoid damage. Choose a cleaner that suits your cabinet material.
Always wear gloves to protect your hands. Use goggles to keep eyes safe. Ensure good ventilation in the room. Open windows or use a fan. Avoid mixing different cleaners. Some combinations are harmful. Keep cleaners away from children and pets. Follow the instructions on the cleaner’s label. Dispose of waste properly. Safety is very important.
Removing Cabinet Doors
Label each doorbefore removing. Use sticky notes or tape. Write numbers or letters on the labels. This helps you know which door goes where later. Keep the labels safe. Ensure they don’t fall offduring cleaning.
Keep a pen and paper handy. Write down each cabinet part. Note where screws belong. This makes reassembly easy. Take photos if needed. Photos are good reminders.
Use a small box or bag. Put screws and hinges inside. Label the box or bag. Write which cabinet the hardware belongs to. This prevents losing parts. Ensure all pieces stay together.

Credit: kitchenmakeovers.co.uk
Degreasing The Surfaces
Mix warm water with dish soap. This makes a gentle cleaner. Use vinegarfor tough grease. Combine equal parts vinegar and water. Apply to surfaces with a spray bottle. For stubborn spots, try baking soda. Mix with water to form a paste. Spread on grease and let sit. Wipe clean with a damp cloth.
Use a soft sponge or cloth. Avoid hard brushes to prevent scratches. Dip the sponge in your cleaning solution. Gently scrub the cabinets in circles. For corners, use a toothbrush. It reaches small spaces easily. Rinse the sponge often. This keeps it clean and effective. Dry surfaces with a towel after cleaning.
Sanding The Cabinets
Sanding the cabinets is essential for a smooth paint finish. It removes old paint and rough spots, creating a clean surface. Proper sanding ensures better paint adhesion and a professional look.
Choosing Sandpaper Grit
Picking the right sandpaper gritis important. Use a lower grit like 80 or 100for old paint. These grits remove paint quickly. For smooth surfaces, choose a higher grit like 150 or 180. This ensures a nice finish. Always check the cabinet’s surface. Is it rough or smooth? This helps you choose.
Proper Sanding Methods
Start with slow and gentle strokes. Move the sandpaper in a circular motion. Avoid pressing too hard. This prevents scratches. Always sand along the wood grain. It keeps the surface smooth. After sanding, use a damp cloth. Wipe away dust and debris. Clean surfaces make painting easier. Remember, patience is key. Take your time for the best results.
Dust Removal
Vacuuming is a smart way to clean cabinets. Use a vacuum with a brush attachment. This helps remove dust from corners. Move the vacuum slowly over surfaces. This ensures all dust is captured. Pay attention to cabinet edges. Dust often hides in these areas.
After vacuuming, use a damp cloth. This will catch leftover dust. Make sure the cloth is soft. This prevents scratches on cabinet surfaces. Wipe every corner carefully. Do not miss any spots. A clean surface is important for painting. It helps paint stick better.
Inspecting For Residue
Look closely at the cabinets. Spot leftover grease on the surfaces. Grease can hide in corners and edges. Use a flashlight if needed. Grease can feel sticky to the touch. It attracts dust and dirt easily.
Wipe the cabinets with a damp cloth. This can show hidden spots. Use your fingers to feel for grease. Sometimes, it is not visible. Pay attention to handles and knobs. They often collect grease.
Sand the cabinet surfaces lightly. This helps in removing any leftover residue. Use a fine-grit sandpaper. Be gentle but thorough. Dust off any sanding particles. A smooth surface is important for painting. It helps the paint stick better.

Credit: www.youtube.com
Final Preparations
Proper cleaning ensures smooth paint application on kitchen cabinets. Begin by removing dust and grime using a mild detergent solution. Rinse thoroughly and allow surfaces to dry completely before painting.
Taping Off Edges
Use blue painter’s tape to protect edges. Press the tape firmly to secure it. Cover all edges near the cabinets. This stops paint from getting on other surfaces. Check the tape doesn’t peel off easily. If it does, press it again.
Covering Surrounding Areas
Protect nearby surfaces with plastic sheets. Use old newspapers if you need extra coverage. Secure them with tape. Cover floors and countertops. This prevents accidental paint spills. Ensure all areas are fully covered. Double-check the protection before painting starts.
Frequently Asked Questions
How Do I Prepare Cabinets For Painting?
To prepare cabinets for painting, first remove the doors and hardware. Clean them with a degreaser to remove oil and dirt. Sand the surfaces to create a smooth base. Finally, apply a primer to ensure the paint adheres well. This process helps achieve a professional, long-lasting finish.
What Cleaner Should I Use Before Painting?
Use a strong degreaser or TSP (trisodium phosphate) to clean kitchen cabinets. These cleaners effectively remove grease, grime, and residue. Ensure you rinse thoroughly with water after cleaning. This step is crucial for paint adhesion and achieving a smooth, professional finish on your kitchen cabinets.
Why Is Cleaning Cabinets Important Before Painting?
Cleaning cabinets removes grease, dirt, and grime. These contaminants can prevent paint from adhering properly. A clean surface ensures a smooth, long-lasting finish. Skipping this step may result in peeling or uneven paint. Proper cleaning is essential for achieving a professional-looking painted cabinet.
Can I Paint Without Sanding The Cabinets?
Sanding creates a rough surface for paint to adhere to. If you skip sanding, use a deglosser or liquid sandpaper. This helps the paint stick better. However, sanding is generally recommended for the best results. It ensures a durable, smooth finish on your painted kitchen cabinets.
Conclusion
Cleaning kitchen cabinets before painting is essential. It ensures smooth, lasting results. Use a gentle cleaner to remove grease and grime. Sand lightly for a clean, even surface. Rinse thoroughly to avoid residue. Allow cabinets to dry completely. This prevents paint issues later.
Clean, dry surfaces hold paint better. Your effort now saves trouble later. A well-prepared cabinet looks professional and neat. Remember, preparation is key for a successful paint job. Happy painting! Enjoy your refreshed kitchen space.


