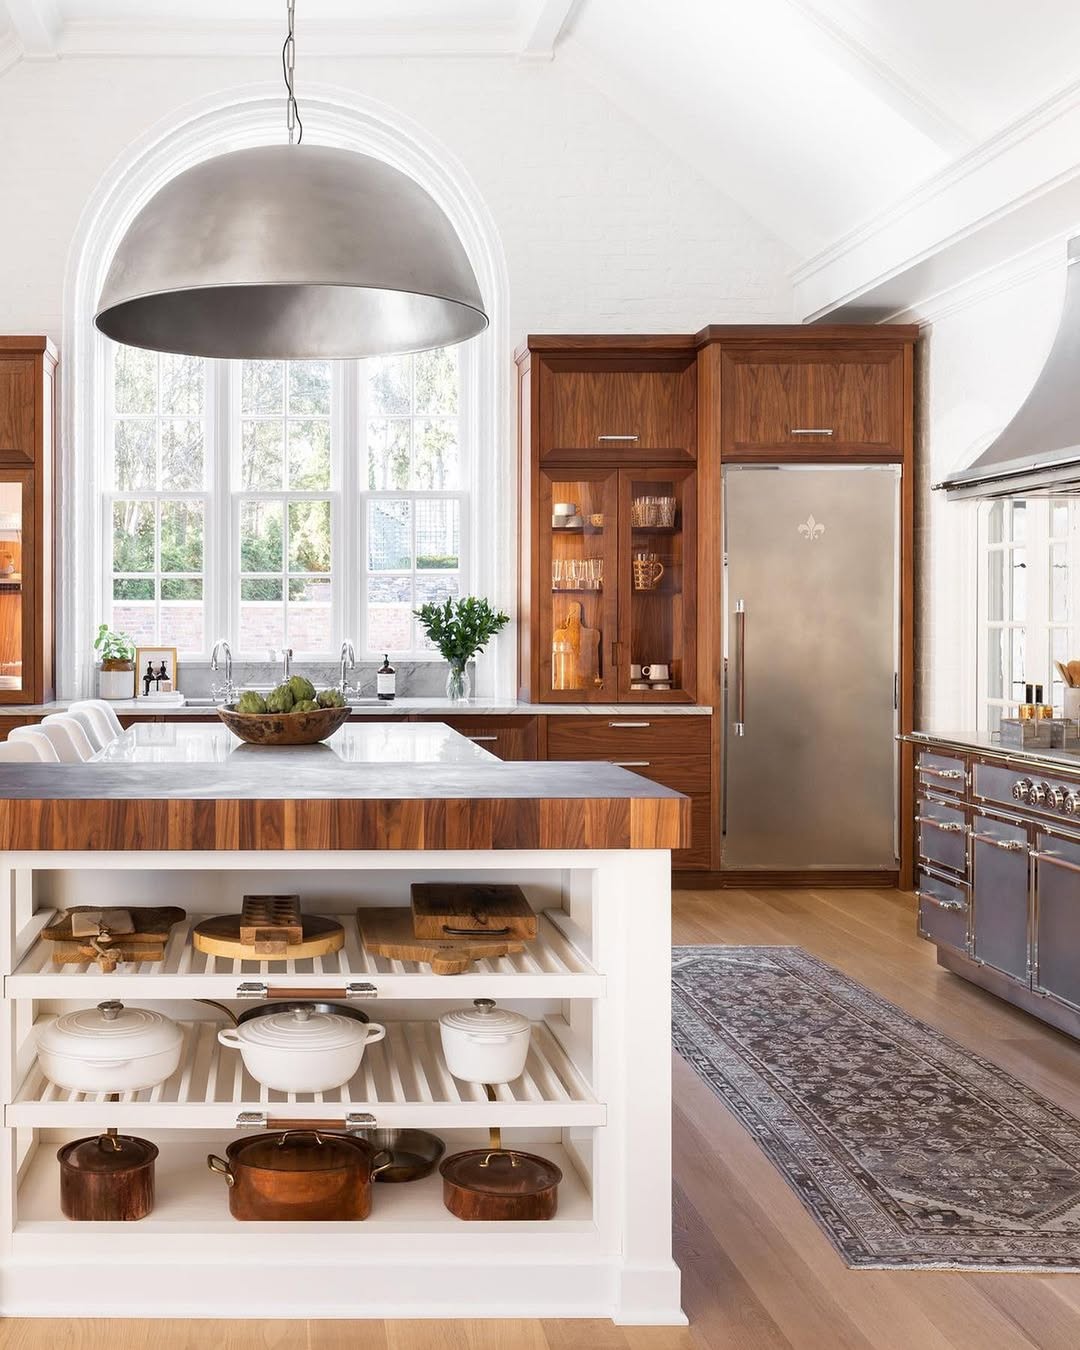
Are you dreaming of transforming your kitchen into a more functional and stylish space? Picture this: an island in the center of your kitchen, offering extra countertop space, additional storage, and a cozy spot for gatherings.
But where do you start? The idea might seem daunting, yet with the right guidance, you can create a stunning kitchen island that perfectly suits your needs and style. In this guide, you’ll discover easy-to-follow steps and insider tips to build your own kitchen island, tailored just for you.
Get ready to unlock the secrets to maximizing your kitchen’s potential and enjoy a new level of convenience and aesthetics. Dive in and see how you can turn this exciting project into a reality!
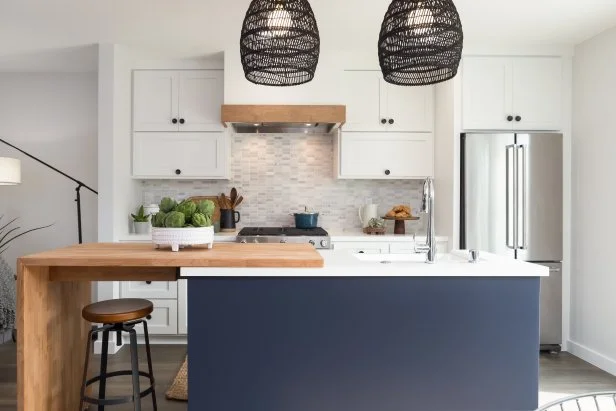
Credit: www.hgtv.com
Planning Your Kitchen Island
Start by measuring your kitchen space carefully. Make sure there is enough room to move around the island. Leave at least 36 inches of space on all sides for comfort. The size of the island depends on your kitchen’s size and shape.
Think about what you want the island to do. It can be a place to cook, eat, store items, or even work. Some islands have sinks or cooktops built in. Others serve as a dining spot with stools.
| Island Size | Best For |
|---|---|
| Small (2-3 feet wide) | Extra prep space, small kitchens |
| Medium (4-5 feet wide) | Prep area, storage, casual dining |
| Large (6+ feet wide) | Cooking, dining, multiple uses |
- Choose size based on kitchen space and needs.
- Decide functions: cooking, storage, dining, or work.
- Plan for seating if you want an eating area.
- Make sure enough walking space surrounds the island.
Selecting Materials
Choose a countertopthat fits your style and use. Popular options include granite, quartz, and wood. Granite is durable and heat-resistant. Quartz is easy to clean and looks modern. Wood adds warmth but needs more care.
Cabinetry should match your kitchen’s look. Solid woodcabinets are strong and classic. MDFcabinets are cheaper and smooth. Think about storage space and ease of cleaning.
Flooring under the island must be sturdy and easy to clean. Tileis durable and water-resistant. Vinylis soft and budget-friendly. Hardwood looks beautiful but can scratch. Choose what fits your daily kitchen use.
Design Styles
The Modern and Minimaliststyle uses clean lines and simple shapes. It focuses on neutral colorslike white, gray, and black. The kitchen island often has sleek surfacesand hidden storage. This style creates a calm and unclutteredspace.
Rustic and Farmhousestyle brings warmth with natural woodand rough textures. The island may have a wooden countertopand open shelves. Colors are earthy, like brown, beige, and green. It feels cozy and inviting.
Traditional and Classicstyle uses rich wood tonesand ornate details. The island often features decorative moldingsand elegant hardware. Colors include warm neutralsand soft pastels. This style looks timeless and refined.
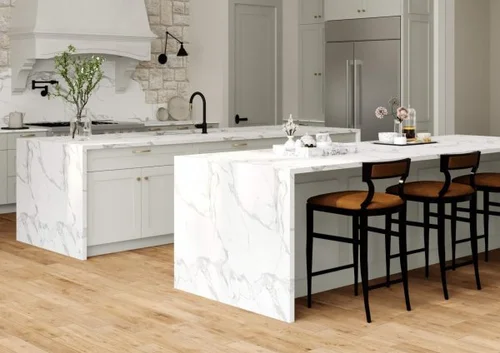
Credit: carlaaston.com
Incorporating Storage
Drawers and cabinets offer hidden storageto keep kitchens tidy. They help store pots, pans, and utensils neatly. Choose drawers with dividers to organize cutlery and tools easily.
Open shelving creates a visual appealand quick access to dishes and cookbooks. It encourages keeping items neat since everything is visible.
Specialized storage solutions fit unique kitchen needs. Examples include built-in wine racks, spice racks, or pull-out trash bins. These make the island more functionaland space-efficient.
Adding Appliances And Fixtures
Sinksneed to be placed where plumbing is easy to reach. Choose a durable materiallike stainless steel or porcelain for easy cleaning. Make sure the sink size fits the island space well. Install a faucet with a pull-out sprayer for better use.
Cooktops come in many styles. Electric, gas, and inductionare popular choices. Gas cooktops give quick heat, while induction is safer and energy-efficient. Position the cooktop away from heavy traffic to avoid accidents.
| Power Outlets | Lighting |
|---|---|
|
|
Building The Island
Building a kitchen island needs basic toolsand materials. Essential tools include a drill, screwdriver, saw, and measuring tape. Materials often used are wood panels, screws, paint, and countertopsurfaces like laminate or granite.
The assembly starts by measuring the space carefully. Cut the wood to the right size. Attach the frame pieces securely with screws. Add the countertop on top and fix it tight. Make sure all parts fit well together. Sand any rough edges for a smooth finish.
- Wear safety gogglesto protect your eyes.
- Use glovesto avoid splinters and cuts.
- Keep your workspace clean to prevent slips.
- Handle tools carefully and follow instructions.
- Work in a well-ventilated area if painting.
Finishing Touches
Painting and staininggive the island a fresh, clean look. Choose colors that match your kitchen walls and cabinets. Use water-resistant paintfor durability. Staining wood shows its natural beauty and protects it from spills.
Pick hardware and accessoriesthat add function and style. Handles, knobs, and pulls should be easy to use and fit the island’s design. Consider adding hooks or racks for towels and utensils.
- Simple, sturdy handles work best for everyday use.
- Metal finishes like brushed nickel or bronze add a nice touch.
- Soft-close drawers keep noise low.
Decor and seatingmake your island inviting. Add stools that fit under the counter to save space. Use cushions for comfort. Place small plants or a bowl of fruit to brighten the area.

Credit: www.aosom.com
Frequently Asked Questions
What Materials Are Best For A Kitchen Island?
Wood, granite, and quartz are popular materials for kitchen islands. Wood offers warmth, while granite and quartz provide durability and a sleek look. Choose materials that complement your kitchen’s style and meet your maintenance preferences.
How Much Space Is Needed For A Kitchen Island?
Allow at least 36 to 48 inches of clearance around the island. This space ensures easy movement and comfortable workflow. Proper spacing improves kitchen functionality and safety.
Can I Add Storage To My Kitchen Island?
Yes, adding cabinets, drawers, or shelves increases kitchen storage. Customizing storage options helps organize utensils and cookware efficiently. It maximizes space usage and keeps your kitchen tidy.
Is It Necessary To Include Seating In A Kitchen Island?
Seating is optional but adds functionality for dining or socializing. Bar stools or chairs create a casual eating area. Consider your space and lifestyle when deciding on seating.
Conclusion
Creating a kitchen island adds both style and function. It offers extra space for cooking and storage. You can design it to fit your kitchen size and needs. A well-made island makes cooking easier and more fun. Think about materials, shape, and placement before starting.
Small changes can make a big difference in your kitchen. Enjoy your new island as a great spot for meals or work. This simple project can improve your kitchen’s look and use. Give your kitchen a fresh, useful centerpiece today.





