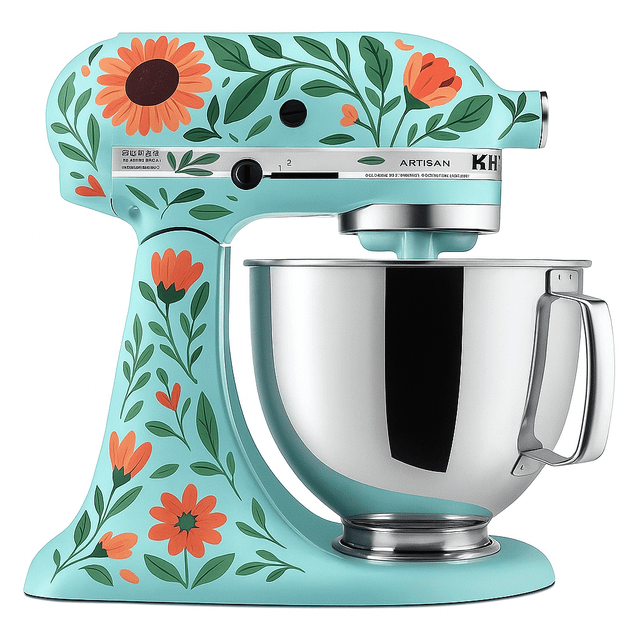
Your KitchenAid stand mixer is more than just a kitchen tool—it’s a statement piece. But what if its color no longer fits your style or kitchen decor?
Painting your mixer is a simple, creative way to give it a fresh, personalized look. Imagine transforming your trusty appliance into a custom work of art that matches your vibe perfectly. In this guide, you’ll discover easy steps and insider tips to paint your KitchenAid stand mixer like a pro.
Ready to make your mixer truly yours? Keep reading, and let’s get started!
Credit: www.theinspirationedit.com
Gathering Materials
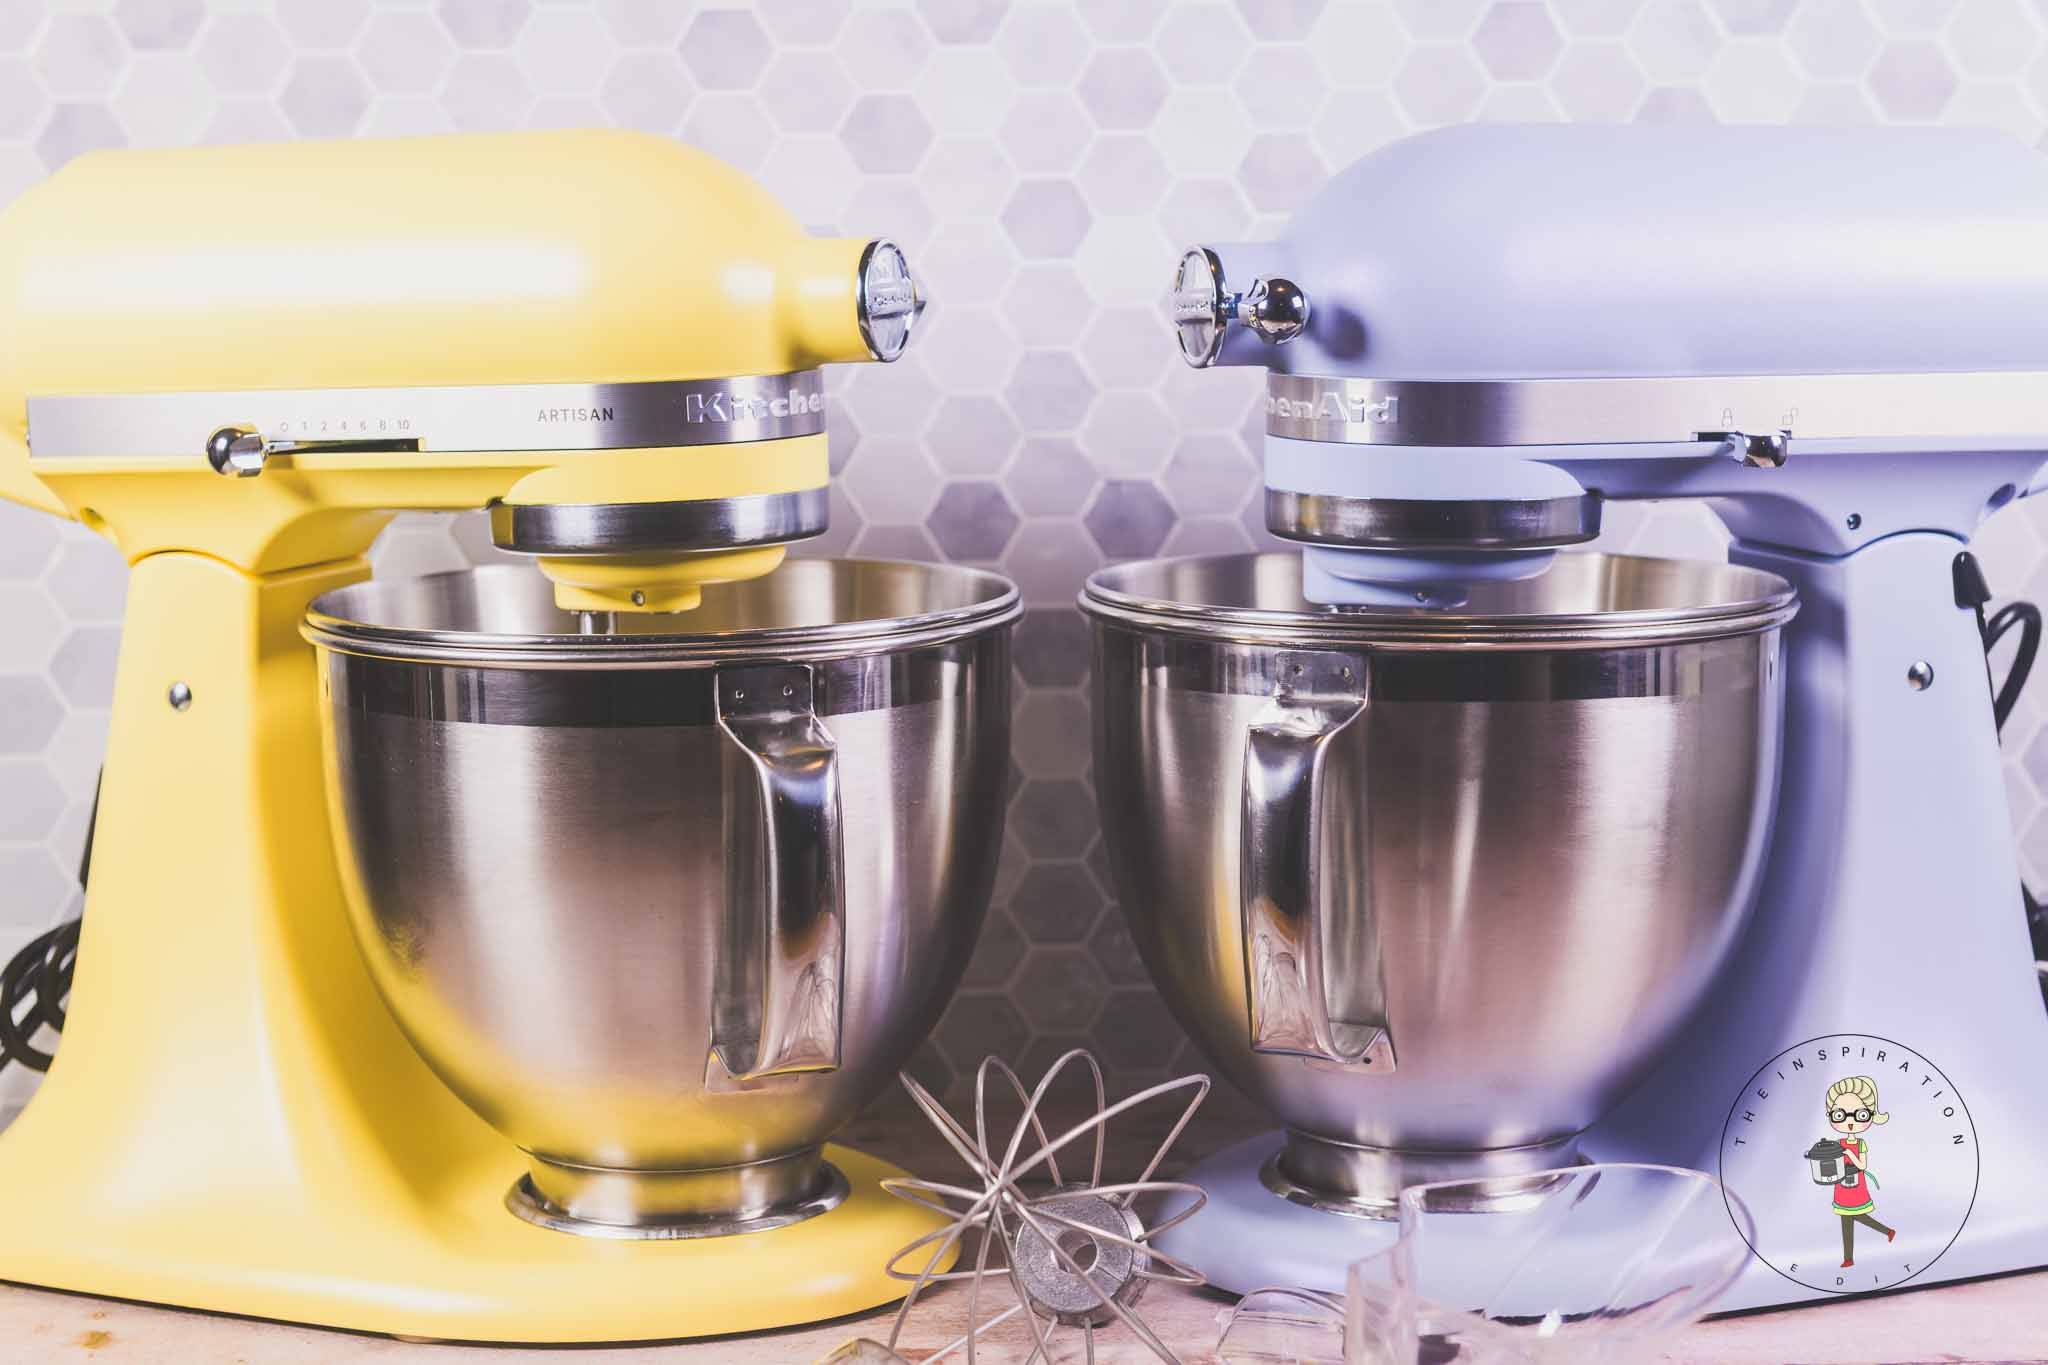
Choosing the right paint is key for a smooth finish. Use spray paintmade for metal surfaces. It sticks well and dries fast. Pick a paint that is durableand heat-resistant. This helps the mixer handle kitchen heat and spills. Avoid regular wall paint; it may peel off.
Gather all essential tools and supplies before starting. Here is a list:
- Spray paintfor metal
- Primerto help paint stick
- Fine sandpaperto smooth the surface
- Painter’s tapeto cover parts you don’t want to paint
- Newspaper or drop clothto protect your work area
- Glovesto keep hands clean
- Screwdriverto remove parts if needed
Credit: www.theinspirationedit.com
Preparing The Mixer
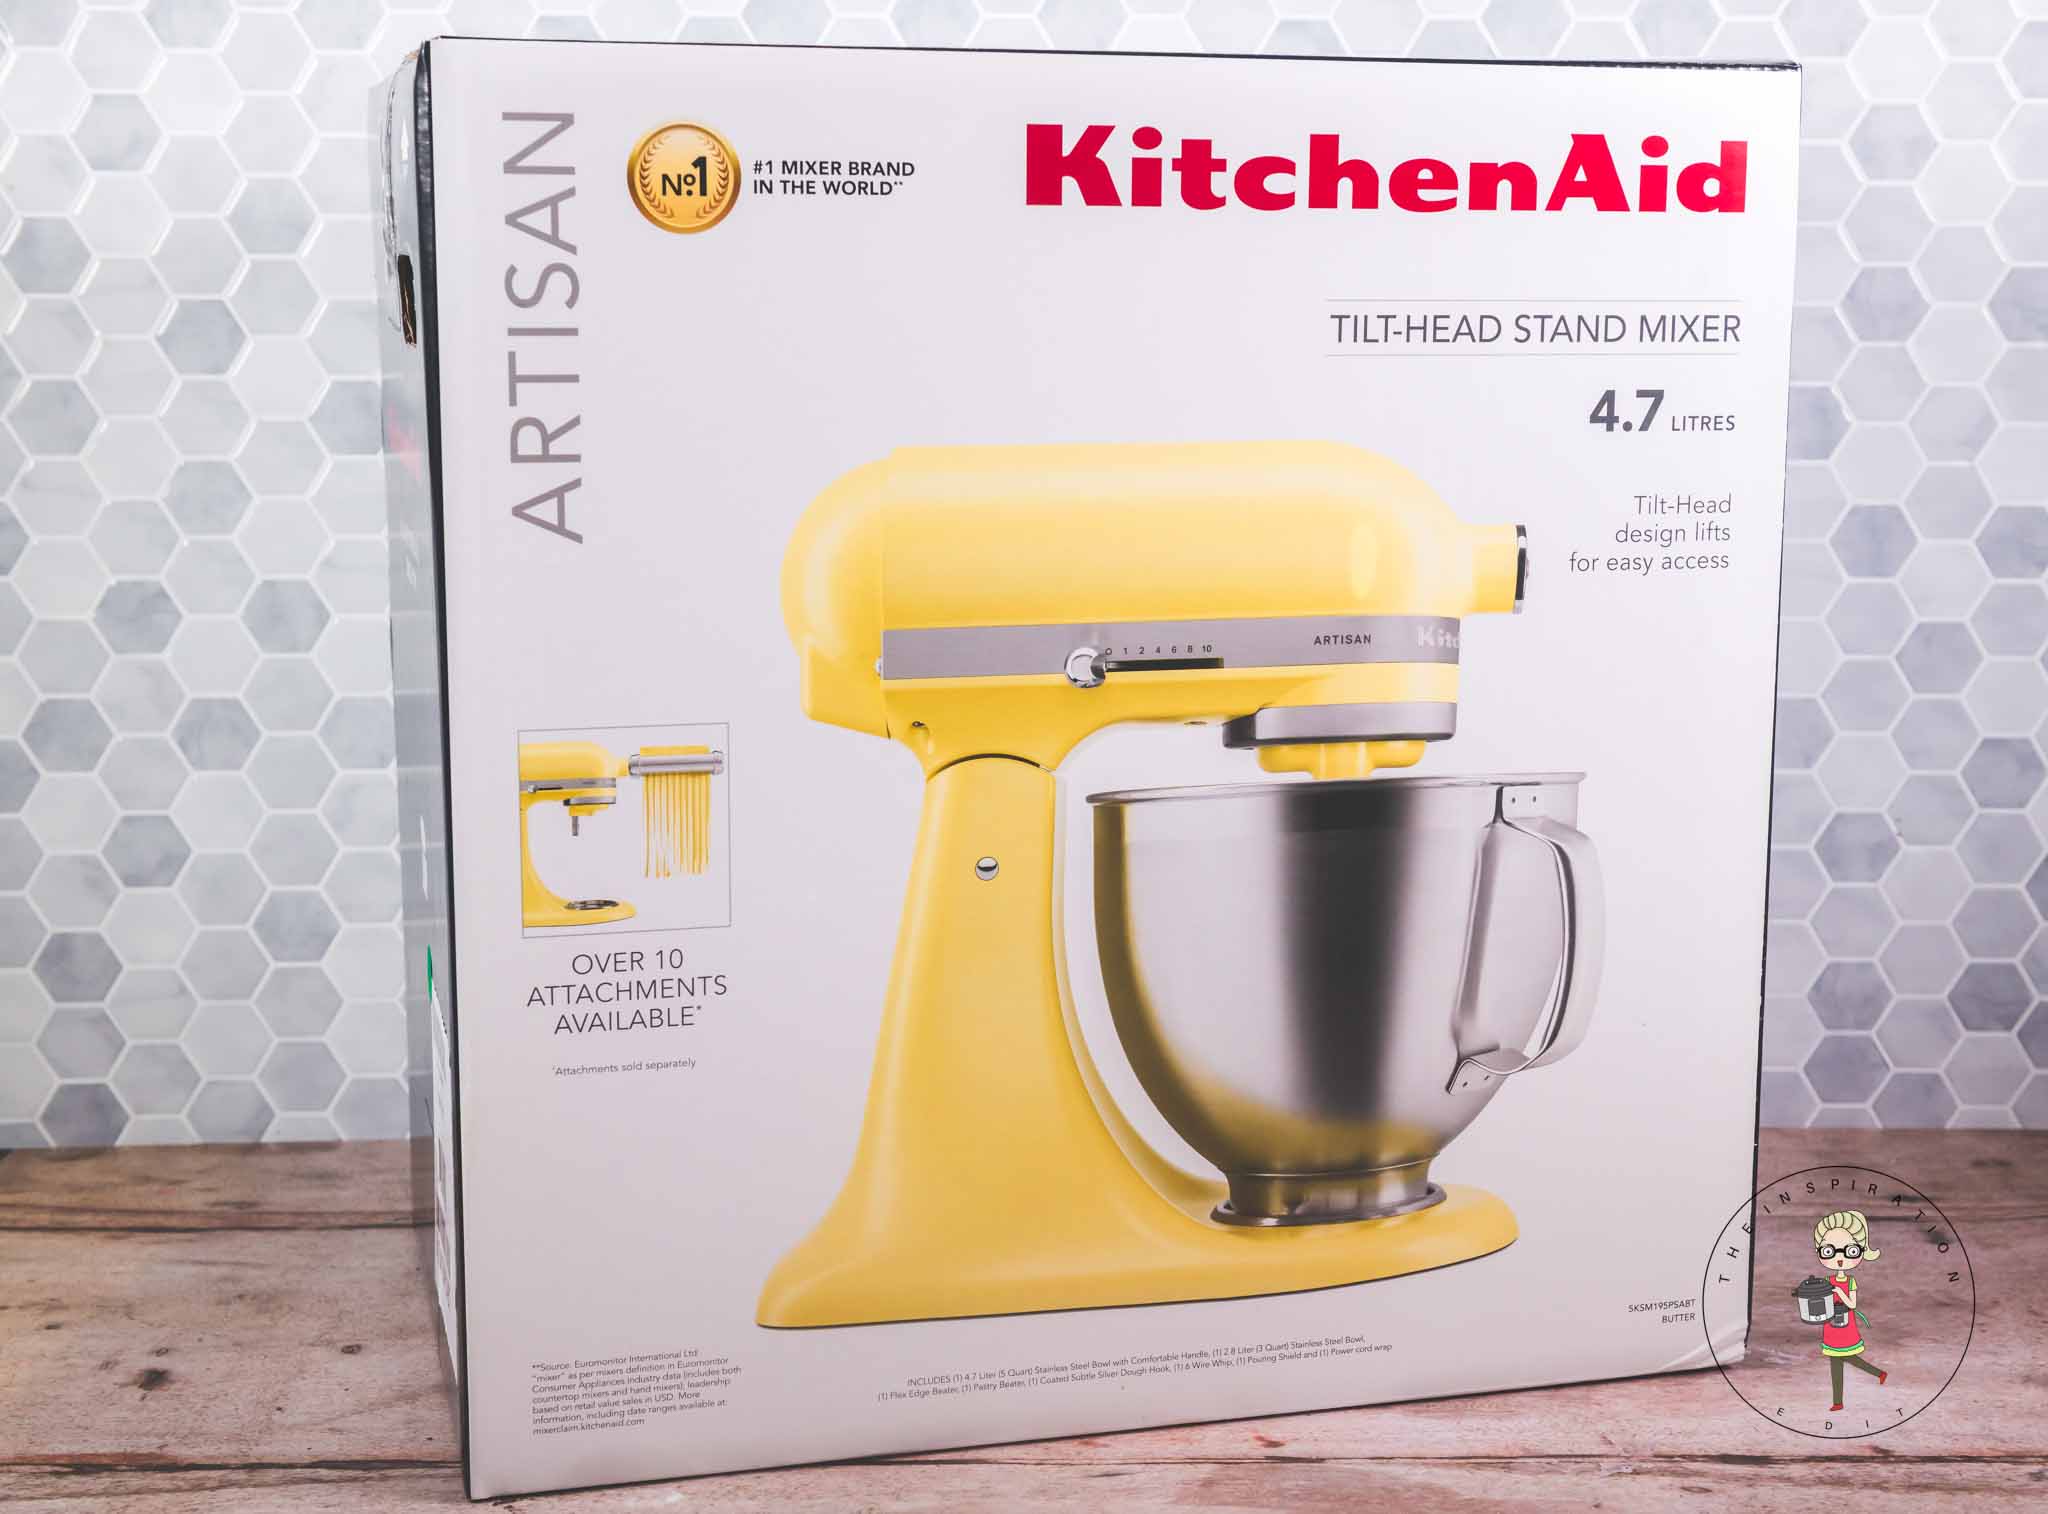
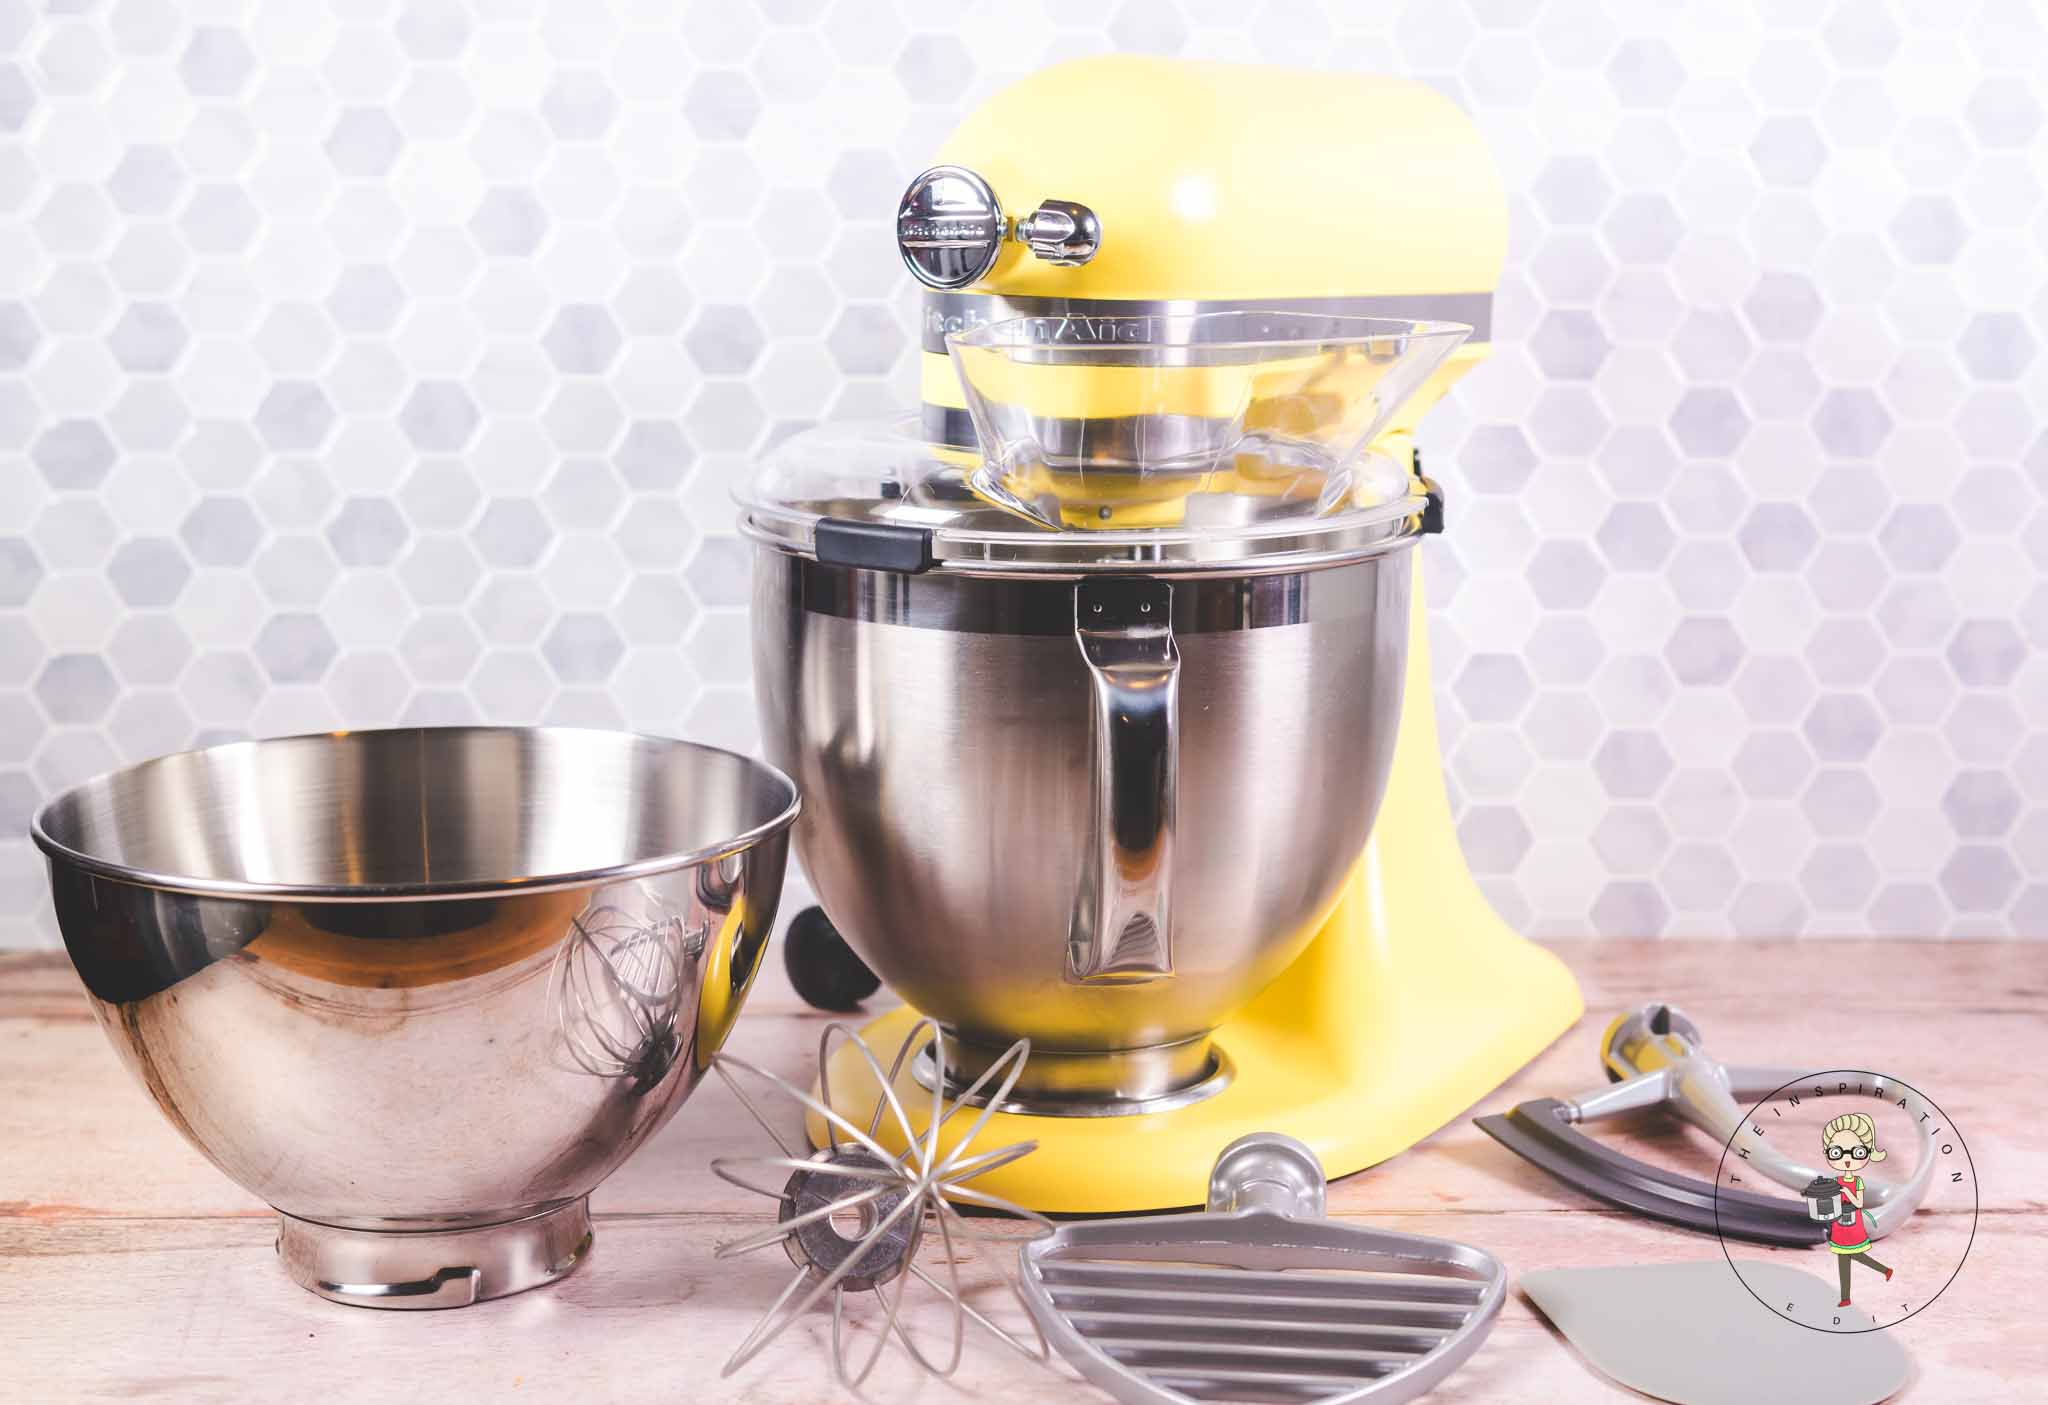
Start by unplugging the mixerand removing all attachments. This helps avoid paint on unwanted parts. Take off the bowl, beaters, and any other tools.
Clean the mixer well to remove dirt, grease, and oils. Use a mild soap and warm water with a soft cloth. Grease can stop the paint from sticking properly.
After cleaning, let the mixer dry completely. Use a degreaser if needed for stubborn grease. This step ensures a smooth paint finish.
Protect parts that should not be painted. Use painter’s tape to cover buttons, dials, and the power cord. Also, cover the motor vents and any openings.
- Remove attachments and bowl.
- Wash with soap and water.
- Use degreaser for grease spots.
- Dry fully before painting.
- Cover buttons and vents with tape.
Sanding The Surface
Choose the right sandpaper grit for the mixer’s surface. Use 220-grit sandpaperfor light sanding and 120-gritfor rough areas. Avoid very coarse grits that can leave deep scratches.
Sand the surface gently in small circular motions. Keep the pressure even to avoid uneven spots. Focus on areas with paint chips or rough patches.
After sanding, wipe the mixer with a damp clothto remove all dust. Make sure the surface is completely cleanbefore painting. Dust can cause the paint to peel or not stick well.
Priming The Mixer
Choosing a primeris key for a smooth paint job. Use a primer made for metal surfaces. This helps paint stick better and last longer. Avoid primers that are too thick or sticky. Spray primers work well for even coverage. Pick a primer that dries fast to save time.
Applying primer evenlyis important. Hold the spray can about 8-12 inches from the mixer. Use steady, side-to-side motions. Do not stay in one spot too long. Thin layers work better than one thick layer. Let each layer dry before adding another.
Drying timedepends on the primer type and temperature. Usually, it takes 30 minutes to 1 hour. Make sure the primer feels dry and not sticky. Avoid touching the surface until fully dry. Proper drying helps the paint look smooth and last longer.
Painting Process
Spray painting offers smooth, even coverageand saves time. It reaches small crevices easily. Brush painting gives more controlbut may leave brush marks. Choose spray for a clean, factory look. Use brush if you want to fix small areas or add details.
Applying multiple coats is key to a durable finish. Let each coat dry fully before applying the next. Thin coats prevent runs and drips. Usually, 2-3 coats are enough for good coverage.
- Hold spray can or brush steady and at the right distance.
- Use light, even strokesto avoid paint buildup.
- Watch for drips and runsand smooth them quickly.
- Keep paint layers thin to dry faster and look better.
Credit: www.theinspirationedit.com
Sealing The Paint
Selecting a clear coathelps protect your painted mixer. Choose a spray clear coat made for appliances. It should be durableand resistant to heat and moisture. Glossy or satin finishes work well for shine and protection.
Applying sealant is key for long-lasting results. Spray thin, even layers over the paint. Let each coat dry before adding the next. This builds a strong shield to stop chips and scratches.
Curing timemeans letting the sealant fully dry and harden. This takes about 24 to 48 hours. Avoid using the mixer during this time. Proper curing makes the paint job tough and durable.
Reassembling And Final Touches
Carefully put all parts of the mixer back together after the paint dries. Check for any missed spots and touch up as needed. Finish with a clear sealant to protect the paint and give a smooth shine.
Removing Tape And Coverings
Gently peel off the tape from your mixer. Be careful not to scratch the paint. Check for any leftover residue. Wipe it with a soft cloth and warm water. Let it dry completely.Reattaching Components
Place the bowl back on the base. Secure it tightly. Attach the mixing attachments. Make sure they fit snugly. Test the lever to ensure it works.Polishing And Cleaning
Use a soft cloth to polish your mixer. Wipe away any dust or fingerprints. Make it shine like new. A clean mixer looks very nice. Always keep it dry after cleaning. `Maintenance Tips
Clean the mixer thoroughly before painting to remove grease and dust. Use painter’s tape to cover buttons and parts you don’t want painted. Apply thin, even coats of paint and let each layer dry completely for a smooth finish.
Cleaning Painted Surfaces
Use a soft, damp cloth to clean the mixer. Avoid harsh chemicals as they may damage the paint. Mild soap mixed with water works best. Gently wipe the surface to remove dirt. Dry with a soft towel to prevent streaks. Regular cleaning keeps the mixer shiny and fresh.
Preventing Chips And Scratches
Place a soft mat under the mixer to avoid scratches. Never drag the mixer on rough surfaces. Always lift it with care. Store the mixer in a safe spot when not in use. Keep sharp objects away from it. Check the paint regularly for any damage. Quick fixes prevent further issues.
Frequently Asked Questions
How Do I Prepare My Kitchenaid Mixer For Painting?
Clean the mixer thoroughly to remove grease and dust. Lightly sand the surface to help paint adhere better. Remove or cover any parts you don’t want painted. Proper preparation ensures a smooth, long-lasting finish on your mixer.
What Type Of Paint Works Best On A Kitchenaid Mixer?
Use high-quality spray paint designed for metal surfaces. Appliance or automotive spray paint is ideal for durability. Choose paint with a primer included or apply a separate primer first. This ensures a smooth finish and prevents chipping over time.
Can I Paint My Kitchenaid Mixer Without Disassembling It?
It’s best to remove detachable parts before painting. This prevents paint from getting into mechanical components. If disassembly isn’t possible, cover sensitive areas with painter’s tape. Careful masking protects the mixer’s functionality and appearance.
How Long Should I Let The Paint Dry On My Mixer?
Allow the paint to dry at least 24 hours between coats. After the final coat, let it cure for 48 hours. Drying time varies with paint type and room temperature. Proper drying prevents smudges and ensures a durable finish.
Conclusion
Painting your KitchenAid stand mixer can refresh its look easily. Choose the right paint and prepare the surface well. Take your time with each step for best results. Let the paint dry completely before using the mixer again. A new color can brighten your kitchen and match your style.
Small projects like this bring joy and a personal touch. Try it yourself and enjoy a fresh, unique appliance. Simple changes make a big difference.





