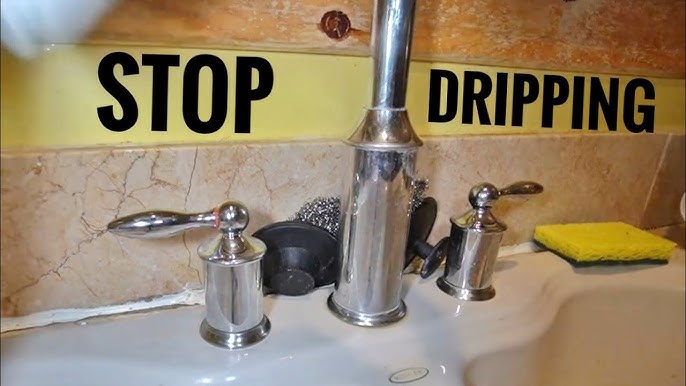
Are you tired of dealing with a leaky kitchen faucet? It’s a common household annoyance that can disrupt your day-to-day activities and drive up your water bill.
If you’re using a Moen kitchen faucet, the culprit might be a worn-out cartridge. But don’t worry—removing and replacing a Moen kitchen faucet cartridge is easier than you might think. Imagine saving money by fixing it yourself, gaining the satisfaction of solving a problem, and enjoying a drip-free kitchen.
You’ll discover straightforward steps to tackle this task efficiently and effectively. Ready to transform your kitchen faucet from a source of frustration to a smooth operator? Let’s dive in and take control of your kitchen space!
Tools And Materials Needed
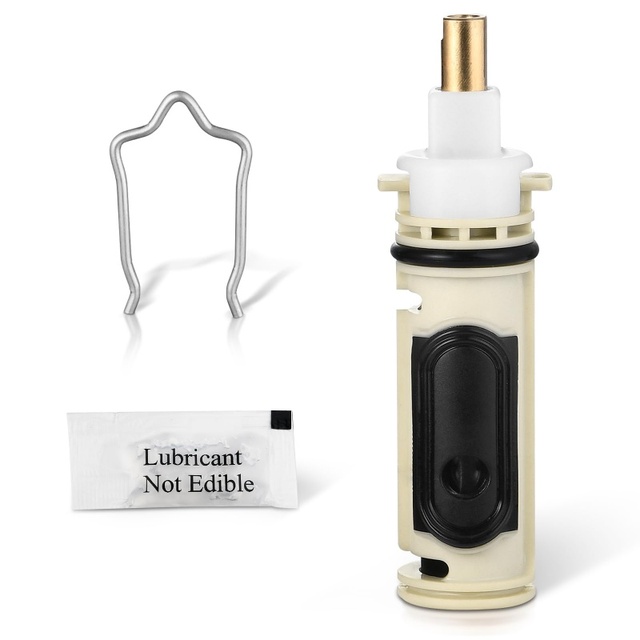
Get all the necessary items before you start. This makes the task easier. You will need a few important tools. A wrench is crucial for loosening parts. Have a screwdriver ready to remove screws. A pliers will help grip small pieces. Don’t forget a bucket to catch any water spills. A soft cloth is useful to clean the area. Keep a replacement cartridge handy. This is the main part to replace.
- Wrench
- Screwdriver
- Pliers
- Bucket
- Soft cloth
- Replacement cartridge
Preparing The Workspace
Start by gathering all the necessary tools. You will need a wrench, pliers, and a screwdriver. It’s important to have a bucket or a bowl handy. This is for catching any water that might spill. Clear the area around the faucet. Remove any dishes or items that might get in the way. Lay down a towel or cloth. This will protect the sink from scratches. Turn off the water supply. You can do this by twisting the knobs under the sink. Ensure the faucet is completely dry before proceeding. This will make the task much easier.
Shutting Off Water Supply
First, find the shut-off valves under the sink. These valves look like small knobs. Turn them clockwise to stop water flow. Make sure the water has completely stopped. Check by turning on the faucet. If no water comes, the valves are shut. This step is very important. It prevents water from spilling.
Safety comes first. Use a towel to catch any leftover water. This keeps the area dry and safe. Always keep a bucket nearby. It helps in collecting any drips. Now you are ready to remove the cartridge.
Credit: www.accio.com
Removing The Faucet Handle
Begin by turning off the water supplyto the faucet. This prevents accidental leaks. To remove the handle, find the screwunder the cap or at the back. Use a screwdriver to loosen the screw. Gently pull the handle away from the faucet. If it’s stuck, wiggle it a bit. Sometimes, handles are held by clips. Check for clips and remove them if needed. Keep all parts safe for reassembly.
Extracting The Old Cartridge
Turn off the water supply. This stops water flow. Use a wrench to loosen the handle screw. Take off the handle gently. Look for the retaining clip. Use pliers to remove it. Pull out the old cartridgecarefully. Check if any pieces are stuck. Clean the area thoroughly. Removing debris helps the new cartridge fit well.
Inspect the cartridgefor damage. Ensure no parts are broken. If damaged, replace it. If not, you can clean and reuse. Proper care is essential for long-lasting use. Follow instructions on the new cartridge packaging. This ensures proper installation.
Organize toolsneatly. Keep them close by. This makes the process smooth. Remember where each part goes. A small mistake can cause leaks. Be patient and careful.

Credit: www.youtube.com
Installing The New Cartridge
Clean the area around the faucet before starting. Use a soft cloth for this. Ensure no debris is present. This helps the new cartridge fit well. Check the new cartridge for any defects. It should be clean and smooth. Lubricate the rubber parts lightly. This makes installation easier.
Align the cartridge correctly. The tabs must match the grooves. Press it down gently into the faucet. Ensure it sits firmly in place. Tighten any screws or nuts carefully. Avoid over-tightening them. This may cause damage. Test the faucet handle. It should move smoothly and freely.
Check for leaks around the base. Turn the water on slowly to test. Make sure all connections are secure. Fix any leaks immediately. Use a wrench if needed. Your faucet should now work perfectly.

Credit: www.youtube.com
Frequently Asked Questions
How Do I Identify A Faulty Moen Cartridge?
Identifying a faulty Moen cartridge involves checking for leaks or reduced water pressure. If your faucet drips or doesn’t maintain consistent flow, the cartridge may be damaged. It’s essential to observe any unusual noises or stiffness while turning the handle, which can also indicate cartridge issues.
What Tools Are Needed For Cartridge Removal?
For cartridge removal, you’ll need a screwdriver, pliers, and a wrench. These tools help remove the handle and loosen the cartridge nut. Having a towel or rag handy is also useful to catch any water drips. Ensure you have a replacement cartridge ready before starting the process.
Can I Replace The Cartridge Myself?
Yes, you can replace the Moen cartridge yourself with basic tools and instructions. Follow the step-by-step guide to safely remove the old cartridge. Ensure you have a compatible replacement cartridge before starting. If you’re unsure, consult Moen’s website or manual for guidance.
How Often Should I Replace Moen Cartridges?
Moen cartridges typically last several years, depending on usage and water quality. Replace them if you notice leaks, inconsistent flow, or difficulty turning the handle. Regular maintenance and checks can prolong the life of your faucet and ensure optimal performance.
Conclusion
Removing a Moen kitchen faucet cartridge is simple with the right steps. Follow instructions carefully to avoid damage. Gather tools like pliers and wrenches before starting. Ensure the water supply is off to prevent leaks. Once the cartridge is out, inspect it for wear.
Replace with a new cartridge if needed. Reassemble the faucet securely. Turn on the water and check for leaks. This process helps maintain your faucet’s efficiency. Regular maintenance extends its lifespan. With practice, you will become more confident in handling such tasks.
Enjoy a smoothly functioning kitchen faucet once again.





