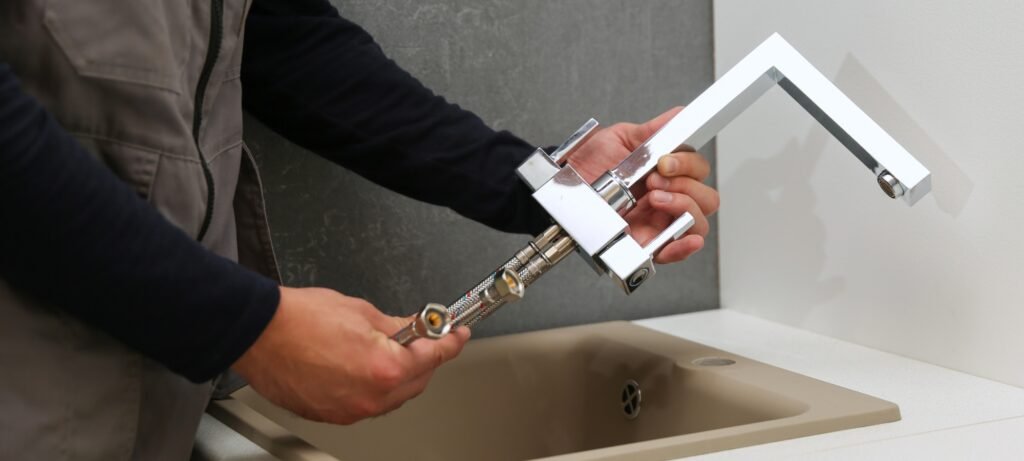
Is your kitchen faucet wobbling every time you turn it on? A loose faucet isn’t just annoying—it can cause leaks and damage your sink over time.
But don’t worry, fixing it is easier than you think. In this guide, you’ll learn simple steps to tighten your kitchen faucet quickly and safely. By the end, you’ll have a steady, secure faucet that works like new. Ready to stop the wobble and save money on repairs?
Let’s get started!
Credit: carolinagirlcooks.com
Tools And Materials Needed
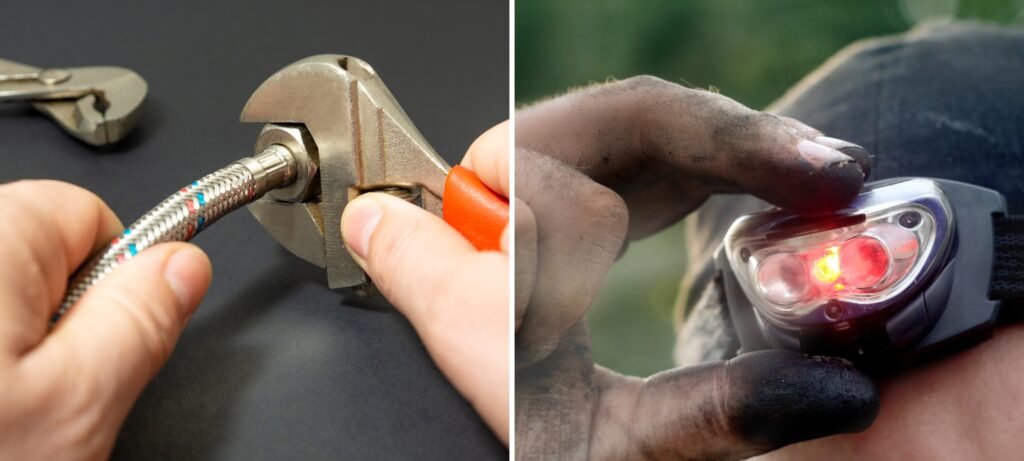
- Adjustable wrenchto tighten or loosen nuts.
- Screwdriver(flathead and Phillips) for screws.
- Plumber’s tapeto seal threads and prevent leaks.
- Replacement washersor O-rings to fix leaks.
- Bucketto catch any water drips.
- Cleaning clothto wipe off dirt and water.
- Flashlightto see under the sink clearly.
- Penetrating oilto loosen stuck parts.
Having these tools ready makes the repair smoother. Prepare your workspace by clearing the area under the sink. This helps in easy access and movement.

Credit: www.youtube.com
Identifying The Cause
Loose kitchen faucets often come from problems with mounting hardware. Check the screws or nuts holding the faucet base to the sink. Tighten any that are loose using a wrench or screwdriver. If parts are missing or damaged, they may need replacement.
Inspect the faucet basecarefully for cracks or wear. Dirt and grime can build up and cause looseness. Clean the area well to see if the faucet sits properly on the sink.
Look at the water supply linesunder the sink. These lines connect the faucet to the water valves. Make sure they are tight and not worn out. Loose or old supply lines can cause movement and leaks.
Preparing The Area
Find the water valves under the sink. Turn them to the right. This stops the water flow. Check the faucet to make sure water is off. If water drips, tighten the valves more. This step is very important.
Move items from under the sink. Clear out cleaning supplies and bins. You need space to work. Make sure you have a flashlight. This will help you see better. A clear space makes the job easier and faster.
Tightening Mounting Nuts
First, locate the mounting nutsunder the sink. These nuts hold the faucet in place. Clear any items or debris from under the sink to get better access.
Use a flashlight if the area is dark. Sometimes, a basin wrench is needed. This tool fits into tight spaces and helps turn the nuts.
Other tools that work well include:
- Adjustable wrench
- Slip-joint pliers
- Basin wrench (best for hard-to-reach nuts)
Choose the tool that fits your faucet’s nut size. Turn the nut gently but firmly to tighten. Avoid overtightening to prevent damage.
Replacing Worn Parts
Check the faucet parts carefully to find any cracks, wear, or leaks. Common damaged pieces include washers, O-rings, and cartridges. These parts often cause a loose faucet.
Write down the model numberand part names. This helps in buying the right replacements.
Buy parts from a hardware storeor online. Make sure the parts match the faucet model exactly. Using the wrong parts can cause more damage.
- Turn off the water supply.
- Remove the old worn parts carefully.
- Install the new parts in the correct order.
- Tighten screws and fittings without forcing them.
- Turn on water and check for leaks.
Testing The Faucet
Turn the main water supply back on slowly. This prevents sudden pressure that can cause leaks. Watch the faucet closely for any drips or water sprays. Use a dry cloth to check if water is escaping from any joints or seals.
Test the faucet by moving it gently. It should feel firm without wobbling. If it still feels loose, tighten the mounting nuts underneath the sink. Check all connections to ensure they are secure and water-tight.
- Look for leaks around the base and handles.
- Check water flow from the spout.
- Make sure the faucet does not move when touched.
Preventing Future Looseness
Regular checks keep your faucet working well. Tighten loose parts to avoid bigger problems. Clean faucet parts to stop buildup and rust. Use a soft cloth; avoid harsh cleaners that can damage surfaces.
Thread sealant or tape helps make connections tight. Wrap tape around threads before screwing parts together. This stops water leaks and keeps the faucet steady. Use plumber’s tape for best results. Replace tape if leaks appear again.

Credit: carolinagirlcooks.com
Frequently Asked Questions
How Do I Fix A Loose Kitchen Faucet Handle?
To fix a loose handle, tighten the set screw beneath the handle. Use an Allen wrench or screwdriver. Check for any worn parts and replace them if needed.
What Tools Are Needed To Repair A Loose Faucet?
You’ll need an adjustable wrench, screwdriver, and Allen wrench. A flashlight and plumber’s tape may also help during the repair.
Can A Loose Kitchen Faucet Cause Leaks?
Yes, a loose faucet can cause leaks. It may allow water to seep around the base, leading to damage and waste.
How Long Does It Take To Repair A Loose Faucet?
Repairing a loose faucet usually takes 15 to 30 minutes. It depends on the faucet type and your experience level.
Conclusion
Fixing a loose kitchen faucet is easier than you might think. A few simple steps can stop the wobble and leaks. Take your time and use the right tools. Tightening screws and bolts usually does the trick. You save money and avoid calling a plumber.
A stable faucet also helps keep your kitchen clean. Try these tips next time your faucet feels loose. Small repairs keep your home running smoothly. You can do it yourself with patience and care.





