Imagine coming home after a long day, ready to unwind in your kitchen, only to find that your trusty Moen faucet is leaking or not working as it should. It’s frustrating, isn’t it?
But don’t worry; you’re not alone in this. Many homeowners face this issue, and the good news is that you can fix it yourself without calling in a professional. In this guide, you’ll discover step-by-step instructions to repair your Moen kitchen faucet, saving you time and money.
By the end of this article, you’ll feel empowered and equipped to tackle the problem head-on, ensuring your kitchen returns to its smooth, efficient state. Ready to dive in and become a DIY hero in your own home? Let’s get started!
Identifying Faucet Model
Find the Moen logoon the faucet. It is usually visible. Check the handle and spoutfor the model number. Some numbers are etched there. Look for the user manual. It often has the model details. Search online using the model number. This helps find parts.
Use Moen’s websitefor model identification. They have a search tool. Enter the number in their search bar. It shows the exact model. If you need help, contact Moen’s customer service. They can assist with identifying the model.
Gathering Necessary Tools
Before fixing a Moen kitchen faucet, collect the needed tools. A wrench is essential for loosening nuts. A screwdriver helps to remove screws. Plumber’s tape is useful to seal leaks. A cloth or towel keeps the area clean. A flashlight illuminates dark spaces.
Check if you have these at home. Visit a hardware store if you need more tools. Make sure they are easy to use and safe. Having everything ready saves time.
Prepare a small container for holding loose parts. Keep it nearby to prevent losing pieces. Stay organized for a smooth repair process.
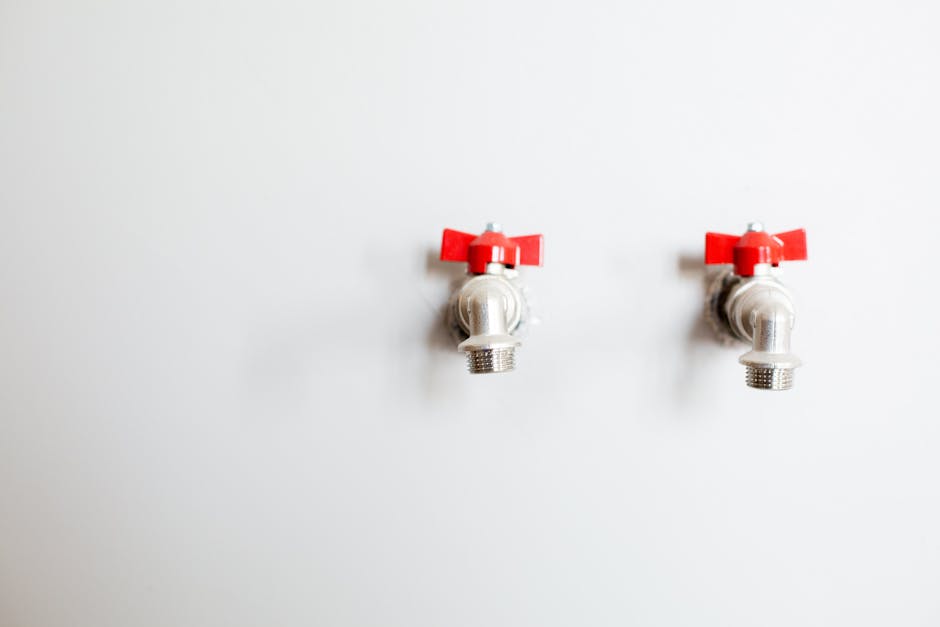
Shutting Off Water Supply
Begin by locating the water valvesunder the sink. Turn each valve to the right. This will stop the water flow. Ensure both hot and cold valves are closed. If the water does not stop, check the main water supply. It is often found near the water meter. Turn this valve clockwise.
Be cautious when turning the valves. Too much force may damage them. Use a towel to catch any drips. This prevents mess and keeps the area dry. Now, you can work on your faucet without worry.
Dismantling The Faucet
Turn off the water supply first. This prevents water from spraying. Next, find the faucet’s handle. Use a wrench to remove screws. Be careful not to lose them. Once the handle is off, check inside. You will see a metal nut. This holds the faucet in place. Use pliers to unscrew the nut. Now, gently lift the faucet body. Place each part in order. This helps when reassembling. Look for any worn-out pieces. Note any damage you find. Keep your tools handy. You might need them again.
After removing the faucet body, inspect the cartridge. The cartridge controls water flow. It may need replacing. Pull it out slowly. Sometimes it’s stuck. Wiggle it gently to remove. If damaged, get a new one. This ensures smooth water flow. Remember, patience is key.
Replacing Damaged Parts
Check for broken or worn parts first. Identify the damaged partsof the Moen faucet. Common parts include the cartridge, O-rings, and washers. These parts might need replacement if the faucet leaks.
Turn off the water supply to the faucet. This prevents water spills. Use a wrench to remove the handle. Then, take off the cap and the faucet’s bonnet. Carefully pull out the cartridge using pliers.
Compare the old cartridge with the new one. Ensure they are the same. Insert the new cartridge into the faucet. Reassemble the faucet in the reverse order. Tighten everything securely. Turn the water back on and test the faucet. It should now work without leaking.
Reassembling And Testing
Start by putting all the parts back together. Make sure everything is clean. Tighten screws gently to avoid damage. Be careful with small parts.
After reassembling, it’s time to test your faucet. Turn on the water slowly. Check for leaks around the base. Ensure the water flows smoothly.
If you notice leaks, tighten the parts again. Adjust if necessary. Test the handle for easy movement. Confirm all functions work correctly.
Frequently Asked Questions
How Do I Identify My Moen Faucet Model?
To identify your Moen faucet model, check the faucet’s user manual or look for a model number on the faucet itself. Alternatively, visit Moen’s official website and use their identification tools. Knowing the model helps in finding the correct repair parts and instructions.
What Tools Are Needed For Moen Faucet Repair?
Common tools for Moen faucet repair include a screwdriver, adjustable wrench, and pliers. You may also need a cartridge puller specific to Moen faucets. Having these tools ready ensures a smoother repair process, minimizing the time and effort involved in fixing the faucet.
How Do I Fix A Leaking Moen Faucet?
To fix a leaking Moen faucet, first, turn off the water supply. Then, remove the handle to access the cartridge. Replace the faulty cartridge with a new one compatible with your faucet model. Reassemble the faucet and turn on the water supply to check for leaks.
Why Is My Moen Faucet Handle Loose?
A loose Moen faucet handle is usually due to a loose set screw. To fix it, remove the handle cap, tighten the set screw using an Allen wrench, and replace the cap. This simple fix can restore functionality and prevent further issues with your faucet.
Conclusion
Repairing a Moen kitchen faucet is simpler than it seems. Follow basic steps. Fix leaks or drips with ease. Identify the problem first. Gather tools. Turn off the water supply. Disassemble carefully. Replace faulty parts. Reassemble with precision. Test the faucet.
Ensure no leaks. Regular maintenance prevents future issues. Feel confident in your repair skills. Save time and money. Enjoy a functioning faucet. Share your success story. Encourage friends to try. Happy repairing!


