Are you tired of that old, leaky kitchen sink and faucet? Replacing them might seem like a big job, but what if you could do it yourself and save money?
Imagine having a fresh, clean sink that works perfectly every time you turn the tap. In this guide, you’ll discover simple, step-by-step instructions to replace your kitchen sink and faucet without stress. By the end, you’ll feel confident and ready to transform your kitchen with your own hands.
Keep reading—you’re closer than you think to a kitchen upgrade that makes your daily routine easier and more enjoyable.
Tools And Materials Needed
Essential tools include a wrench, screwdriver, and plumber’s putty. A pipe wrenchhelps loosen old fittings. A utility knifeis useful for cutting sealants. You will also need a bucketto catch water and some clean ragsfor spills.
Choosing the right sink means measuring your countertop space. Pick a sink that fits well. Faucets vary by style and function. Select one that matches your sink holes and kitchen style. Check the number of holes on your sink before buying a faucet.
Additional supplies may include plumber’s tapeto seal connections tightly. Use silicone caulkaround the sink edges to prevent leaks. Keep new water supply linesready if old ones are worn. Don’t forget cleaning suppliesfor the area after installation.
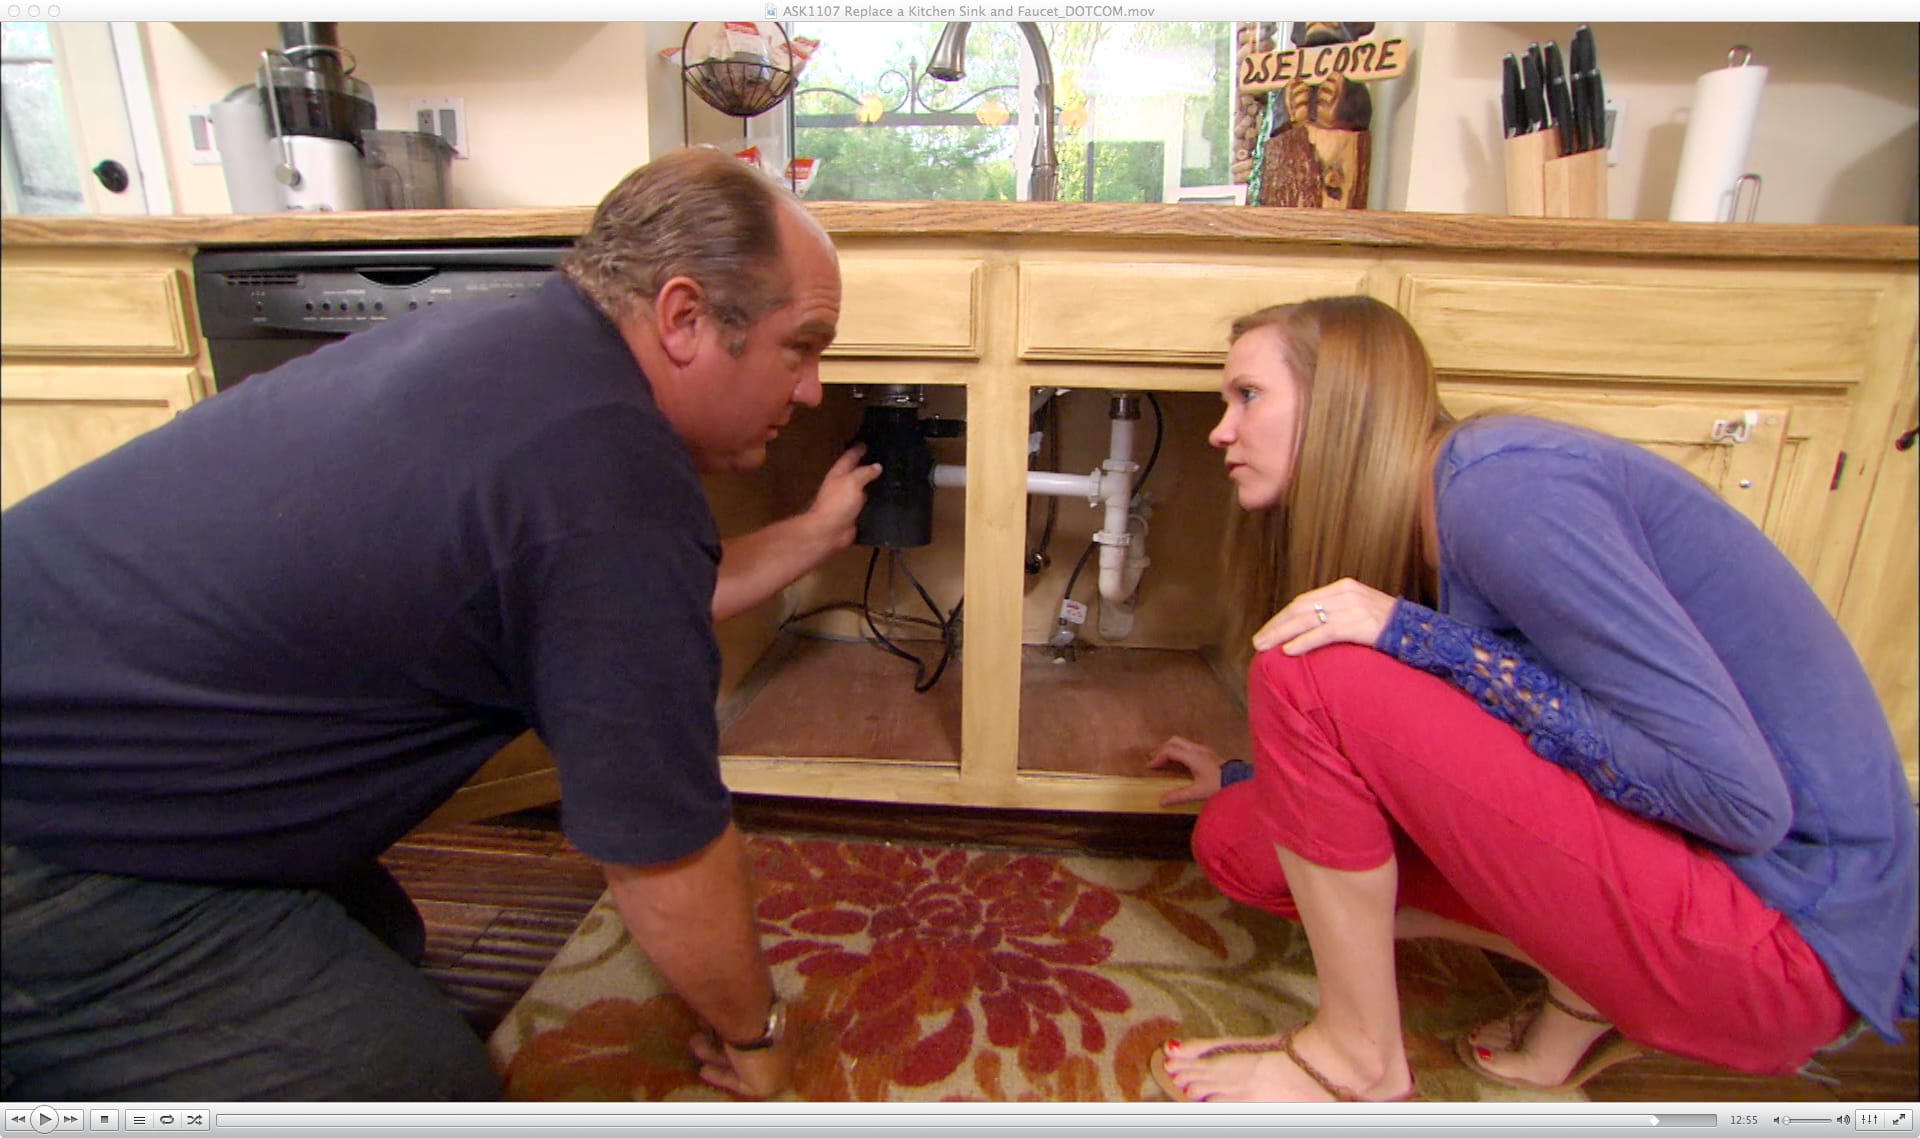
Preparing The Workspace
Turn off the main water supplyto stop water flow. This prevents leaks during the work. Open the faucet to drain leftover water from pipes. This step keeps the area dry and safe.
Remove all items from under the sink and nearby counters. Clear space to move freely and avoid accidents. Keep tools handy but away from the wet zone.
Cover cabinets and counters with plastic sheets or old towels. Protect surfaces from scratches and water damage. Secure covers with tape to keep them in place. This helps keep the workspace clean and damage-free.
Removing The Old Sink And Faucet
Turn off the water supply before loosening the connections beneath the sink. Carefully detach the old faucet and sink to prepare for installation. Removing these parts cleanly helps ensure a smooth replacement process.
Disconnecting Water Lines
First, turn off the water supply. Use a wrench to loosen the nuts. Carefully disconnect the water lines from the faucet. Keep a towel handy for any water drips.Detaching The Faucet
Locate the faucet mounting nuts under the sink. Use a basin wrench to unscrew them. Lift the old faucet from the sink hole. Sometimes faucets stick, so wiggle gently. Place the old faucet aside for disposal.Removing The Sink
Check for any clips or brackets holding the sink. Use a screwdriver to remove them. Gently lift the sink from the countertop. Be cautious of any remaining caulk or sealant. Dispose of the old sink properly. The area is now ready for a new sink and faucet. `Installing The New Sink
Place the new sink carefully into the countertop opening. Make sure it fits snugly and aligns with the edges. Hold the sink steady while you secure it underneath using clips or brackets provided by the manufacturer. Tighten them gently to avoid bending the sink or countertop.
Apply a bead of waterproof sealantaround the sink’s edge where it meets the countertop. This helps prevent leaks and water damage. Spread the sealant evenly using your finger or a small tool. Wipe off any excess sealant promptly for a clean finish.
Double-check the sink’s position before the sealant dries. Confirm it sits flat and doesn’t wobble. Ensure all mounting clips are tight and the sink doesn’t move. Testing early avoids future problems and makes sure your installation is secure and leak-free.
Installing The New Faucet
Place the faucet into the sink hole. Align it so it fits well. Tighten the mounting nuts underneath. Use a wrench if needed. Make sure the faucet is steady and does not move.
Connect the water lines to the faucet. Attach the hot water line to the hot water valve. Do the same for the cold water line. Use plumber’s tape on the threads to stop leaks. Tighten the connections with a wrench.
Turn on the water supply slowly. Check all connections for any drips or leaks. If leaks appear, tighten connections more. Run the water to test the faucet’s flow. Make sure both hot and cold water work well.

Credit: www.youtube.com
Final Adjustments And Cleanup
Tighten all connectionsfirmly but do not overtighten. Check for leaks by turning on the water supply slowly. Use a wrench to secure any loose nuts or bolts. Ensure the faucet and sink sit firmly in place. Double-check the water lines and drain pipes for any drips.
Clear the workspace of tools, old parts, and debris. Wipe down the sink and countertop with a damp cloth. Clean the faucet with a gentle cleaner to remove fingerprints and dust. Dry all surfaces to prevent water spots and mold growth.
Dispose of old sinks and faucets responsibly. Check local guidelines for recycling or trash rules. Remove any leftover sealant or debris from the countertop area. Keep small parts and screws in case they are needed later.
Troubleshooting Common Issues
Leaks and dripsoften come from loose connections or worn washers. Tighten fittings and replace damaged parts to stop water waste. Check faucet bases and supply lines carefully. Small leaks can cause big problems over time.
Water pressure problemsmay result from clogged aerators or valves. Clean the aerator by soaking it in vinegar to remove mineral build-up. If pressure stays low, inspect supply valves and pipes for blockages or damage.
Drainage concernsusually involve clogs or improper installation. Clear slow drains using a plunger or drain snake. Avoid harsh chemicals that can harm pipes. Confirm that the drain and trap are installed correctly to prevent water backup.

Credit: www.youtube.com

Credit: www.youtube.com
Frequently Asked Questions
How Do I Remove An Old Kitchen Sink Safely?
Turn off the water supply first. Disconnect plumbing and loosen mounting clips. Use a putty knife to break the seal. Carefully lift the sink out without damaging the countertop.
What Tools Are Needed To Replace A Kitchen Faucet?
You’ll need an adjustable wrench, basin wrench, plumber’s tape, screwdriver, bucket, and plumber’s putty. These tools help disconnect old parts and install the new faucet securely.
How Long Does It Take To Replace A Kitchen Faucet?
Replacing a faucet usually takes 1 to 2 hours. Time varies based on your experience and faucet type. Preparation and careful work help ensure a smooth installation.
Can I Replace A Kitchen Sink Without Professional Help?
Yes, with basic plumbing knowledge and proper tools, you can replace your kitchen sink. Follow step-by-step instructions carefully to avoid leaks and damage.
Conclusion
Replacing a kitchen sink and faucet can seem hard, but it is doable. Follow each step with care and patience. Take your time to avoid mistakes or leaks. Use the right tools and materials for a strong fit. A new sink and faucet can refresh your kitchen’s look and function.
Enjoy the satisfaction of completing this project yourself. Your kitchen will feel cleaner and more modern. Keep your workspace safe and tidy during the process. Simple changes make a big difference. Give it a try—you might surprise yourself.


