Taking apart a moen kitchen faucet is easier than it seems. You only need a few tools and some patience.
This guide shows clear steps to remove your faucet safely. Understanding how to disassemble it helps fix leaks or replace parts. Start by turning off the water supply. Next, remove the handle carefully to avoid damage. Each moen faucet model may have slight differences, but the basics stay the same.
You don’t need special skills to follow along. Taking your time and working gently will make the process smooth. This way, you save money and avoid calling a plumber. Keep tools handy and follow the steps one by one. Soon, your faucet will be ready for cleaning or repair.

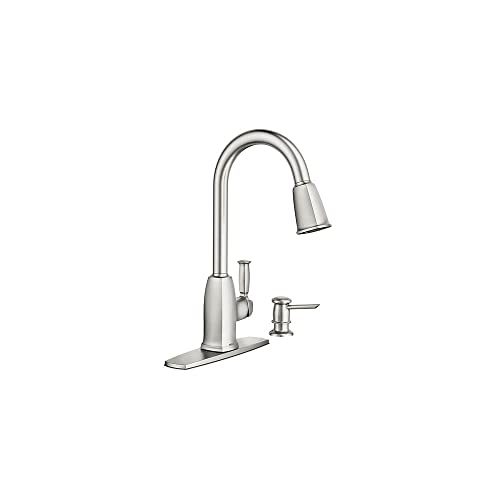
1. Moen 87022SRS Kitchen Faucets and Accessories, Spot Resist Stainless
- Brand: Moen
- Manufacturer: Moen
- Color: Spot Resist Stainless
- Dimensions: Height: 15.75 inches Width: 10.35 inches Length: 8.0 inches Weight: 5.0 pounds `
Designed with Spot Resist Stainless finish, this Moen faucet keeps your kitchen looking clean and shiny. Easy to install and use, it offers smooth water flow and reliable control. The faucet’s modern style fits well in any kitchen space. Durable materials ensure long-lasting performance and resist fingerprints. A practical choice for everyday kitchen tasks.
Advantages
- Spot Resist Stainless finish keeps the faucet looking clean and shiny.
- Easy to install with clear instructions and simple tools needed.
- Durable design ensures long-lasting use without frequent repairs.
- Smooth handle operation allows precise water control and comfort.
- Compatible with many kitchen setups, fitting most standard sinks.
Our Recommendations
The Moen 87022SRS faucet feels strong and well-built. Its spot resist finish keeps it looking clean all day. Easy to install, even for beginners. The water flow is smooth and steady. Controls are simple and work without any leaks. Cleaning takes less time thanks to the special finish. It fits nicely in my kitchen sink space. Quiet operation makes washing dishes more pleasant. The faucet handle moves easily without stiffness. A solid choice for anyone needing a reliable kitchen faucet.
Frequently Asked Questions
How Do I Safely Remove A Moen Kitchen Faucet Handle?
Turn off water supply first. Use an Allen wrench to loosen the handle set screw. Pull the handle off gently.
What Tools Are Needed To Take Apart A Moen Faucet?
You need an Allen wrench, adjustable wrench, and a screwdriver. Keep a towel handy to catch water.
How To Disconnect Water Lines From A Moen Faucet?
Turn off water valves. Use an adjustable wrench to loosen the nuts connecting water lines. Pull lines away carefully.
How To Avoid Damage While Disassembling A Moen Faucet?
Work slowly and gently. Use correct tools. Protect faucet finish with a cloth or tape before prying.
Buying Guide On How To Take Apart A Moen Kitchen Faucet
1. Gather the Needed Tools
Prepare an Allen wrench, screwdriver, and adjustable wrench.
Have a towel ready to catch water drops.
2. Turn Off Water Supply
Locate the water valves under the sink.
Turn both hot and cold water valves clockwise to close.
Open the faucet to release any water pressure.
3. Remove the Faucet Handle
Find the small set screw on the handle’s side or bottom.
Use the Allen wrench to loosen and remove the screw.
Pull the handle straight up to remove it.
4. Take Off the Escutcheon Plate
Unscrew the decorative plate at the faucet base.
Lift the plate carefully to avoid damage.
5. Disconnect the Water Lines
Use the adjustable wrench to loosen the nuts on water lines.
Place a bucket underneath to catch any water spills.
6. Remove the Faucet Body
Unscrew the mounting nuts securing the faucet to the sink.
Lift the faucet body straight up and off the sink.
7. Separate the Cartridge
Locate the cartridge inside the faucet body.
Remove the retaining clip or nut holding the cartridge.
Pull out the cartridge gently for cleaning or replacement.
Conclusion
Taking apart a Moen kitchen faucet does not have to be hard. With the right tools and steps, you can do it safely and quickly. Remember to turn off the water first. Follow each step carefully to avoid damage. Keep all small parts in a safe place.
This helps when putting the faucet back together. If something seems unclear, take a moment to check your work. Patience makes the process easier. This guide helps you save money by fixing your faucet yourself. You don’t need to call a plumber for simple repairs.
Now, you can feel more confident working on your kitchen faucet. Trying it yourself brings a good sense of achievement. Simple tasks like this become less scary with practice. Keep this guide handy for future use. Your faucet will work well again soon.


