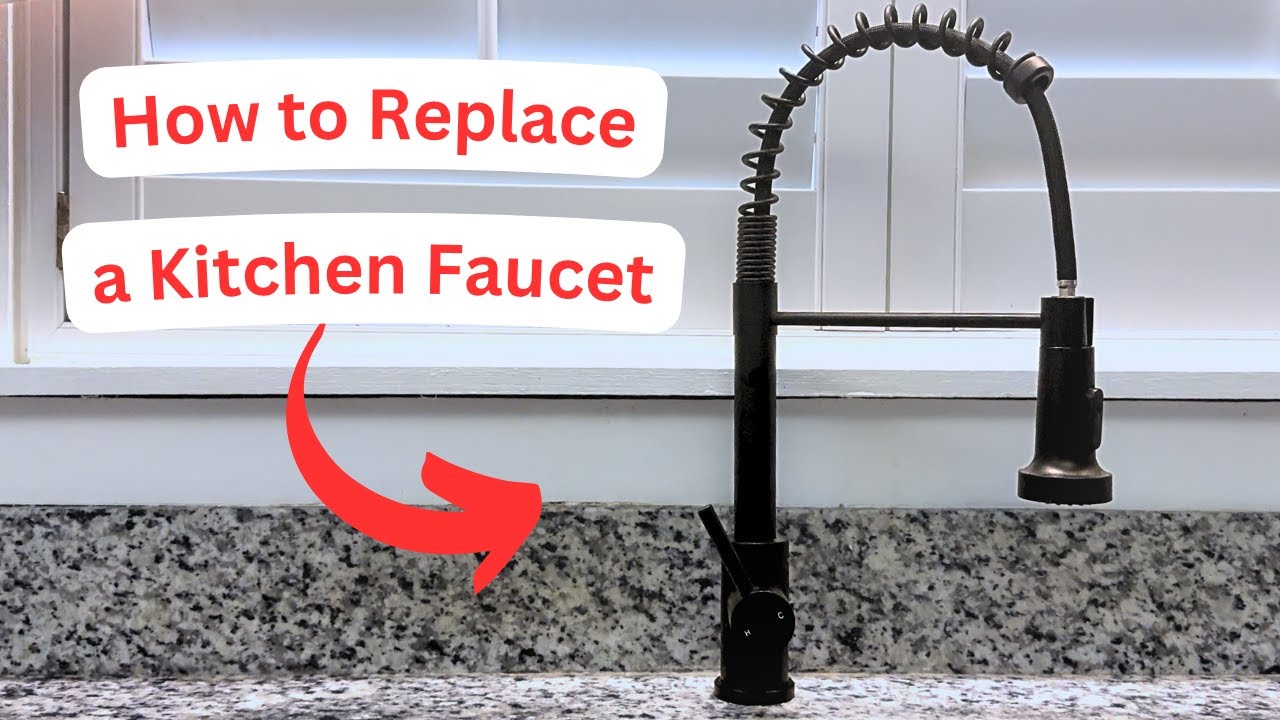
Are you tired of struggling with your old kitchen faucet? Maybe it’s time for an upgrade to a modern faucet with a sprayer.
Replacing a kitchen faucet might sound daunting, but with a little guidance, you can tackle it on your own. Imagine the convenience of a sprayer right at your fingertips, making kitchen chores quicker and easier. This step-by-step guide is designed to help you through the process without any hassle.
You don’t need to be a plumber to get it right. By following this article, you’ll not only save money but also gain the satisfaction of completing a home improvement project yourself. Ready to transform your kitchen sink into a functional and stylish centerpiece? Let’s dive in!
Tools And Materials Needed
Gathering the right tools is important. You will need a wrench and screwdriver. You also need plumber’s tape for tight seals. Bucket is handy to catch water. Towels will help clean spills.
Make sure to have a new faucet with sprayer. Check the size fits your sink. Supply lines may be needed for connection. Sealant is useful to prevent leaks. Gloves protect your hands while working.
- Wrench
- Screwdriver
- Plumber’s tape
- Bucket
- Towels
- New faucet with sprayer
- Supply lines
- Sealant
- Gloves

Credit: www.youtube.com
Preparation Steps
Turn off the water supply and disconnect the old faucet. Clean the area, then install the new faucet and sprayer. Secure connections, turn the water back on, and check for leaks.
Turning Off Water Supply
First, locate the water valves under the sink. These are usually small knobs. Turn them clockwise to stop the water flow. Check if the water is off by turning on the faucet. No water should come out. This step ensures no leaks while working. Keep towels handy to catch any drips.
Clearing Under-sink Area
Remove items stored under the sink. This makes space for work and tools. A clear area helps you move around easily. Store cleaning supplies and other items in another room. Use a flashlight if it’s dark. This helps you see what you’re doing.
Removing The Old Faucet
Turn off the water supply. This stops any water flow. Use a wrench to loosen the nuts. These nuts hold the water lines. Twist gently until they are free. Be careful not to damage the pipes. Have a bucket ready to catch any drips. This keeps your area dry and clean.
Find the mounting nuts under the sink. Use a basin wrench to loosen these nuts. They hold the faucet in place. Turn the wrench counterclockwise. Keep turning until the nuts are loose. Don’t rush, take your time. This will make the job easier.
Grab the faucet firmly. Pull it upwards from the sink. Sometimes the faucet may stick. Wiggle it gently to free it. Once loose, lift it out completely. Place the old faucet aside. Now the sink is ready for the new one.
Installing The New Faucet
Replacing a kitchen faucet with a sprayer involves a few simple steps. Turn off the water supply, remove the old faucet, and install the new one. Connect the sprayer hose and ensure everything is secure. Test for leaks to finish the installation.
Positioning The New Faucet
Place the faucet in the sink hole. Ensure it fits securely. Align it properly with the sink. Double-check the position before proceeding. A correctly aligned faucet is vital for smooth operation.Securing With Mounting Nuts
Slide the mounting nuts over the faucet threads. Tighten the nuts by hand first. Use a wrench for a firm hold. Check if the faucet is stable. Adjust if needed. Ensure there are no wobbles or tilts.Connecting Water Supply Lines
Attach the water lines to the faucet. Tighten them with your hands first. Use a wrench for extra tightness. Ensure the hot and cold lines are correct. A proper connection prevents leaks. Check for any drips after turning on the water. `Installing The Sprayer
Begin by attaching the sprayer hose to the faucet. Securely tighten the connections to prevent leaks. Ensure the sprayer head is easily accessible, allowing for convenient use.
Attaching The Sprayer Hose
The sprayer hose connects to the faucet. Ensure it is secure and tight. Locate the hose port under the sink. Insert the hose end into this port. Check for any leaks. Tighten if necessary. Make sure the hose moves freely. This will make cleaning easier.Securing The Sprayer Head
Fix the sprayer head on the sink. Twist it gently to secure. Ensure it faces the sink. Test the spray by turning on the water. Adjust the sprayer head if needed. Make sure water flows evenly. Inspect for any leaks or loose parts. Adjust and tighten as required. `
Credit: www.youtube.com
Testing The Installation
Turn on the water supply and check for leaks around the faucet and sprayer. Ensure the sprayer functions properly by testing its range and pressure. Adjust any loose connections to prevent drips.
Checking For Leaks
Turn on the water slowly. Look under the sink for leaks. Check all connections carefully. Use a flashlight if needed. Tighten any loose parts with a wrench. Make sure the faucet base is secure. Water should flow smoothly. No drips or puddles should appear. If leaks persist, check the rubber washers. Replace them if damaged. Ensuring no leaks saves water and prevents damage.
Ensuring Proper Functionality
Turn the faucet handle. Water should flow easily. Switch to the sprayer. Ensure it sprays water properly. Return to the faucet stream. Check hot and cold settings. Water should change temperatures quickly. Ensure the spray head retracts smoothly. The faucet should not wobble. Test the water pressure. It should remain steady and strong. If any issues arise, recheck the installation steps. Everything should work perfectly.
Troubleshooting Common Issues
Replacing a kitchen faucet with a sprayer can face some common issues. Leaks often result from loose connections. Another issue is low water pressure, typically due to clogged aerators or valves. Proper installation and regular maintenance can prevent these problems.
Addressing Leaks
Leaks can be a big problem in the kitchen. Check the connections first. Tighten any loose nuts carefully. Use a wrench for this task. If the leak continues, inspect the faucet seals. They might be worn out. Replace them if needed. Also, check the sprayer hose. It should be free of cracks. A cracked hose needs replacement. This should stop the leaks.
Fixing Low Water Pressure
Low water pressure is frustrating. Start by cleaning the aerator. It can collect dirt over time. Unscrew the aerator gently. Soak it in vinegar. This removes mineral buildup. Rinse it well before reattaching. If pressure is still low, inspect the supply lines. They should be free of kinks. Straighten any bends you find. This helps water flow better.
Credit: pbphomerepair.com
Maintenance Tips
Replacing a kitchen faucet with sprayer involves shutting off water supply, removing the old faucet, and installing the new one. Secure connections and test for leaks to ensure proper functionality. Use plumber’s tape for tight seals and follow manufacturer instructions for installation ease.
Cleaning The Faucet
Use a soft cloth to wipe the faucet daily. This prevents dirt and grime buildup. Warm soapy water works best for cleaning. Avoid harsh chemicals to keep the faucet shiny. Vinegar can remove hard water stains. Rinse with water and dry with a towel. Clean the aerator monthly to ensure proper water flow.
Preventing Future Problems
Check for leaks regularly. Tighten any loose parts to prevent water wastage. Replace worn-out washers to stop dripping. Use a silicone-based lubricant to keep parts moving smoothly. Avoid using excessive force on handles. This prevents damage. Install a water softener if your water is hard. This extends the faucet’s life.
Frequently Asked Questions
What Tools Are Needed To Replace A Kitchen Faucet?
To replace a kitchen faucet, you’ll need a basin wrench, adjustable wrench, plumber’s tape, and a bucket. These tools help in securing the new faucet and removing the old one. Ensure you have a flashlight to see under the sink.
Proper tools make the replacement process easier and faster.
How Do I Remove The Old Faucet?
Start by turning off the water supply and disconnecting the water lines. Use a basin wrench to loosen and remove the nuts securing the faucet. Lift the old faucet out of the sink. Clean the area to prepare for the new faucet installation.
Follow safety precautions to avoid accidents.
Why Does My New Faucet Sprayer Leak?
A leaking sprayer can be due to loose connections or faulty parts. Check that all connections are tight and secure. Inspect the sprayer hose and washers for any damage. Replace any worn-out components. Proper installation and regular checks prevent future leaks and ensure efficient operation.
Can I Replace The Faucet Without A Plumber?
Yes, you can replace a kitchen faucet without hiring a plumber. With the right tools and instructions, it’s a manageable DIY project. Follow step-by-step guides and safety tips to ensure successful installation. However, if you’re unsure, consulting a professional is always a safe option.
Conclusion
Replacing a kitchen faucet with a sprayer is simple. You’ve learned essential steps to complete the task. Now, gather your tools and start the project. Remember, patience is key. Follow each step carefully for a smooth installation. Check for leaks after finishing.
This ensures everything works well. A new faucet can enhance your kitchen’s look and function. Enjoy your upgraded space and the convenience of a sprayer. Keep this guide for future reference. Happy plumbing!





