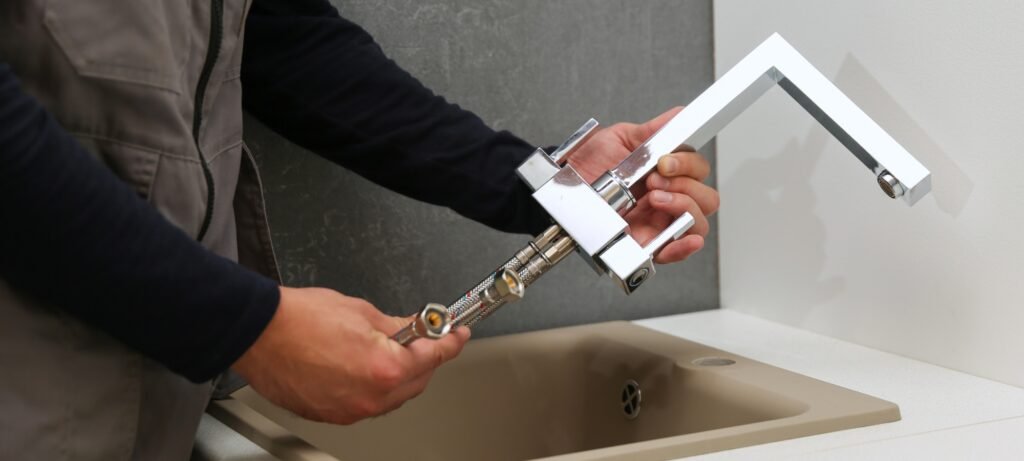
Is your kitchen sink faucet loose or wobbling every time you turn it on? A shaky faucet can be annoying and may even cause leaks that damage your countertop.
Luckily, tightening your kitchen sink faucet is easier than you think—and you don’t need to call a plumber. You’ll discover simple, step-by-step tips to secure your faucet quickly and safely. Keep reading to fix that loose faucet once and for all, saving yourself time, money, and frustration.
Identify The Leak Source
Check the faucet basecarefully for any signs of leaks. Look for water poolingor dampness around the base. Sometimes, the leak happens where the faucet meets the sink. Tightening the mounting nuts under the sink can help stop the drip.
Inspect the spout and handlesnext. Turn the handles on and off slowly. Watch for water dripping from the spout or around the handles. Loose or worn parts here often cause leaks. Tightening or replacing small parts might fix the issue.
Gather Necessary Tools
Gathering the right toolsis key before tightening a kitchen sink faucet. Essential tools include:
- Adjustable wrench:For loosening and tightening nuts.
- Screwdriver:Usually Phillips or flathead for screws.
- Plumber’s tape:To seal threads and prevent leaks.
- Flashlight:Helps see under the sink clearly.
- Rag or cloth:For wiping off water or debris.
Safety is important. Turn off the water supply before starting work. Use gloves to protect hands from sharp edges. Keep the area dry to avoid slips. Work slowly and carefully to avoid breaking parts.
Turn Off Water Supply
Locate the shutoff valvesunder the sink. These valves control water flow to the faucet. Usually, two valves exist: one for hot water and one for cold water. Turn both valves clockwiseto close them. This action stops water from flowing to the faucet.
After closing valves, test if water is off. Turn on the faucet handles and check for any water flow. If water stops, the valves are properly closed. If water still flows, double-check the valve position or find the main water supply to shut off.
Remove Faucet Handles
First, find the screwsholding the faucet handles in place. They are often hidden under decorative capsor inside the handle base. Use a flathead screwdriver or a small tool to gently pry off any caps.
Once the screws are visible, use the right screwdriver to loosen them. Turn slowly to avoid stripping the screw head. Keep screws safe to avoid losing them.
To detach the handles, gently pull them upward. If handles are stuck, wiggle them slightly while pulling. Avoid using too much force to prevent damage.
Tighten Faucet Connections
Use a wrench that fits the faucet’s nut snugly. Turn the wrench slowly to avoid damage. Tighten the connection just enough to stop leaks.
- Do not force the wrench hard.
- Stop once you feel resistance.
- Check if the faucet moves after tightening.
Avoid over-tightening.Too much force can crack parts or strip threads. This can cause more leaks or damage the faucet. Tightening gently keeps the faucet secure and safe.

Credit: www.amazon.com
Replace Worn Out Seals
Check the faucet base for any leaks or drips. These often mean the seals are worn out. Look carefully at the washer and O-ringareas for cracks or flattening. Damaged seals let water escape, causing the faucet to feel loose.
Remove the faucet handle to access the worn parts. Use a wrench to gently unscrew the packing nut. Take out the old washer and O-ring with a small flathead screwdriver. Keep these parts for size comparison.
- Buy new washers or O-rings that match the old ones exactly.
- Clean the area inside the faucet before installing new seals.
- Place the new washer and O-ring carefully in their spots.
- Tighten the packing nut securely but do not overtighten.
- Test the faucet by turning it on and off to check for tightness.
Reassemble Faucet Parts
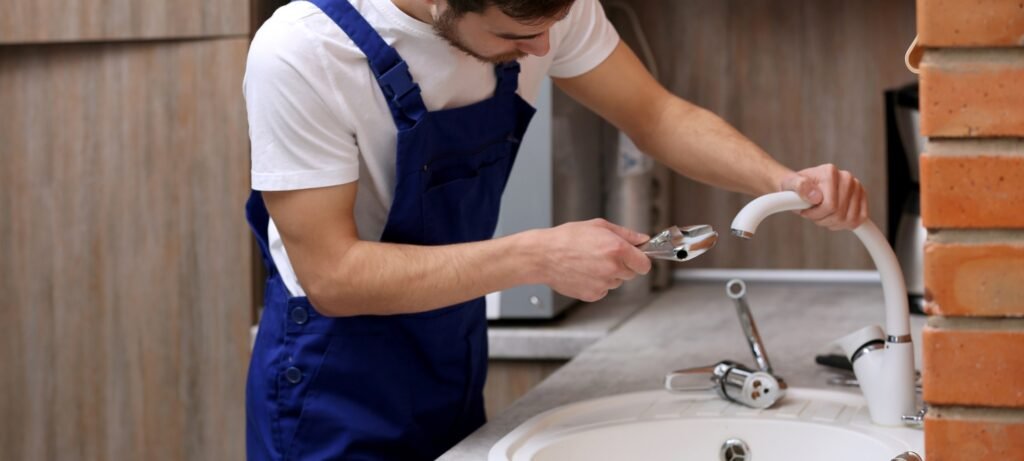
Align the faucet parts carefully before tightening. Make sure all components fit well to avoid leaks. Check the position of the spout and handles so they sit evenly.
Secure the handles back by tightening the screws or nuts holding them in place. Use a screwdriver or wrench, but do not overtighten as this may damage parts.
- Ensure all washers and seals are in the correct place.
- Test the faucet movement for smooth turning.
- Check for any wobbling and tighten if needed.
Credit: carolinagirlcooks.com
Test For Leaks
Turn the water on slowly. This helps avoid sudden pressure changes. Watch the faucet closely as water flows.
Look for any dripsor leaks around the base and spout. Check both hot and cold handles carefully.
- Observe if water sprays out unevenly or in bursts.
- Listen for any unusual sounds like dripping or hissing.
- Feel around the faucet base for moisture or wet spots.
Noticing leaks means the faucet needs tighteningor repair. Fix any loose parts gently.
When To Call A Professional
Major damageto the kitchen sink faucet often shows clear signs. Leaks that worsen over time or constant dripping means repair is needed. Cracks in the faucet body or rust spots suggest deep problems. If tightening the faucet does not stop leaks, a professional may be required.
Complex plumbing issuesinclude broken pipes, faulty valves, or problems inside the wall. These need special tools and skills to fix safely. Professionals can handle old or tricky plumbing systems. Attempting to fix complex parts without experience might cause more damage.
- Water pressure problems that affect faucet performance
- Unusual noises when turning the faucet on or off
- Persistent leaks despite tightening or replacing parts
- Corroded or damaged plumbing connections

Credit: www.reddit.com
Frequently Asked Questions
How Do I Tighten A Loose Kitchen Sink Faucet?
To tighten a loose faucet, first turn off the water supply. Then, locate and tighten the mounting nuts under the sink using a wrench. Finally, check for any leaks and ensure the faucet is firmly secured.
What Tools Are Needed To Tighten A Kitchen Faucet?
You typically need an adjustable wrench, a basin wrench, and possibly a screwdriver. These tools help you access and tighten mounting nuts and screws under the sink efficiently.
Can Tightening A Faucet Stop Leaks?
Yes, tightening the faucet’s mounting nuts can stop leaks caused by looseness. However, if the leak is from worn washers or seals, tightening alone won’t fix it.
How Often Should I Tighten My Kitchen Faucet?
Check your faucet every six months for looseness. Tighten as needed to prevent leaks and maintain proper function. Regular maintenance extends the faucet’s lifespan.
Conclusion
Tightening your kitchen sink faucet is simple. Just follow these steps. Always start by turning off the water supply. Use the right tools for the job. Check for any loose screws or connections. Gently tighten them to avoid damage. Regular maintenance can prevent future problems.
A well-tightened faucet saves water and hassle. Keep your kitchen running smoothly. Remember, a little care goes a long way. With these tips, you’ll handle faucet issues confidently. Enjoy a leak-free kitchen experience.





