Are you tired of struggling with outdated kitchen cabinet pulls every time you cook a meal or clean up? Upgrading them can be a simple yet transformative project for your kitchen.
Imagine a space where every cabinet opens effortlessly, enhancing both functionality and style. In this guide, you’ll discover how easy it is to install kitchen cabinet pulls yourself, saving money and adding a personal touch to your kitchen’s design. By the end of this article, you’ll feel confident and ready to tackle this DIY project with precision.
Get ready to unlock the secret to a more organized and aesthetically pleasing kitchen—one pull at a time!
Choosing The Right Pulls
Cabinet pullscome in many styles. Some are modern, others are classic. Choose a style that matches your kitchen. Finish is important too. Brushed nickellooks sleek. Matte blackis bold. Pick a finish that fits your kitchen’s look.
Use a ruler to measure cabinet size. Width and height are key. Don’t forget the drawer fronts. Write these numbers down. They help you choose the right pulls. Accurate measurementsensure a perfect fit.
Pulls come in different sizes. Small pulls fit small cabinets. Large pulls suit big cabinets. Look at your measurements. Match them with pull size. A good size makes opening easy. It also looks nice.
Tools And Materials Needed
A measuring tape is vital for accurate placement. Use a drill for making holes. Have a screwdriver ready for tightening screws. A level ensures straight alignment. A pencil helps mark spots. Safety goggles protect your eyes. A carpenter’s square checks right angles.
Cabinet pulls are the main items you’ll install. Make sure to have screws that match the pulls. Use masking tape to protect cabinet surfaces. Keep a rag handy to clean dust. Extra wood might be needed for reinforcements. Having the right materials makes the job easier.
Preparing The Cabinets
Preparing the cabinets involves measuring and marking spots for pulls. Ensure accurate placement to avoid uneven looks. Use a template or ruler for consistency before drilling holes.
Remove Existing Hardware
Take out the old cabinet pulls carefully. Use a screwdriver to loosen screws. Keep the screws and pulls safely in a box. Check for any damage or holes on the cabinet surface. Ensure the area is smooth for new pulls. Fill any holes with wood filler if needed.
Clean Cabinet Surfaces
Wipe the cabinets with a damp cloth. Remove all dust and dirt. Use a gentle cleaner for sticky spots. Dry the surfaces thoroughly with a clean towel. Inspect for any remaining marks. Ensure surfaces are clean and ready for new hardware.

Credit: www.youtube.com
Marking Drill Holes
Place a ruler on the cabinet. Find the center point. Use a pencil to mark it. Keep marks light for easy erasing. Do the same for all cabinets. This helps keep everything straight.
Create a simple template. Cardboard works best. Mark where the holes go. Hold the template on the cabinet. Mark the spots through the template. This keeps all handles in line.
Drilling Holes
Drilling holes precisely ensures smooth installation of kitchen cabinet pulls. Measure carefully and mark hole positions for accuracy. Use a drill with the correct bit size to create clean holes for secure fitting.
Select Correct Drill Bit
Choose a drill bit that matches the screw size. The bit should be slightly smaller than the screw’s thickness. This helps the screw grip tightly. Use a ruler to measure the drill bit. Compare it with the screw width. This ensures a snug fit.
Drill With Precision
Mark the spots where you will drill. Use a pencil for clear marks. Hold the drill steady and straight. Press gently while drilling into the wood. Keep the drill at a 90-degree angle. This ensures a clean, straight hole. Check the depth regularly. Stop if the hole is deep enough.

Credit: plankhardware.com
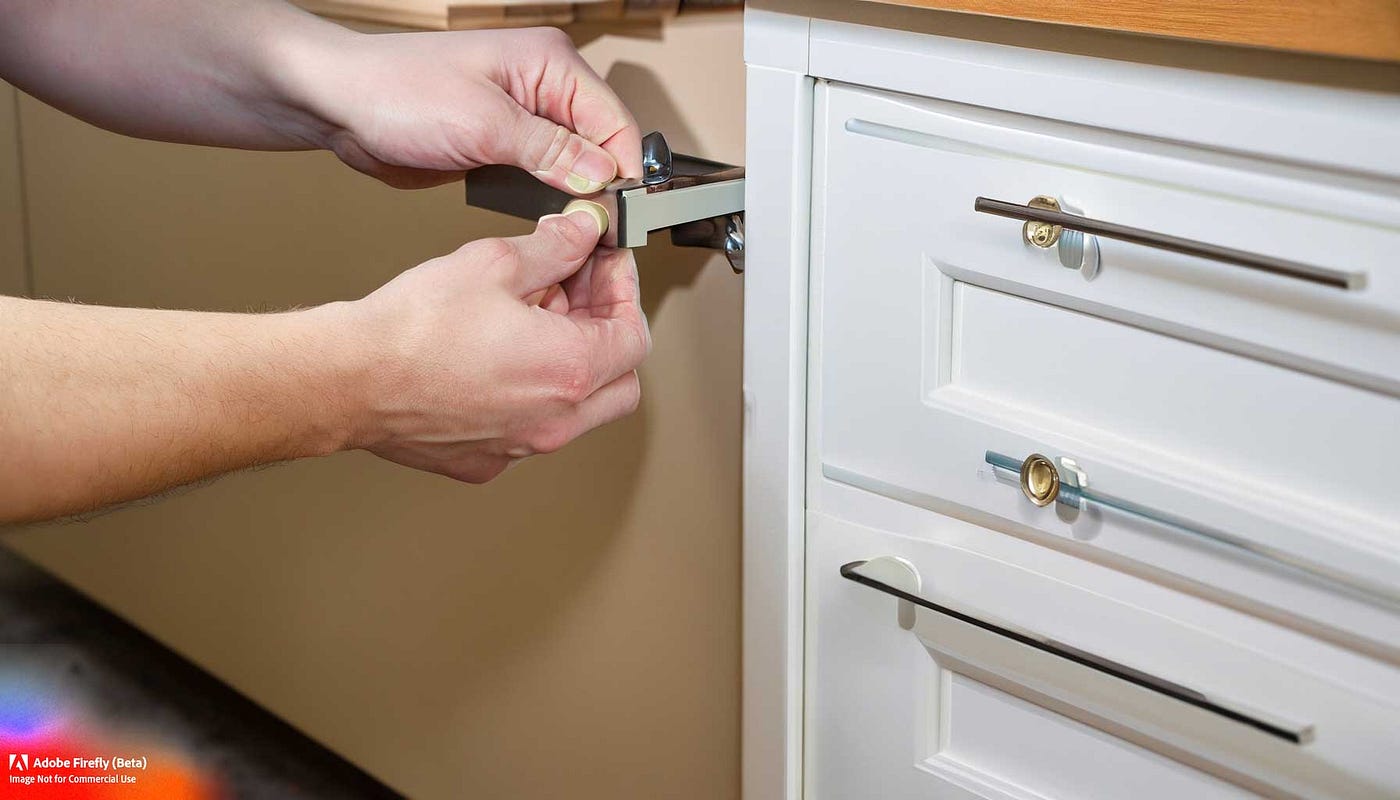
Attaching The Pulls
Align and Securethe cabinet pulls carefully. Use a ruler to measure the distance. Mark the spots with a pencil. Ensure the markings are straight and even. Double-check before drilling holes. This prevents mistakes and ensures a neat look. Once holes are drilled, insert screws through the holes in the pulls.
Tighten Screws Properlyusing a screwdriver. Make sure they are snug but not too tight. Over-tightening can damage the cabinet or the pull. Check if the pull moves or feels loose. If it does, tighten the screws again. Keep all screws in their place for a sturdy hold.
Final Adjustments
Ensure cabinet pulls are aligned. Use a level for accuracy. Tighten screws securely to prevent wobbling.
Check For Alignment
Ensure all cabinet pulls look straight. Use a ruler to check. Each pull should be level with the others. This helps the kitchen look neat.
Make Necessary Adjustments
If a pull is crooked, loosen the screws. Adjust the pull until it’s straight. Tighten the screws carefully. Double-check each pull again for alignment.

Credit: www.woodworkerexpress.com
Maintenance Tips
Enhance your kitchen’s functionality by installing cabinet pulls with precision. Measure and mark drill points carefully for alignment. Use the right tools to securely attach the pulls, ensuring durability and ease of use.
Regular Cleaning
Wipe cabinet pulls with a soft cloth. Use mild soap and warm water. Avoid harsh chemicals. They can damage the finish. Rinse and dry them after cleaning. This keeps them shiny and new. Dust them regularly to prevent buildup.
Inspect For Wear
Check cabinet pulls for loose screws. Tighten them with a screwdriver if needed. Look for scratches or chips in the finish. Replace damaged pulls to maintain a fresh look. Regular checks ensure long-lasting use. It’s easy and quick.
Frequently Asked Questions
How Do I Choose The Right Cabinet Pulls?
Selecting cabinet pulls involves considering the style, size, and finish. Match them with your kitchen’s design. Measure existing holes for compatibility. Choose a finish that complements your kitchen hardware, like faucets or lighting. Experiment with shapes for comfort and aesthetics.
This ensures a cohesive and functional kitchen look.
What Tools Are Needed To Install Cabinet Pulls?
You’ll need a drill, screwdriver, and measuring tape. Use a drill for making holes or tightening screws. A screwdriver helps secure the pulls. Measuring tape ensures precise placement. Consider a template for even spacing. These basic tools make installation straightforward and efficient.
Can I Install Cabinet Pulls Myself?
Yes, installing cabinet pulls is a DIY-friendly task. Follow simple steps for successful installation. Use a template for accurate placement. Ensure proper alignment and spacing. With basic tools and patience, you can enhance your kitchen’s appearance easily. This saves money and personalizes your space.
How Do I Align Cabinet Pulls Correctly?
Use a template or guide for precise alignment. Measure the distance from edges for consistent placement. Ensure pulls are centered vertically and horizontally. Check alignment visually before drilling. Proper alignment enhances aesthetics and functionality. This attention to detail ensures a professional look in your kitchen.
Conclusion
Installing kitchen cabinet pulls can transform your space. It’s a simple project. Just follow the steps, and you’ll see results. Use the right tools for the job. Measure carefully to ensure alignment. Secure the pulls firmly to the cabinets. Stand back and admire your work.
You’ve added style and function. Need more help? Plenty of resources are available online. Enjoy your refreshed kitchen look. It’s easier than you think. Happy renovating!


