Are you tired of that old kitchen sink and faucet that drip, stain, or just don’t look right anymore? Replacing them might seem like a big job, but it’s easier than you think—and it can completely transform your kitchen’s look and feel.
Imagine having a fresh, clean sink and a shiny new faucet that work perfectly every time you use them. In this guide, you’ll learn simple, step-by-step instructions to replace your kitchen sink and faucet yourself. By the end, you’ll save money, boost your home’s value, and enjoy a kitchen you’re proud of.
Ready to get started? Let’s dive in!

Credit: www.bonkekitchen.com
Tools And Materials Needed
Gathering the right toolsis important before starting. You will need a wrenchto loosen and tighten nuts, a screwdriverfor screws, and a plumber’s puttyto seal the sink. A buckethelps catch water when disconnecting pipes. Pipe tapeensures tight connections and prevents leaks.
Choosing the correct sink sizeis key. Measure the cabinet space carefully. Pick a sink that fits well and matches your kitchen style. For the faucet, check the number of holes in the sink. This decides if you need a single or double handle faucet. Consider the faucet’s height and reach for ease of use.
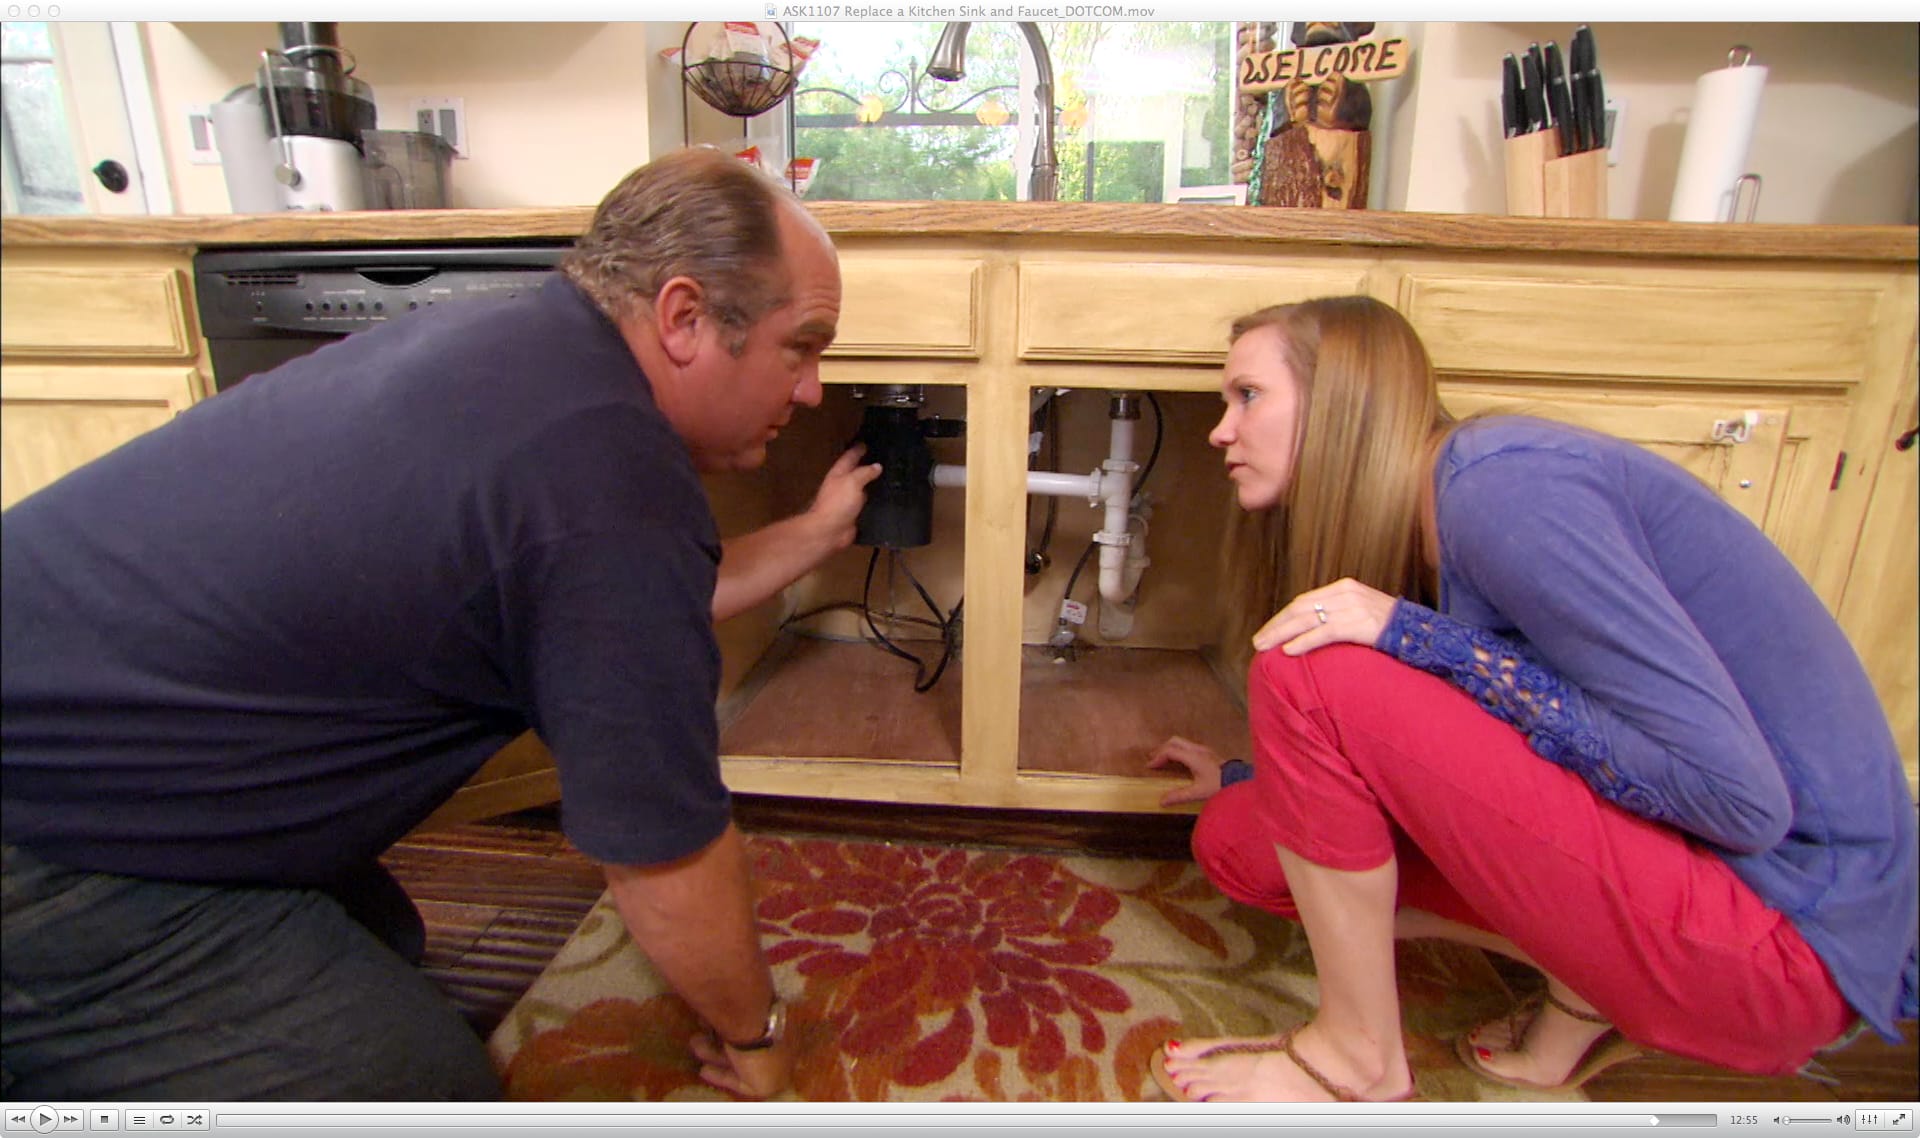
Preparing The Workspace
First, turn off the water supplyto avoid leaks. Find the shutoff valves under the sink. Turn them clockwise until tight. If no valves exist, turn off the main water supply in your home.
Next, clear the areaaround the sink. Remove any dishes, soap, or cleaning items. This gives you space to work and keeps items safe.
Keep a bucket or towel handy to catch any water left in the pipes. This prevents messes on the floor.
Removing The Old Sink And Faucet
Turn off the water supply before loosening the faucet and sink connections. Carefully detach the old sink and faucet, clearing the area for new installation.
Turn off the water supply. Twist the valve under the sink. Use a wrench to loosen the water line connections. Keep a bucket handy for any drips. Label hot and cold lines for easy re-installation. Remove the clips underneath the sink. Use a screwdriver for this task. Loosen the sealant around the sink’s edges. Gently lift the sink from the countertop. Ask for help if it’s heavy. Unscrew the faucet nuts under the sink. Use a wrench for tight spots. Pull the old faucet from above. Clean the area around the hole. Prepare for a new faucet installation. `Installing The New Sink
Place the new sink carefully into the countertop opening. Check that it fits snugly and is level. Adjust the position until it sits evenly on all sides.
Use clips or brackets to hold the sink firmly in place. Tighten them gently but securely to avoid damage. This keeps the sink stable during use.
Apply a bead of sealant around the edge of the sink where it meets the countertop. This stops water from leaking underneath. Smooth the sealant with a finger or tool for a clean finish.
Installing The New Faucet
Place the faucet into the sink’s mounting holes carefully. Align the faucet base so it sits flat and tight. Use mounting nuts or brackets under the sink to secure the faucet. Tighten the nuts by hand first, then use a wrench for a firm fit. Avoid over-tightening to prevent damage.
Locate the hot and cold water supply lines. Attach the flexible water lines to the faucet’s threaded connectors. Ensure the hot water line connects to the hot inlet and cold to the cold inlet. Hand-tighten the connections first, then use a wrench for a snug fit. Check all connections for leaks after turning the water back on.

Credit: www.youtube.com
Testing And Final Adjustments
Turn on both hot and cold water taps slowly. Watch all pipes and connections closely for any leaks. Pay special attention under the sink. Use a dry cloth to wipe around joints. If you find water drops, tighten the fittings gently. Avoid over-tightening to prevent damage.
Check the water flow from the faucet. It should be steady and smooth. Adjust the faucet handles to balance hot and cold water. If the flow is weak, clean the aerator by unscrewing it. Remove any dirt or debris inside.
- Ensure the faucet turns off completely without dripping.
- Make sure water drains properly from the sink.
- Listen for unusual sounds when water runs.
Maintenance Tips
Keep the sink and faucet clean to avoid stains and build-up. Use mild soap and warm water for daily cleaning. Avoid harsh chemicals that can damage surfaces.
Wipe dry after use to prevent water spots and rust. Check for leaks regularly and fix them quickly to save water and prevent damage.
- Use a soft cloth or sponge for cleaning.
- Clear debris from the drain to prevent clogs.
- Tighten loose parts to avoid leaks.
- Replace worn-out washers or seals promptly.
- Keep faucet aerators clean to maintain water flow.

Credit: www.youtube.com
Frequently Asked Questions
How Do I Remove An Old Kitchen Sink Safely?
Turn off water supply first. Disconnect plumbing and mounting clips carefully. Use a utility knife to cut sealant. Lift the sink gently to avoid damage. Wear gloves to protect your hands during removal.
What Tools Do I Need To Replace A Kitchen Faucet?
You need an adjustable wrench, basin wrench, plumber’s tape, bucket, and screwdriver. Also, have a towel handy for water spills. These tools help in loosening and securing connections efficiently.
How Long Does It Take To Replace A Kitchen Sink And Faucet?
Typically, replacement takes 2 to 4 hours. Time varies based on skill level and sink type. Preparation and cleanup also affect total duration. Planning ahead ensures a smoother process.
Can I Replace A Sink Without A Plumber?
Yes, with basic plumbing knowledge and the right tools. Follow step-by-step instructions carefully. Turn off water supply and check for leaks after installation. However, complex plumbing may require professional help.
Conclusion
Replacing a kitchen sink and faucet can save money and improve your space. Take your time and follow each step carefully. Turn off the water before starting any work. Use the right tools to make the job easier. Tighten all connections to avoid leaks later.
Test your new sink and faucet for any issues. With patience, you can do this yourself. Enjoy your updated kitchen and the fresh new look. Simple projects like this build confidence for future repairs. Give it a try—you might surprise yourself!


