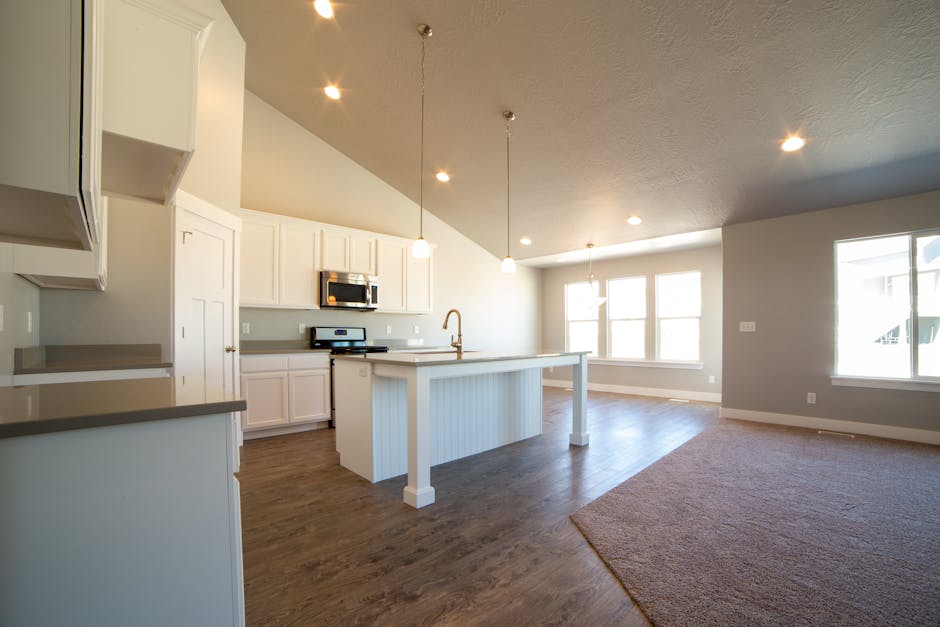
Are you dreaming of a kitchen that combines functionality with style? Imagine having a perfect spot for meal prep, casual dining, and extra storage all in one.
Building a kitchen island could be the solution you’ve been looking for. The best part? You don’t need to be a professional carpenter to create one. By following a few simple steps, you can design a space that meets your needs and enhances your kitchen’s look.
Curious about how you can transform your kitchen and add that wow factor? Let’s dive into the details and discover the secrets to building a kitchen island that will make your space the heart of your home. Get ready to unlock the potential of your kitchen and enjoy the satisfaction of a project well done.
Credit: ahouseinthehills.com
Choosing The Right Design
Start with measuring the kitchen space. Large kitchens allow more design freedom. For smaller areas, compact designs work best. Think about the layout and how people move around. Avoid blocking paths or appliances. Open spaces are ideal for a central island. Corner islands fit well in tight spots.
Islands need proper space around them. Ensure enough room for chairs or stools. Consider how the island will affect the flow. Balance is key in a kitchen layout. A well-placed island makes the kitchen inviting.
Choose materials that are durable and easy to clean. Granite or quartz are popular choices. Wood adds warmth but needs maintenance. Glossy finishes are modern and reflect light well. Matte finishes hide fingerprints and are subtle.
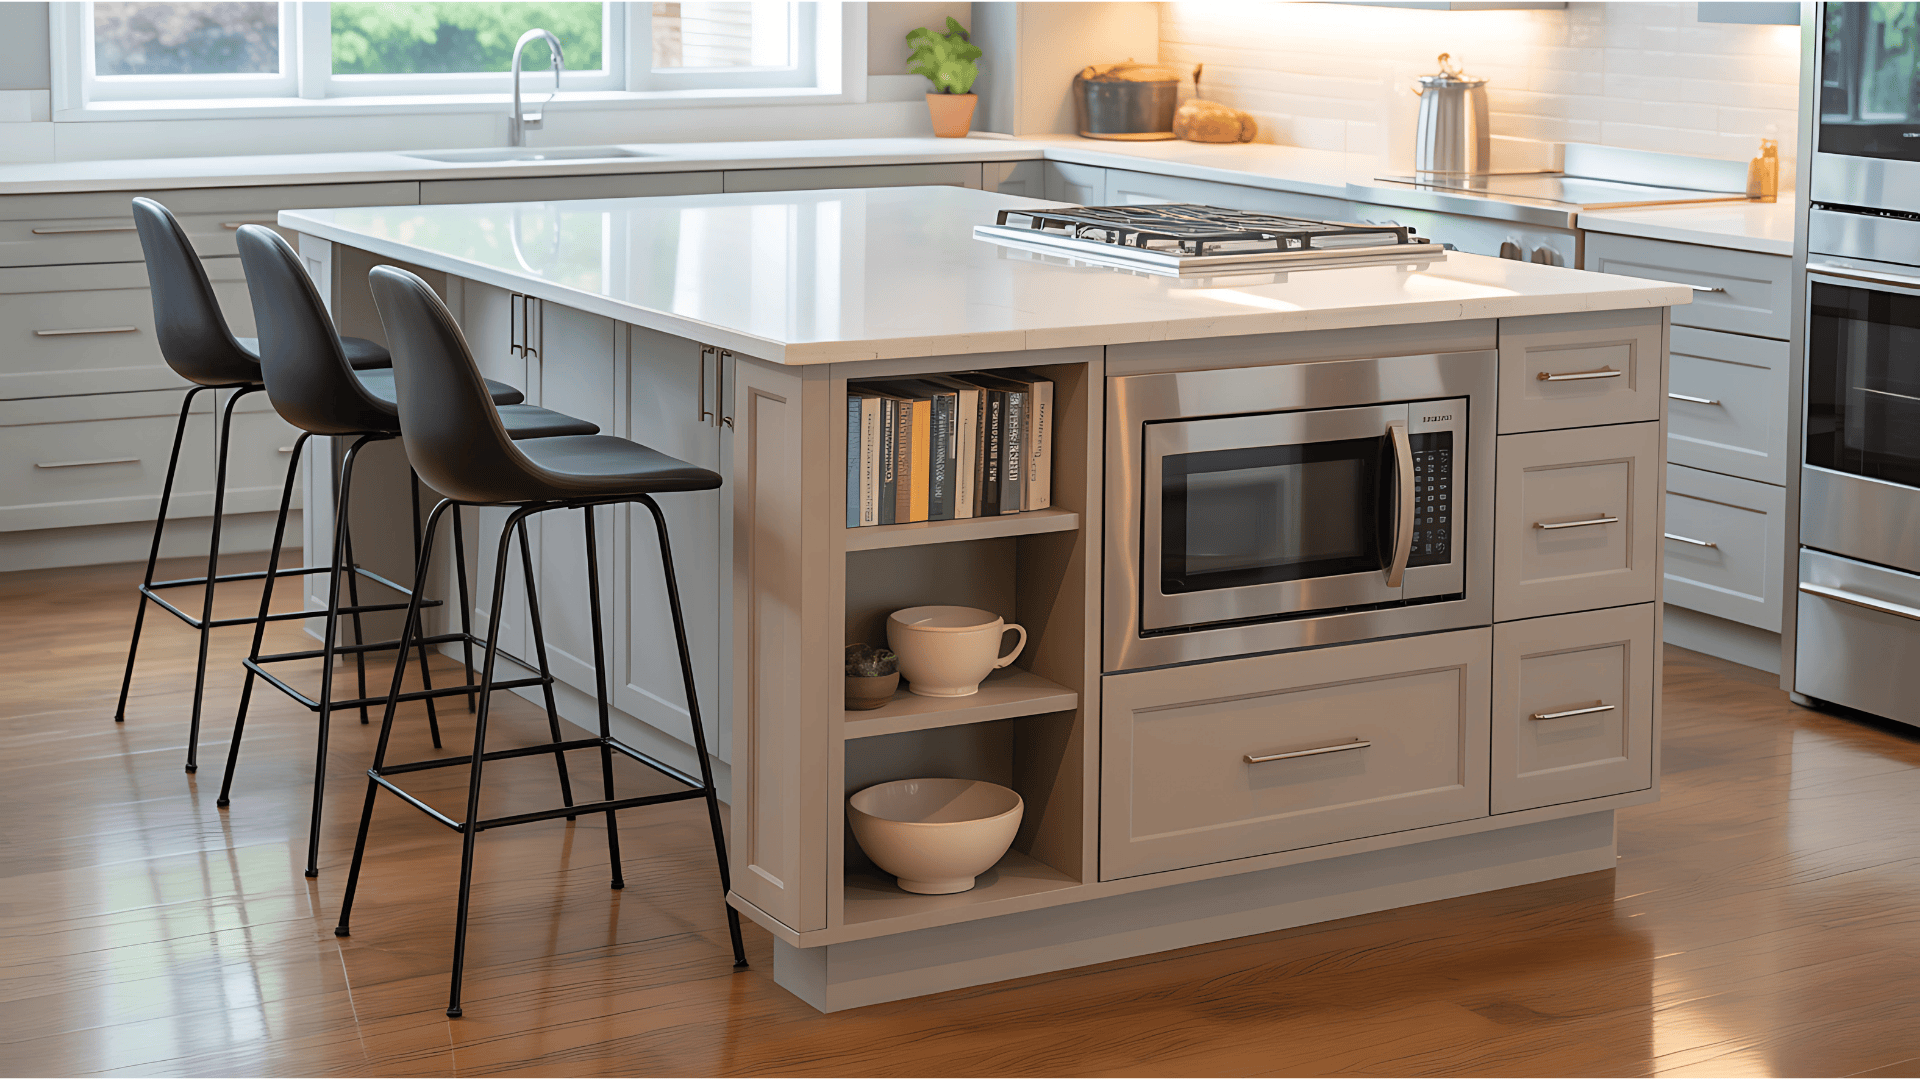
- Add storage options like shelves and drawers.
- Include a cooking area with a stove or oven.
- Consider adding a sink for prep work.
- Use the island for extra seating with stools.

Credit: pinklittlenotebook.com
Planning And Preparation
Proper planning ensures your kitchen island fits your space and needs. Consider size, materials, and functionality. Prepare tools and materials before starting the project.
Gathering Tools And Materials
First, collect all needed tools and materials. You will need a tape measure, saw, hammer, nails, and screws. Don’t forget to have a drill and levelhandy. Buy wood, countertop material, and paint or stain. Make a list to ensure nothing is missing. This will save time and avoid frustration.
Measuring And Marking The Area
Use a tape measureto find the island’s size. Mark the area on the floor. This helps to see how much space it will take. Ensure there is enough room to walk around. Leave at least 36 inches of space on all sides. This ensures easy movement in the kitchen.
Creating A Blueprint Or Sketch
Draw a simple blueprint or sketchof the island. Include all important parts like shelves and drawers. This will guide you during building. Make sure the design matches your kitchen. A clear plan makes building easier and faster.
Building The Base
Begin by choosing a sturdy material for the island’s base, such as wood or metal. Ensure the base supports the countertop securely, preventing any wobbling. Adjust the base dimensions to fit your kitchen space and style preferences.
Constructing The Frame
Start with a strong, durable wood. Cut pieces to the right size. Use a saw carefully. Connect pieces with screws. Ensure everything is tight. Check for stability. The frame should be solid. It supports the whole island.
Securing The Structure
Attach the frame to the floor. Use brackets or anchors. Make sure it’s steady. The island should not wobble. Test its strength. It should handle daily use. Ensure it’s safe for everyone.
Adding Support Beams
Place beams under the frame. They add extra strength. Use sturdy materials. Position them evenly. Secure them with screws. Check alignment carefully. Beams prevent sagging. They keep the island firm.
Installing The Countertop
Installing the Countertop Secure the countertop on your kitchen island for a sturdy workspace. Ensure it fits snugly, aligning with the island’s edges. Use appropriate adhesive for a lasting finish.
Choosing The Right Surface
Select a durable and easy-to-clean material. Granite, marble, and wood are popular choices. Think about the color and pattern that matches your kitchen style. Consider how much maintenance the surface will need over time.
Cutting And Fitting
Measure twice to ensure a perfect fit. Use a saw to cut the surface to the right size. Sand the edges to make them smooth. Check if the pieces fit nicely together. Adjust if needed for a snug fit.
Attaching And Sealing
Place the countertop on the island frame. Secure it with screws or adhesive. Make sure it is stable and doesn’t wobble. Apply a sealant to protect the surface. Let it dry completely before using the countertop.
Adding Storage And Features
Adding storage and features to a kitchen island enhances its functionality. Incorporate shelves, drawers, and hooks for organized spaces. Include built-in appliances like a stove or wine cooler to maximize utility and style.
Incorporating Cabinets And Drawers
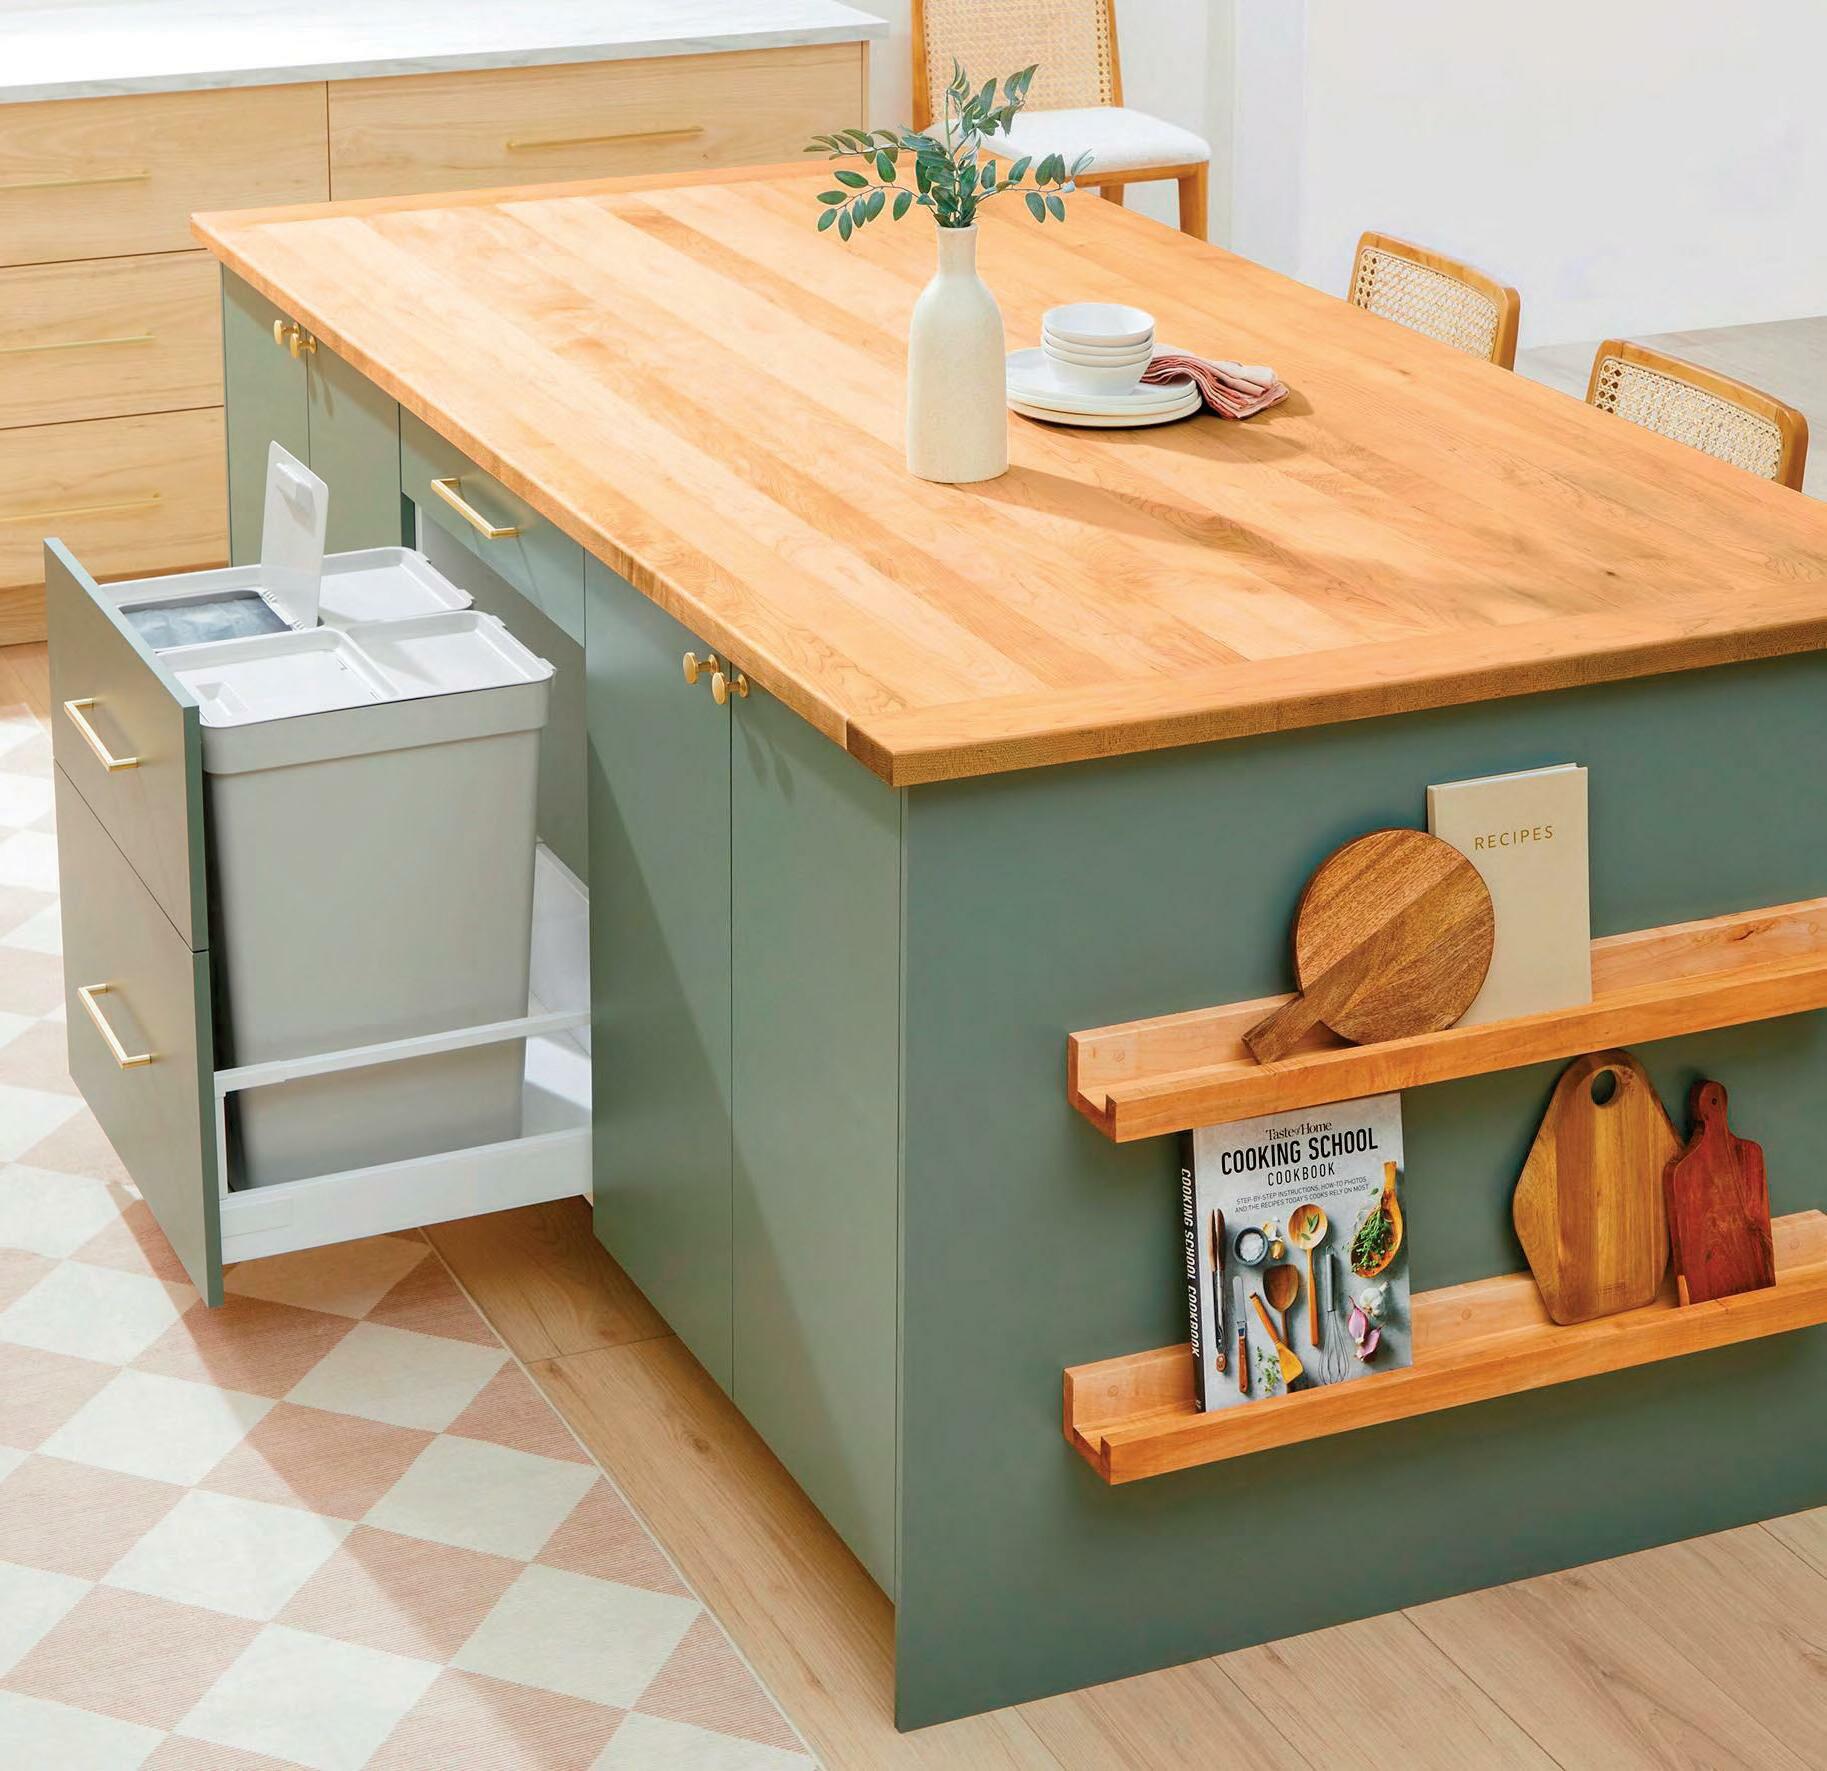
Cabinets and drawers offer more space for your kitchen items. Choose tall cabinets for pots and pans. Use smaller drawers for utensils and tools. Organize everything neatly. This keeps your kitchen tidy and efficient. Select cabinets with soft-close doors. They prevent noise and damage.
Installing Shelving Units
Shelving units are perfect for quick access. Place shelves at eye level. Store spices and jars there. Easy to grab when cooking. Use sturdy materials for shelves. Wood or metal works well. Shelves should fit the style of your kitchen. Keep shelves clean and clutter-free.
Adding Electrical Outlets
Electrical outlets make your island more useful. Position outlets near cooking areas. Plug in blenders and mixers easily. Choose outlets with safety features. Keep cords away from water. Plan outlet placement carefully. Ensure they are reachable but safe. This adds convenience to your kitchen.
Credit: www.magzter.com
Finishing Touches
Add elegant lighting fixtures to highlight the island’s design. Choose complementary seating to enhance functionality and style. Consider sleek finishes for a polished look.
Painting Or Staining
Choose a color that fits your kitchen style. Bold colors make a statement. Soft colors create a calm feel. Staining shows off wood grain. Protect surfaces with a clear coat. This keeps the island looking new.
Adding Decorative Elements
Decorative knobs can add charm. Choose handles that match your kitchen theme. Add trim for a polished look. Use tile or stone for a unique top. Let your creativity shine. Personal touches make the island special.
Ensuring Safety And Stability
Check that the island is stable. Secure it firmly to the floor. Use brackets for extra support. Ensure corners are smooth to avoid injury. Safety is very important. Make sure everything is strong and safe.
Maintenance Tips
Choosing durable materials ensures your kitchen island lasts. Regularly clean surfaces to maintain their shine and prevent damage. Securely tighten screws and check for any loose parts to keep your island sturdy.
Cleaning And Care
Always wipe the kitchen island with a damp cloth. Use mild soap for sticky spots. Avoid harsh chemicals. They can damage the surface. Dry the island with a soft towel. This prevents water stains. Keep the island clutter-free. It helps in easy cleaning.
Repair And Upkeep
Inspect the island regularly for scratches and dents. Use a wood filler to fix small scratches. Tighten loose screws with a screwdriver. Replace broken parts immediately. This keeps the island safe and sturdy. A well-kept island lasts longer.
Extending Lifespan
Use coasters under hot pots and pans. Protects the surface from heat damage. Apply sealant on the island annually. This keeps the surface shiny and strong. Avoid cutting directly on the island. Use a cutting board instead. Follow these steps for a long-lasting kitchen island.
Frequently Asked Questions
What Materials Are Best For A Kitchen Island?
For a durable kitchen island, consider materials like granite, butcher block, or stainless steel. Granite offers a sleek, polished look, while butcher block provides warmth and versatility. Stainless steel is perfect for a modern, industrial feel. Each material has unique benefits and fits different design preferences.
How Much Space Is Needed Around A Kitchen Island?
Ensure there is at least 36 to 48 inches of space around the kitchen island. This allows for easy movement and accessibility. Adequate space prevents overcrowding and ensures a functional and efficient kitchen layout. Consider the size of your kitchen to determine the ideal clearance.
Can I Install A Sink In A Kitchen Island?
Yes, installing a sink in a kitchen island is possible. It enhances functionality and convenience. Ensure proper plumbing and drainage are planned. A sink in the island allows for multitasking and easy cleanup. It’s a popular choice for many homeowners seeking a practical kitchen design.
What Are The Costs Involved In Building A Kitchen Island?
The cost of building a kitchen island varies based on materials and size. On average, it ranges from $3,000 to $5,000. Custom features, like built-in appliances or high-end materials, increase the price. Budget accordingly to ensure your island meets your design and functional needs.
Conclusion
Building a kitchen island can transform your space. It adds function and style. Follow the steps carefully for best results. Measure accurately. Choose materials wisely. Assemble patiently. Enjoy the process. A well-built island becomes the heart of the kitchen. Friends and family will gather around.
It enhances cooking and socializing. Personalize it to fit your needs. This DIY project offers satisfaction and utility. Your dream kitchen island awaits. Start today and enjoy your new centerpiece. Happy building!





