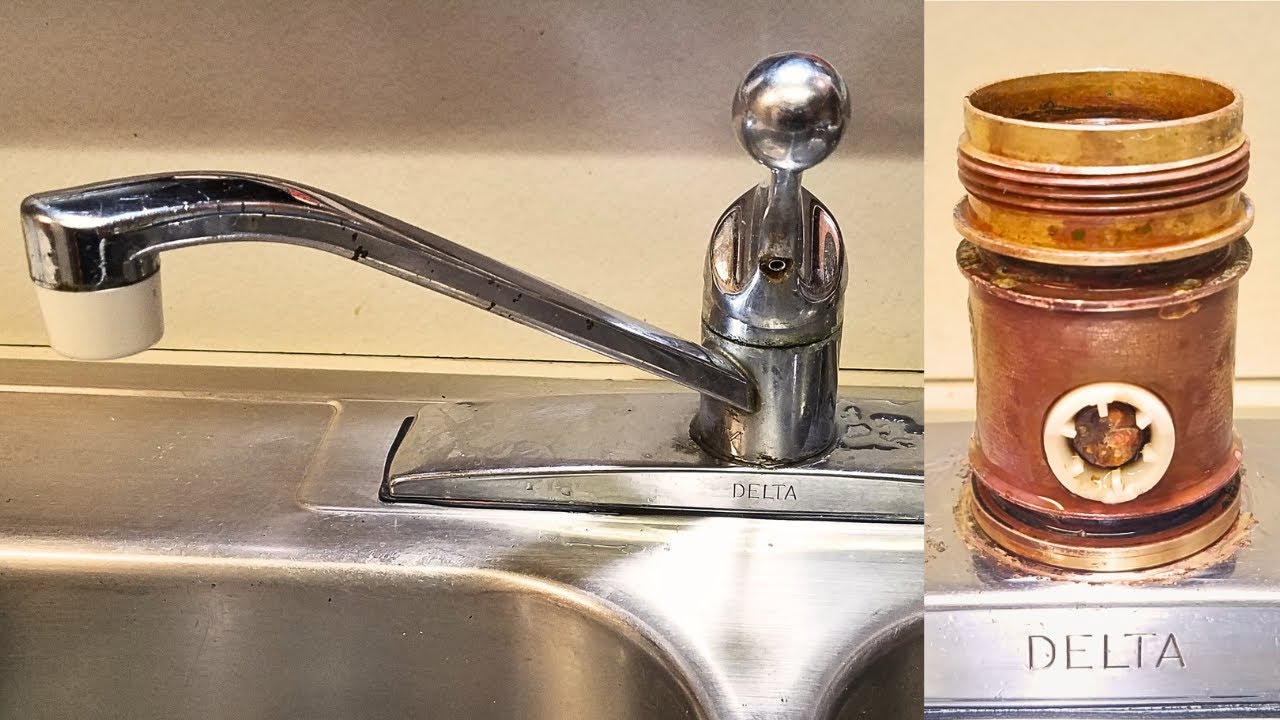
Is the constant drip-drip-drip of your kitchen faucet driving you up the wall? Not only is a leaking faucet annoying, but it can also lead to higher water bills and even water damage if left unchecked.
The good news is, fixing a leaky kitchen faucet isn’t as daunting as it might seem. You don’t need to be a plumbing expert or spend a fortune hiring one. With a little guidance, you can handle this common household issue on your own.
You’ll discover straightforward steps to stop that leak for good. Imagine the satisfaction of solving the problem yourself and the peace and quiet that follows. Ready to take control and get started? Let’s dive into the simple solutions that await you.
Identifying The Leak Source
Discovering the source of a kitchen faucet leak is crucial. Check connections under the sink and inspect seals. Look for worn-out washers or loose fittings as common culprits.
Common Leak Points
Kitchen faucets can leak from various places. Common leak points include the handle, spout, or base. Check each area closely. Look for water drops or puddles. The handle might drip if it’s loose. Spouts can leak due to broken seals. Bases often leak when washers wear out.
Tools For Inspection
Use simple tools to find leaks. A flashlight helps see water drops. A dry cloth shows wet spots. A wrench tightens loose parts. Magnifying glasses can reveal tiny cracks. Keep tools handy for easy inspection. Inspect with care to find the exact leak.
Gathering Necessary Tools
Gathering the necessary tools is crucial for fixing a leaking kitchen faucet. Essential items include an adjustable wrench, screwdriver, and replacement parts. Having these tools ready ensures a smooth repair process and helps prevent further leaks.
Basic Plumbing Tools
A few basic tools are needed. Grab a wrench and a screwdriver. A pliers will be useful too. Keep a bucket handy for water spills. A flashlight helps you see in dark places. Have these tools ready before starting. It makes the job easier.
Replacement Parts
Check for the right parts. You might need a new washer or gasket. Sometimes, a valve cartridge needs changing. Have a spare O-ring as well. Make sure parts match your faucet model. This ensures a proper fit. Always double-check the packaging.
Turning Off Water Supply
Start by locating the shut-off valvesunder the sink. These are usually round knobs or levers. Turn them clockwise to close the water flow. Ensure both hot and cold water valves are shut.
Locating Shut-off Valves
Look for valves near the pipes under the sink. They may be hidden behind items stored there. Clear the area to access them easily. Feel for cool or warm pipes to identify hot and cold water lines.
Draining Residual Water
Open the faucet to drain remaining water in the pipes. This prevents water spills during repairs. Keep a bucket nearby to catch any drips or leaks. Wait until no water flows from the faucet.

Credit: www.youtube.com
Disassembling The Faucet
Find the screw on the faucet handle. Use a screwdriver to remove the screw. Lift the handle off the faucet. You might need a little force. Be gentle to avoid damage. Some faucets have a cap hiding the screw. Pry off the cap with a knife or screwdriver. Keep screws and caps safe for later use.
Remove the retaining nut with a wrench. This nut holds the cartridge in place. Pull out the cartridge carefully. Check for damage or wear. Replace if necessary. Clean the area around the cartridge. Ensure no dirt or debris remains. Position the new cartridge in place. Secure it with the retaining nut. Make sure everything is tight and snug.
Replacing Faulty Components
To fix a leaking kitchen faucet, replace the faulty components like worn washers or damaged O-rings. Ensure the water supply is turned off before disassembly. Carefully remove and replace the defective parts to restore the faucet’s function and prevent further leaks.
Installing A New Cartridge
Turn off the water supply first. Use a wrench to remove the handle. Take out the old cartridge carefully. Check its size and type before buying a new one. Insert the new cartridge into the slot. Make sure it fits snugly. Reattach the handle and tighten it. Turn on the water supply and check for leaks.
Checking O-rings And Washers
O-rings and washers can wear out over time. Remove the faucet handle to reach them. Inspect them for any cracks or wear. Replace them with new ones if needed. Make sure they are the right size. Reassemble the faucet and test it. No more leaks should be present.

Credit: www.youtube.com
Reassembling The Faucet
Aligning the parts is crucial for a leak-free faucet. Make sure each piece fits snugly. Check the grooves and notches on the faucet. They help in perfect alignment. If they don’t match, adjust them carefully.
Ensuring Proper Alignment
Align the faucet handle with the main body. Twist gently to avoid misalignment. Check the washer and the O-rings. They must be seated properly. Misaligned components can cause leaks.
Securing Components
- Tighten screws evenly and firmly.
- Check that the nuts are secure.
- Make sure the washer is flat.
- Use a wrench to tighten loose bolts.
- Turn on the water and check for leaks.
Testing For Leaks
Check for drips under the sink to identify a leak in the faucet. Tighten loose connections and replace worn washers to stop leakage effectively.
Restoring Water Supply
Turn the main water valve back on. Listen for any unusual sounds. Check under the sink. Look for dripping water. Use a flashlight if needed. Make sure all connections are tight. Tighten them if necessary. Keep a towel nearby. It helps clean any spills. Watch closely as the water flows.
Observing Water Flow
Turn on the faucet. Let the water run for a while. Watch the water flow. Look for any drips or leaks. Check under the sink again. Make sure there are no puddles. Feel the pipes. They should be dry. If leaks are found, tighten connections. If leaks persist, seek professional help.
Preventative Maintenance Tips
Cleaning your kitchen faucet is important. Wipe it with a soft cloth. Use warm water and mild soap. Avoid harsh chemicals. They can damage the faucet. Check for mineral buildup around the spout. Use vinegar to remove it. Simply soak a cloth in vinegar. Wrap it around the spout. Leave for 30 minutes. Rinse with water.
Inspect the faucet regularly. Look for leaks or drips. Tighten any loose parts. Check the aerator. It can get clogged. Unscrew it and clean inside. Use a brush to remove debris. Make sure the handles work smoothly. If they stick, apply a little lubricant. This keeps the faucet in good condition.

Credit: www.youtube.com
Frequently Asked Questions
How Can I Identify A Leaking Kitchen Faucet?
To identify a leaking kitchen faucet, check for water drips or puddles around the sink. Inspect the faucet base, handles, and spout for moisture. Listen for any dripping sounds when the faucet is off. Regularly monitoring these areas can help you detect leaks early and prevent further damage.
What Tools Do I Need To Fix A Faucet?
To fix a leaking faucet, you’ll need a wrench, screwdriver, plumber’s tape, and replacement parts. These tools help you disassemble and reassemble the faucet parts. Having these tools on hand makes the repair process smoother and quicker, ensuring a successful fix.
How Do I Turn Off The Water Supply?
To turn off the water supply, locate the shut-off valves under the sink. Twist the valves clockwise to stop water flow. This step is crucial before starting any repairs to prevent water spills. Always check that the water is completely off before proceeding with the faucet repair.
Why Is My Kitchen Faucet Leaking?
A kitchen faucet may leak due to worn-out washers, O-rings, or seals. Over time, these components wear out and cause leaks. Mineral build-up can also affect the faucet’s functionality. Regular maintenance and inspections can prevent leaks and prolong the faucet’s lifespan.
Conclusion
Fixing a leaking kitchen faucet is easier than you think. With the right tools, you can solve this problem quickly. Start by identifying the leak source. Tighten loose parts or replace worn washers. Don’t forget to turn off the water supply first.
Check for additional leaks after repairs. Regular maintenance prevents future issues. Use simple steps and save money on repairs. Feel confident in tackling minor plumbing tasks. Practice makes perfect. A well-maintained faucet lasts longer. Enjoy a drip-free kitchen with these easy fixes.
Your faucet should work smoothly now. Keep tools handy for next time.





